An AI UGC Production Workflow from Brief to Final Export
Move an AI UGC ad from brief to export with a shot plan, versioned assets, generation logs, and a pass or fail review for each shot.
 JessieCOO
On this page
An AI UGC production workflow works best when you can trace the finished video back to an approved claim, a shot plan and a versioned set of assets. Give every stage a clear output. That lets you replace a failed shot or a wrong line without having to rebuild an entire edit.
The example below uses a hypothetical travel organizer with a charger pocket. It illustrates how a brand or agency can organize production. It is not a report of a timed shoot or live ad campaign.
Turn the brief into a production decision
Start with the brief the editor and reviewer actually need. State the intended audience and placement, the main message, the evidence shot, and the words the video must not imply. In this example the claim is “there is a separate pocket for the charger shown.” A product photo may establish the pocket’s location, but footage with the charger is needed to show the fit. Do not generalize that fit to every charger.
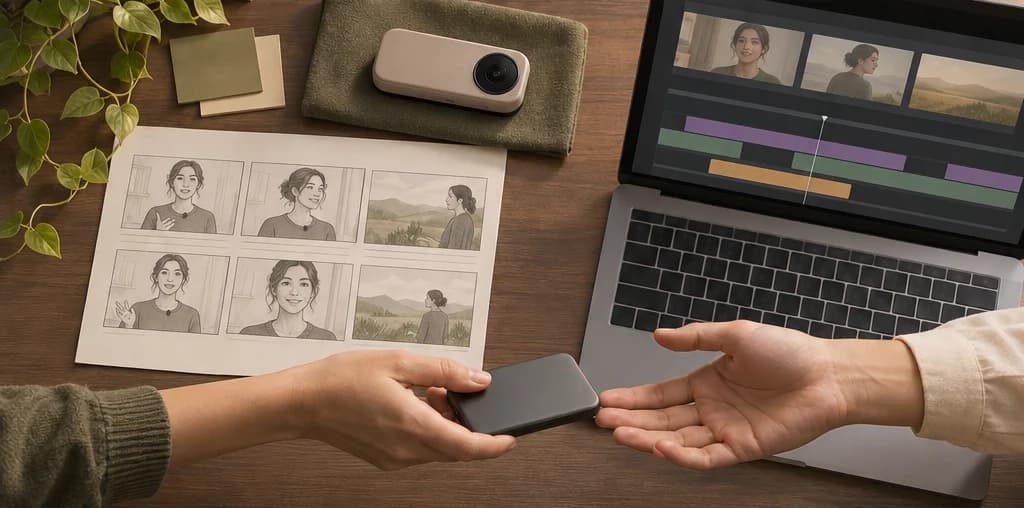
Use a three-shot plan: presenter introduces the situation, real footage shows the charger entering the pocket, and the final frame shows where to check the dimensions. The script should name the action before giving the viewer a next step.
| Stage | Required input | Output before starting the next stage |
|---|---|---|
| Brief | Product facts, intended placement and decision | Versioned claim and proof shot |
| Script and shots | Brief and available media | Approved spoken copy and shot list |
| Asset prep | Product footage and presenter references | Named references and original recordings |
| Generate | Route, prompt, reference and output settings | Raw results and task IDs |
| Assemble | Accepted clips and approved narration | Numbered cut with captions |
| Review and export | Cut and brief | Approved export and saved evidence |
Save what will change and what must stay fixed
Use one project folder and keep the raw material separate from selected clips. The layout can be as simple as:
brief.md
script-v02.md
shots.csv
source/
  product-pocket-original.mp4
  presenter-reference-v01.webp
generation/
  task-log.csv
selects/
  s01-presenter-v03.mp4
  s02-product-v01.mp4
exports/
  organizer-ad-cut02.mp4
Record which version the final export used. A replacement should get its own filename, especially when a version changes factual wording or the shot that supports it. Keep approved material intact while testing a retake in a separate branch of the edit.
Give each shot an acceptance check. The presenter shot needs accurate speech and coherent mouth movement. The product shot needs the actual pocket, visible handling and sufficient screen time. If someone approves an image because it looks polished but the strap or pocket has changed, the asset has failed the product check.
Generate only the parts that need it
A synthetic opener can be useful when the ad calls for several approved script variations around the same product footage. Retain real footage and verified images where the product’s physical behavior matters.
Assemble around the action instead of the timeline
Put the approved narration and product-proof footage on the timeline first. Align each spoken phrase with the shot that supports it. Hold the frame after the charger is in the pocket so the viewer can see it remains there after the hand moves away.
If the narration says “drop it in here” before the pocket is visible, move the narration or extend the shot. If the voice misreads the product name, fix that line and confirm it is still synchronized. If the generated presenter’s motion breaks continuity, use the approved product cutaway where it adds meaning, or generate a simpler retake. These are different repairs.
Add captions once the narration is settled. Check the name, units and interface labels by hand. Watch the exported video at the size the audience sees, once with sound and once muted, and check that captions do not cover the important visual.
Keep a usable review record
An issue entry should name the clip, the affected point, the evidence from the brief and the requested fix. A hypothetical example: “Cut 02, product demonstration, charger placement is hidden by a caption. Move captions away from the pocket and re-export.” This is more actionable than “looks too AI.”
Approve an export only after confirming the script and the picture support the same claim. Save the selected sources, output, revision note and an owner for later edits. A usable workflow lets the next editor reopen the project, identify every clip and correct one problem at a time.