How to Create Realistic AI UGC Videos
Build a creator-style ad with a product brief, a motion prompt, and separate review checks for the presenter, voice, and product footage.
 JessieCOO
On this page
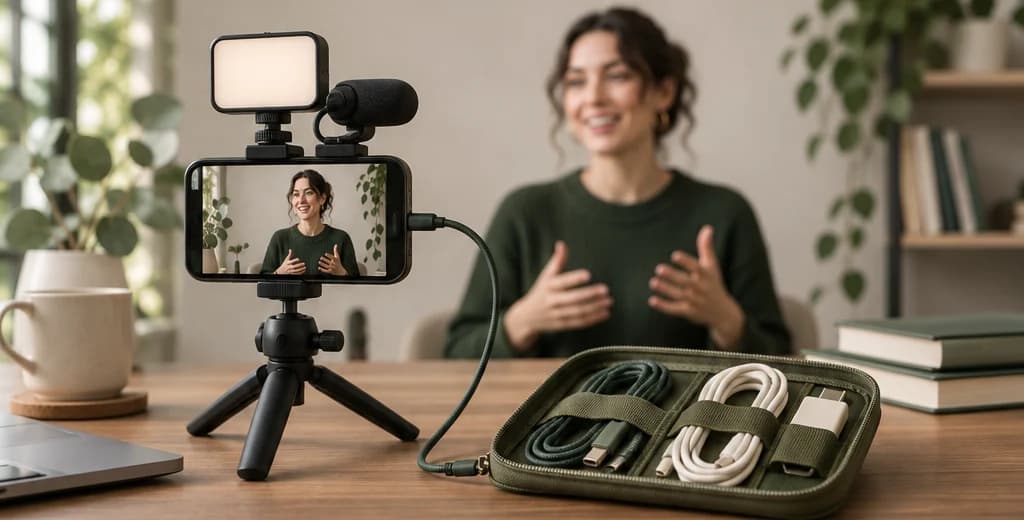
Here, AI UGC means an AI-generated video made in a creator-style format. The presenter can explain or demonstrate a product, but a synthetic performance is not evidence that a customer used it.
For a first production, keep the brief narrow: one presenter, one setting, one product fact, and one visible demonstration. That gives you something specific to inspect when a generation misses the brief.
Plan the presenter and the product demonstration
Start with the information the video must preserve. For a physical product, collect clear reference photos and a short list of verified features. Decide which features need to appear on screen and which can be explained in the narration.
For the worked example below, imagine a desk cable holder with three channels and an adhesive base. These are assumed facts for an illustrative product, not claims about a real brand. The single message is that the channels give loose cable ends a place to sit.
| Brief field | Example decision |
|---|---|
| Viewer situation | Cable ends fall behind a desk when unplugged. |
| Product fact to show | Three channels hold separate cable ends. |
| Presenter’s job | Explain what the viewer is about to see. |
| Evidence shot | A real close-up of cables sitting in the holder. |
| Claim to avoid | Fits every cable or stays attached forever. |
Separating the explanation from the evidence makes production easier to review. If a generated hand cannot place the cable accurately, you can retain the presenter shot and use real product footage for the demonstration.
Generate the opening from one clear reference
Inspect the still before spending time on video. Look at the eyes, mouth, hairline, fingers, clothing edges, and any visible product. If the cable holder has four channels in the reference, that is a product error, even if the image looks attractive.
Choose framing that matches the action. For a direct-to-camera introduction, a chest-up shot can leave the product demonstration to a separate close-up. A complicated pose with both hands, a moving product, and a turning head gives you several things to inspect at once.
Use an original synthetic presenter or a person whose likeness you have permission to use. Keep the approved reference beside every generated clip so that identity checks are comparisons, rather than judgments from memory.
Match the script to a visible action
Describe something the viewer can recognize and verify. This sample script is designed around the cable-holder example:
“Cable ends keep dropping behind the desk? These three channels give them a place to sit. Slide each cable into a channel, then leave the end within reach. Check the channel size against your cables before choosing one.”
The wording gives the editor a concrete shot to show. It also avoids assigning a fictional personal history to the presenter. There is no invented claim about using the product for months or saving a measured amount of time.
Read the script aloud before generating speech. If the explanation takes longer than the planned shot, shorten the sentence or add a cutaway. Do not rely on the voice rushing through the last clause.
Build the three-shot sequence
Give each shot one clear purpose. This is a suggested production plan, not a tested performance formula.
| Shot | Picture | Audio | Review question |
|---|---|---|---|
| Opening | Presenter at a desk, looking toward the camera. | The question about falling cable ends. | Does the delivery sound like a question? |
| Demonstration | Real product close-up, showing the channels and cable ends. | The explanation of what the channels do. | Can the viewer see the claimed function? |
| Decision | Close-up with channel measurements added in editing. | The reminder to check cable size. | Are the dimensions accurate and readable? |
This plan does not require the model to generate every shot. Use AI where it gives you a useful presenter or setting; retain real footage where accurate product behavior is the point of the scene.
Specify motion and spoken delivery
Check whether the selected workflow generates speech, accepts a separate audio track, or produces silent video. A motion prompt alone does not establish those capabilities.
For an image-to-video shot based on an approved still, the following is an original motion-prompt example. It is a starting point for iteration, not a tested preset:
The presenter looks toward the camera and gives a small nod.
Their shoulders remain relaxed and their hands rest on the desk.
The camera stays at eye level in a fixed position.
The movement is restrained and unhurried.
Put the spoken line into the workflow’s supported script or audio input. If it uses separate speech and lip-sync stages, generate the narration first, check the words, and then synchronize the presenter. If it offers native dialogue, inspect both the spoken wording and mouth movement in the output.
Change one instruction when diagnosing a problem. If the head turn distorts the face, first simplify that action. Changing the presenter, lighting, script, and camera at the same time makes it difficult to understand what helped.
Review the picture, voice, and product separately
First, watch the video muted at normal speed. Check whether the face, hands, and objects remain coherent. Then listen without looking at the picture. Check pronunciation, pauses, emphasis, and whether the delivery fits the setting. Finally, watch with sound to inspect synchronization.
| What you notice | First thing to inspect | A practical next step |
|---|---|---|
| The face changes during a turn. | The reference and the requested head movement. | Try a smaller turn while keeping other inputs fixed. |
| The product changes shape. | Product visibility and interaction complexity. | Use a real product cutaway if the detail cannot be preserved. |
| The delivery sounds like a sales announcement. | Sentence structure and voice direction. | Revise the line before repeatedly regenerating the visual. |
| The mouth looks wrong on one phrase. | Timing, articulation, and the affected frames. | Regenerate the segment or place a relevant cutaway over it. |
| The voice changes between shots. | The voice selection and audio settings. | Keep the settings consistent or assemble a continuous voiceover. |
These are diagnostic options, not guaranteed repairs. Keep rejected outputs in the production record. A folder containing only the best take hides the cost of getting there.
Check the finished edit at phone size
Build the edit around the approved narration and demonstration. Add captions after the spoken wording is settled, and check names and product terminology manually. Preview the exported file at the size viewers will actually see it.
Before handing the video over, confirm that:
- The product shown matches the real product and the spoken claims.
- The presenter remains consistent within each visible shot.
- The narration is understandable without relying on captions.
- Captions and labels do not obscure the detail being demonstrated.
- There is a clear next step, such as checking the available sizes.
- The generation inputs, rejected takes, and edits are recorded.
The finished asset should explain one useful product fact in a coherent way. Whether it performs as an ad is a separate question that requires actual campaign data.
Compare revisions and track their cost
In the illustrated cable-holder ad, suppose the presenter is usable but the generated product gains an extra channel when the hand moves away. Lock the presenter and replace the demonstration with a continuous product shot: show the empty channel, place the cable, and keep the camera running until the hand leaves. When the revised shot is exported, check the channel count and the position of the cable end against the physical product.
For the next presenter take, hold the image, line, framing, and output settings fixed. Compare a downward glance with a small nod. Record which takes kept the face coherent and which lines were omitted. Treat that comparison as a decision for this shot. Put each rejected take, replacement clip, and editing action next to the approved version in the log.
To estimate production cost, count actual generation charges for the batch, including charged outputs you discarded. Record editing time separately. Divide those charges by the number of finished videos that passed review. If none pass, report the spend and the failure reasons without calculating cost per usable video.
Record what changed
Copy this note into the project folder before creating the first take:
- Viewer problem
- Verified product fact
- Evidence shot
- Approved presenter reference
- Spoken line
- Requested movement
- Model / workflow / version
- Input and output filenames
- Reason each take was accepted or rejected
- Final edit changes
For a software product, replace the physical demonstration with a real screen recording.
Generate the presenter through EvoLink
seedance-2.5-text-to-video when you are starting with a written brief. Use seedance-2.5-image-to-video when an approved portrait should serve as the first frame. Check input requirements on the Seedance 2.5 model page. Keep the same portrait and line when you compare takes so you can identify what changed.Permission to use a likeness and acceptance by the selected generation route are separate checks. Review the route’s current input rules before submitting a real portrait.