
教程
Nano Banana 2 API 使用教程:完整代码示例指南(2026)
EvoLink Team
Product Team
2026年2月27日
11 分钟阅读
核心要点
- Nano Banana 2(
gemini-3.1-flash-image-preview)于 2026 年 2 月 26 日发布 — Pro 级质量,Flash 级速度 - 需要付费 API 密钥。免费额度不支持图像生成
- Google 定价:$0.101/张(2K),$0.150/张(4K)。EvoLink 提供约 20% 折扣,$0.0806(2K)
- 三种接入方式:Google AI Studio(无代码)、Gemini API(Python/Node.js)或统一网关
- 本教程让你在 10 分钟内开始生成图像
什么是 Nano Banana 2?
Nano Banana 2 是 Google 最新的图像生成模型,基于 Gemini 3.1 Flash Image 构建。2026 年 2 月 26 日,Nano Banana 2 取代 Nano Banana Pro 成为 Gemini 应用中 Fast、Thinking 和 Pro 模式的默认图像模型。
不要将它与 Nano Banana Pro(
gemini-3-pro-image-preview)混淆,后者是针对最高保真度优化的不同模型。NB2 是速度和成本的平衡选择 — 接近 Pro 的质量,速度显著更快。核心规格(来源:Google 博客):
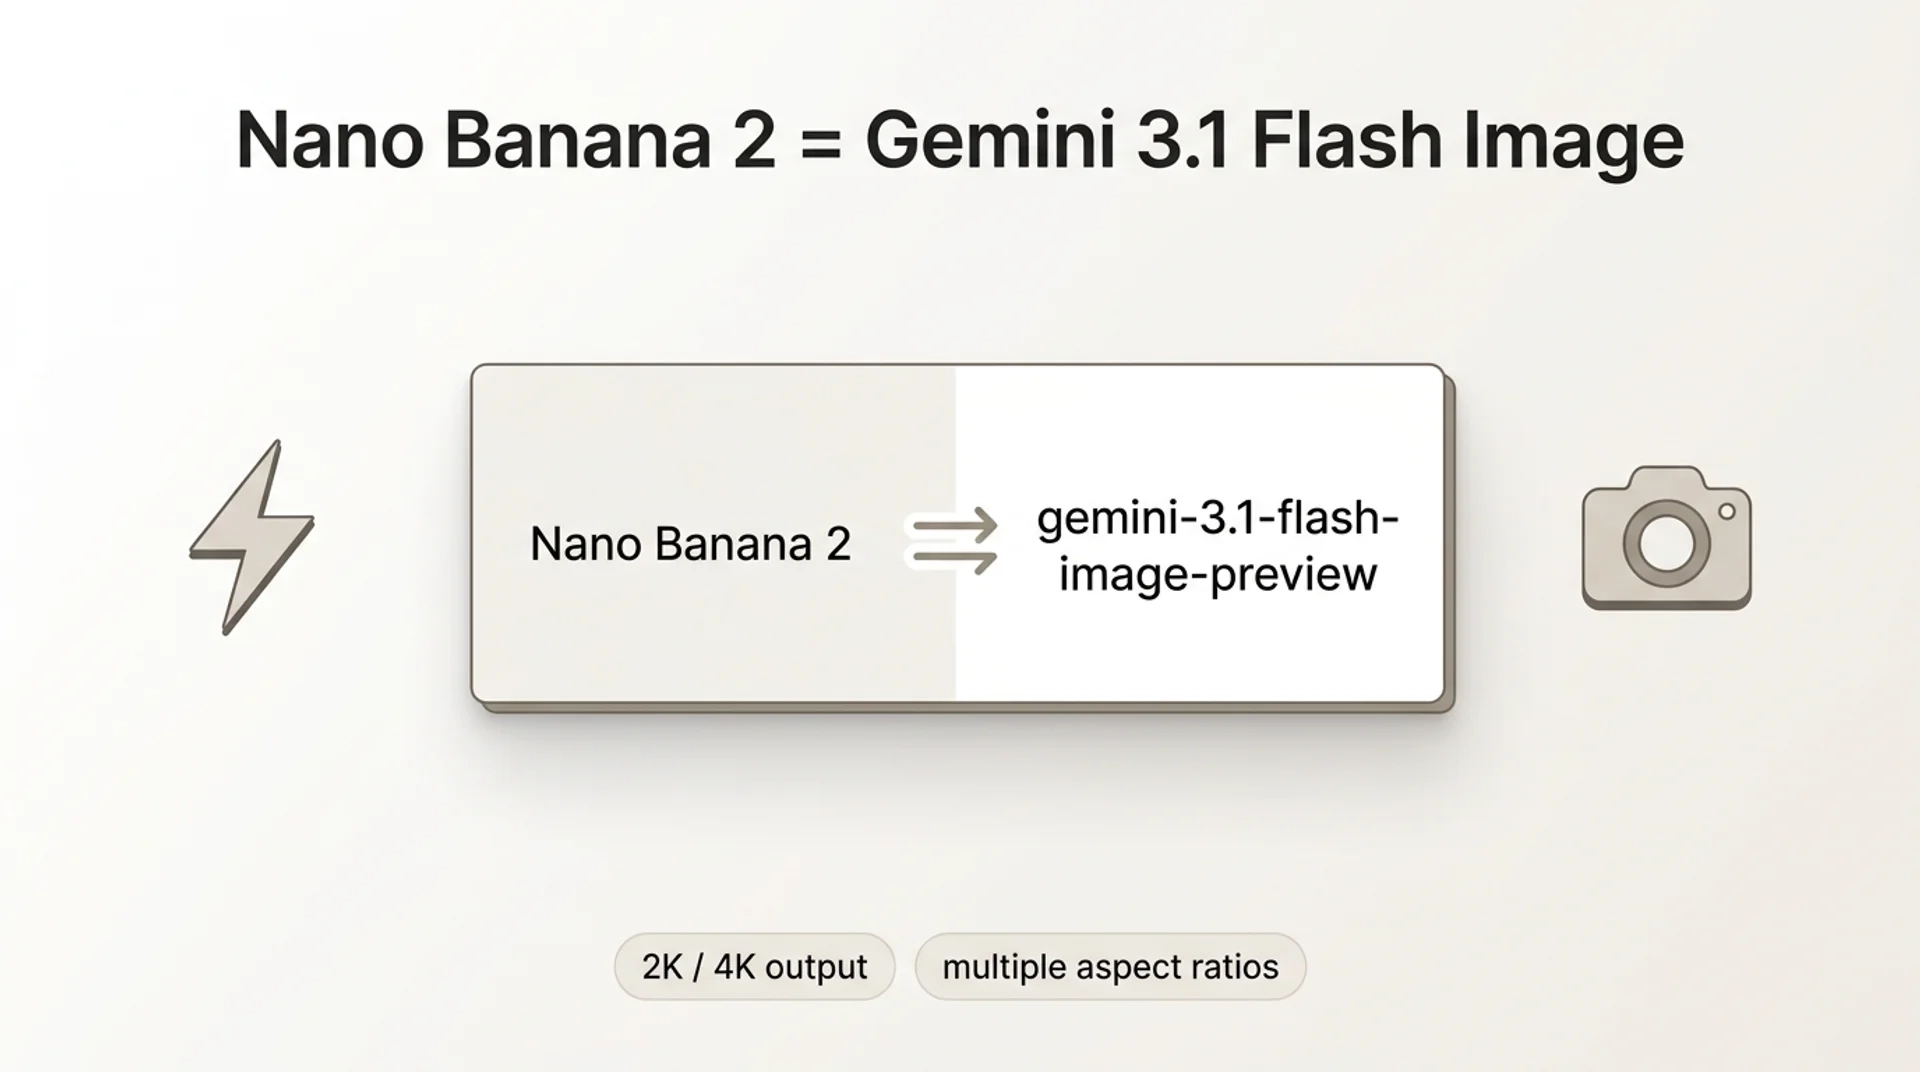
- 模型 ID:
gemini-3.1-flash-image-preview - 分辨率:512px 至 4K,原生支持 4:1、1:4、8:1、1:8 等宽高比
- 主体一致性:每次生成最多 5 个角色 + 14 个物体
- 文本渲染:改进的多语言图内文字
- 思考级别:Minimal(默认)vs. High/Dynamic 用于复杂提示词
- AI 标识:SynthID + C2PA Content Credentials
详细的 NB2 vs Pro 对比,请参阅我们的深度对比文章。
前置条件:开始前需要准备什么
这是大多数开发者遇到困难的地方。在 Reddit 上,排名第一的投诉是遇到配额错误却不明白原因。
答案很简单:图像生成需要付费 API 密钥。没有例外。
如果你使用免费密钥,会收到:
"Quota exceeded for metric: generativelanguage.googleapis.com/generate_content_free_tier_input_token_count, limit: 0"
选项 A:Google Cloud 计费
- 访问 Google AI Studio
- 点击 Get API Key → Create API key
- 在 Google Cloud Console → Billing 中关联计费账户
- 在项目中启用 Gemini API
- 你的密钥现在可以用于图像生成
选项 B:第三方网关
如果你想跳过 Google Cloud 计费设置,像 EvoLink 这样的网关可以路由到相同的模型,入门更简单 — 注册、获取密钥、充值、开始生成。
方法 1:Google AI Studio(无代码)
无需编写代码的最快测试方式:
- 打开 AI Studio
- 从模型下拉菜单中选择
gemini-3.1-flash-image-preview - 输入提示词:"A photorealistic golden retriever puppy in a sunlit meadow"
- 点击 Run
你会在几秒钟内看到生成的图像。右键保存或点击 Get code 查看 API 等效代码。
方法 2:Gemini API(Python)
安装 SDK
pip install google-generativeai基础图像生成
import google.generativeai as genai

# 配置 API 密钥
genai.configure(api_key="YOUR_GOOGLE_API_KEY")

# 初始化模型
model = genai.GenerativeModel("gemini-3.1-flash-image-preview")

# 生成图像
response = model.generate_content(
    "A photorealistic golden retriever puppy in a sunlit meadow",
    generation_config=genai.GenerationConfig(
        response_modalities=["image"]
    )
)

# 保存图像
if response.candidates[0].content.parts:
    image_data = response.candidates[0].content.parts[0].inline_data.data
    with open("output.png", "wb") as f:
        f.write(image_data)
    print("图像已保存为 output.png")
高级配置
response = model.generate_content(
    "A futuristic cityscape at sunset with flying cars",
    generation_config=genai.GenerationConfig(
        response_modalities=["image"],
        thinking_level="high",  # 复杂提示词使用 'high' 或 'dynamic'
        temperature=0.7,
        top_p=0.95
    )
)
方法 3:Gemini API(Node.js)
安装 SDK
npm install @google/generative-ai基础图像生成
const { GoogleGenerativeAI } = require("@google/generative-ai");
const fs = require("fs");

// 初始化客户端
const genAI = new GoogleGenerativeAI("YOUR_GOOGLE_API_KEY");

async function generateImage() {
  const model = genAI.getGenerativeModel({
    model: "gemini-3.1-flash-image-preview"
  });

  const result = await model.generateContent({
    contents: [{
      role: "user",
      parts: [{ text: "A photorealistic golden retriever puppy in a sunlit meadow" }]
    }],
    generationConfig: {
      responseModalities: ["image"]
    }
  });

  // 保存图像
  const imageData = result.response.candidates[0].content.parts[0].inlineData.data;
  fs.writeFileSync("output.png", Buffer.from(imageData, "base64"));
  console.log("图像已保存为 output.png");
}

generateImage();
方法 4:通过 EvoLink(统一网关)
如果你正在使用多个 AI 模型或想要更简单的计费方式,EvoLink 提供了一个 OpenAI 兼容的端点。
Python 示例
from openai import OpenAI

client = OpenAI(
    api_key="YOUR_EVOLINK_API_KEY",
    base_url="https://api.evolink.ai/v1"
)

response = client.chat.completions.create(
    model="gemini-3.1-flash-image-preview",
    messages=[
        {
            "role": "user",
            "content": "A photorealistic golden retriever puppy sitting in a sunlit meadow",
        }
    ],
)

print(response.choices[0].message.content)
Node.js 示例
npm install openaiconst OpenAI = require("openai");
const client = new OpenAI({
apiKey: "YOUR_EVOLINK_API_KEY",
baseURL: "https://api.evolink.ai/v1",
});
async function generateImage() {
const response = await client.chat.completions.create({
model: "gemini-3.1-flash-image-preview",
messages: [
{
role: "user",
content:
"A photorealistic golden retriever puppy sitting in a sunlit meadow",
},
],
});
console.log(response.choices[0].message.content);
}
generateImage();定价对比
| 提供商 | 2K 图像 | 4K 图像 | 备注 |
|---|---|---|---|
| $0.101 | $0.150 | 需要 Cloud 计费设置 | |
| EvoLink | $0.0806 | $0.120 | 节省 ~20%,更简单的入门 |
定价截至 2026 年 2 月。查看 EvoLink 定价页面 获取实时费率。
常见错误及解决方法
错误 1:配额超限
"Quota exceeded for metric: generativelanguage.googleapis.com/generate_content_free_tier_input_token_count"
原因:使用免费 API 密钥。
解决方法:在 Google Cloud Console 中启用计费,或切换到 EvoLink。
错误 2:模型未找到
"Model 'gemini-3.1-flash-image-preview' not found"
原因:
- 项目中未启用 Gemini API
- 区域限制(某些地区尚未推出)
解决方法:
- 在 Google Cloud Console 中启用 Gemini API
- 确认你的区域支持该模型
- 使用像 EvoLink 这样的网关绕过区域限制
错误 3:缺少 response_modalities
"Invalid request: response_modalities is required for image generation"
解决方法:始终在
generation_config 中包含 response_modalities=["image"]。错误 4:429 速率限制
"Resource has been exhausted (e.g. check quota)"
解决方法:实现指数退避:
import time

def generate_with_retry(model, prompt, max_retries=3):
    for attempt in range(max_retries):
        try:
            return model.generate_content(prompt)
        except Exception as e:
            if "429" in str(e) and attempt < max_retries - 1:
                wait_time = 2 ** attempt
                print(f"速率限制。等待 {wait_time} 秒...")
                time.sleep(wait_time)
            else:
                raise
提示词最佳实践
有效的提示词结构
[主体] + [风格] + [环境] + [光照] + [细节]
示例:
"A majestic lion, photorealistic style, standing on a rocky cliff at sunset,
golden hour lighting, detailed fur texture, 4K resolution"
提示词技巧
- 具体化:用"golden retriever puppy"代替"dog"
- 风格关键词:"photorealistic"、"oil painting"、"anime style"
- 光照:"golden hour"、"studio lighting"、"neon glow"
- 构图:"close-up portrait"、"wide-angle shot"、"aerial view"
- 质量修饰词:"highly detailed"、"8K"、"professional photography"
避免的事项
- ❌ 模糊的描述:"一张漂亮的图片"
- ❌ 过度复杂:超过 200 个词的提示词
- ❌ 矛盾的风格:"photorealistic anime"
高级功能
多轮对话(图像编辑)
# 生成初始图像
chat = model.start_chat()
response1 = chat.send_message(
    "A red sports car in a desert",
    generation_config=genai.GenerationConfig(response_modalities=["image"])
)

# 编辑图像
response2 = chat.send_message(
    "Add mountains in the background",
    generation_config=genai.GenerationConfig(response_modalities=["image"])
)
主体一致性
response = model.generate_content(
    "A cartoon character: a blue robot with a friendly smile. "
    "Show this character in three poses: waving, sitting, jumping",
    generation_config=genai.GenerationConfig(
        response_modalities=["image"],
        thinking_level="high"  # 提高一致性
    )
)
自定义宽高比
response = model.generate_content(
    "A panoramic landscape, 8:1 aspect ratio, mountain range at dawn",
    generation_config=genai.GenerationConfig(
        response_modalities=["image"]
    )
)
支持的宽高比:1:1、16:9、9:16、4:3、3:4、4:1、1:4、8:1、1:8
性能优化
批量生成
import asyncio

async def generate_batch(prompts):
    tasks = [
        model.generate_content_async(
            prompt,
            generation_config=genai.GenerationConfig(response_modalities=["image"])
        )
        for prompt in prompts
    ]
    return await asyncio.gather(*tasks)

prompts = [
    "A sunset over the ocean",
    "A forest in autumn",
    "A snowy mountain peak"
]

results = asyncio.run(generate_batch(prompts))
缓存提示词(节省成本)
对于重复的基础提示词:
# 缓存系统提示词
cached_model = genai.GenerativeModel(
    "gemini-3.1-flash-image-preview",
    system_instruction="Generate images in a consistent art style: watercolor paintings with soft edges"
)

# 重复使用缓存的上下文
response1 = cached_model.generate_content("A cat")
response2 = cached_model.generate_content("A dog")  # 重用缓存的风格指令
生产环境检查清单
在部署到生产环境之前:
- 实现错误处理和重试逻辑
- 设置速率限制监控
- 记录所有 API 调用以进行调试
- 使用环境变量存储 API 密钥
- 实现图像存储解决方案(S3、Cloudinary 等)
- 添加内容审核(如果面向用户)
- 设置成本警报
- 测试故障转移场景
常见问题
问:我应该使用 Nano Banana 2 还是 Pro?
答:默认使用 NB2。更快,成本降低约 50%。仅在需要最高保真度或精确文本渲染(94% 准确率)时使用 Pro。参见 NB2 vs Pro 对比。
问:速率限制是多少?
答:Google 的 RPM 限制因计费层级而异,且未完全公开。对 429 错误实现指数退避。
问:我可以用 NB2 编辑图像吗?
答:可以。多轮对话 — 生成图像,然后在后续消息中描述编辑内容。
问:支持哪些分辨率?
答:512px、1K、2K、4K。宽高比:1:1、16:9、9:16、4:3、3:4、4:1、1:4、8:1、1:8。
问:图像有水印吗?
答:SynthID(不可见)+ C2PA Content Credentials。视觉上不可见,但可通过验证工具检测。
问:如何从 Pro 切换到 NB2?
答:将模型从
gemini-3-pro-image-preview 改为 gemini-3.1-flash-image-preview。API 接口相同,无需其他代码更改。开始生成
三个步骤:
- 获取付费 API 密钥(Google AI Studio 或 evolink.ai/signup)
- 复制上面的代码
- 运行它


