Overview
OpenClaw Manager is a visual management tool that helps you quickly install, configure, and manage OpenClaw instances. No manual config editing required — just 3 steps to deploy. Two messaging channels are supported:System Environment Check
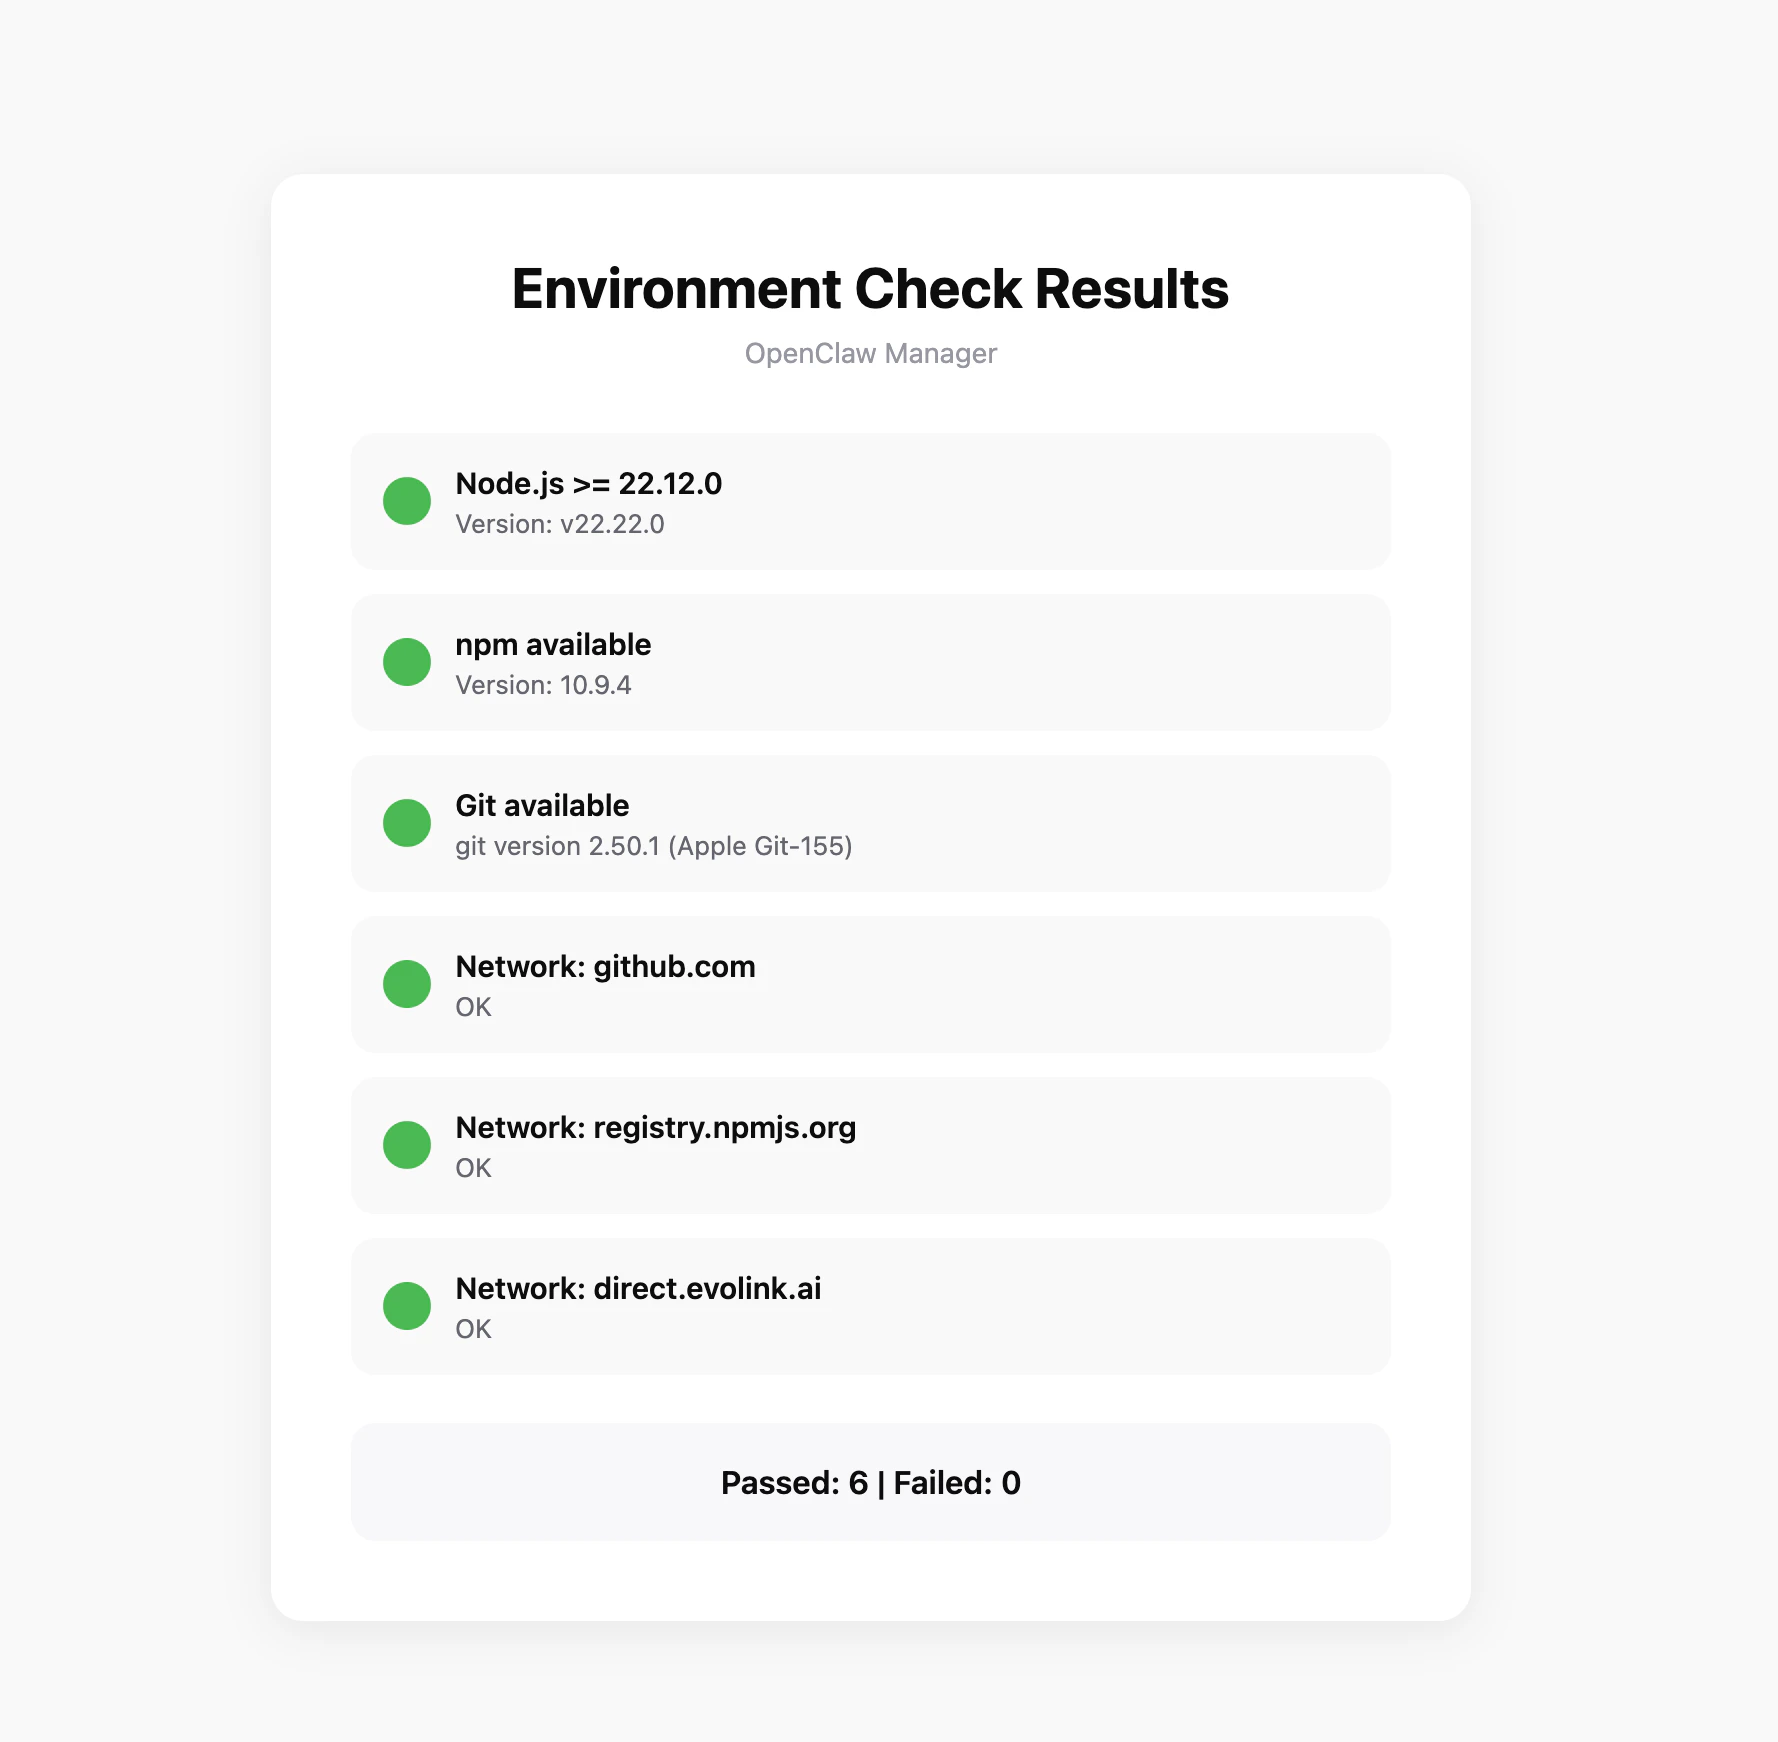
Before installation, it’s recommended to run the environment checker tool to ensure your system meets OpenClaw’s requirements.Download Checker Tool
Download the checker tool for your platform from GitHub Releases:Check Items
The tool automatically checks the following:- Node.js version (requires >= 22.12.0)
- npm available
- Git available
- Network connectivity (github.com, npmjs.org, evolink.ai)
Prerequisites
1. Install Node.js
OpenClaw Manager requires Node.js 22 or higher.- Windows
- macOS
Visit Node.js official website, download the Windows installer (.msi file), and run the installation program.After installation, open PowerShell to verify:
It’s recommended to run PowerShell as administrator to avoid permission issues during installation.
2. Install Git
OpenClaw depends on Git for version management and plugin installation.- Windows
- macOS
Visit Git official website, download the Windows installer, run the installation program, and complete the installation with default options.After installation, open PowerShell to verify:
3. Get EvoLink API Key
- Log in to EvoLink Console
- Find API Keys in the console, click “Create New Key”, then copy the generated Key
- API Key usually starts with
sk-, please keep it safe
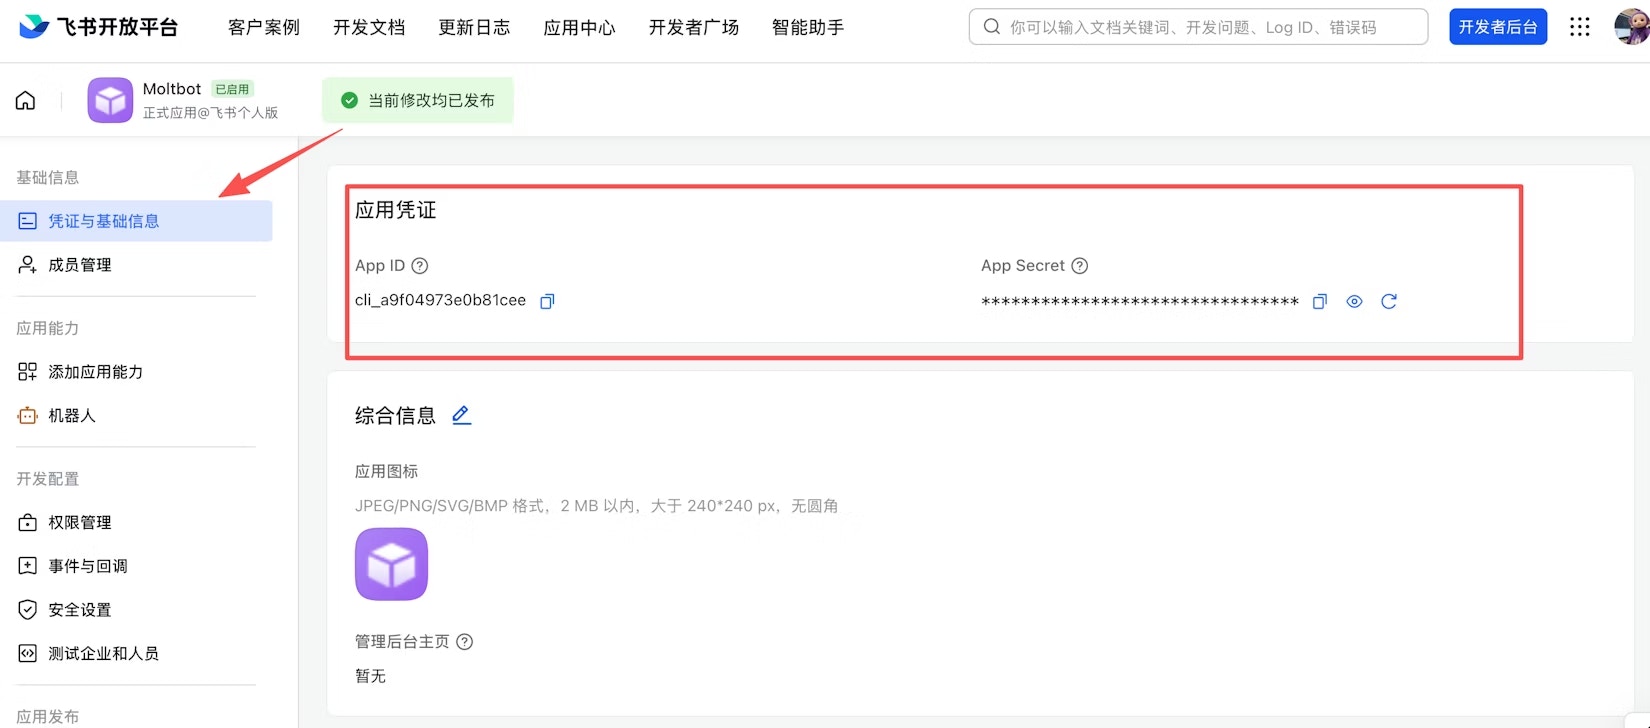
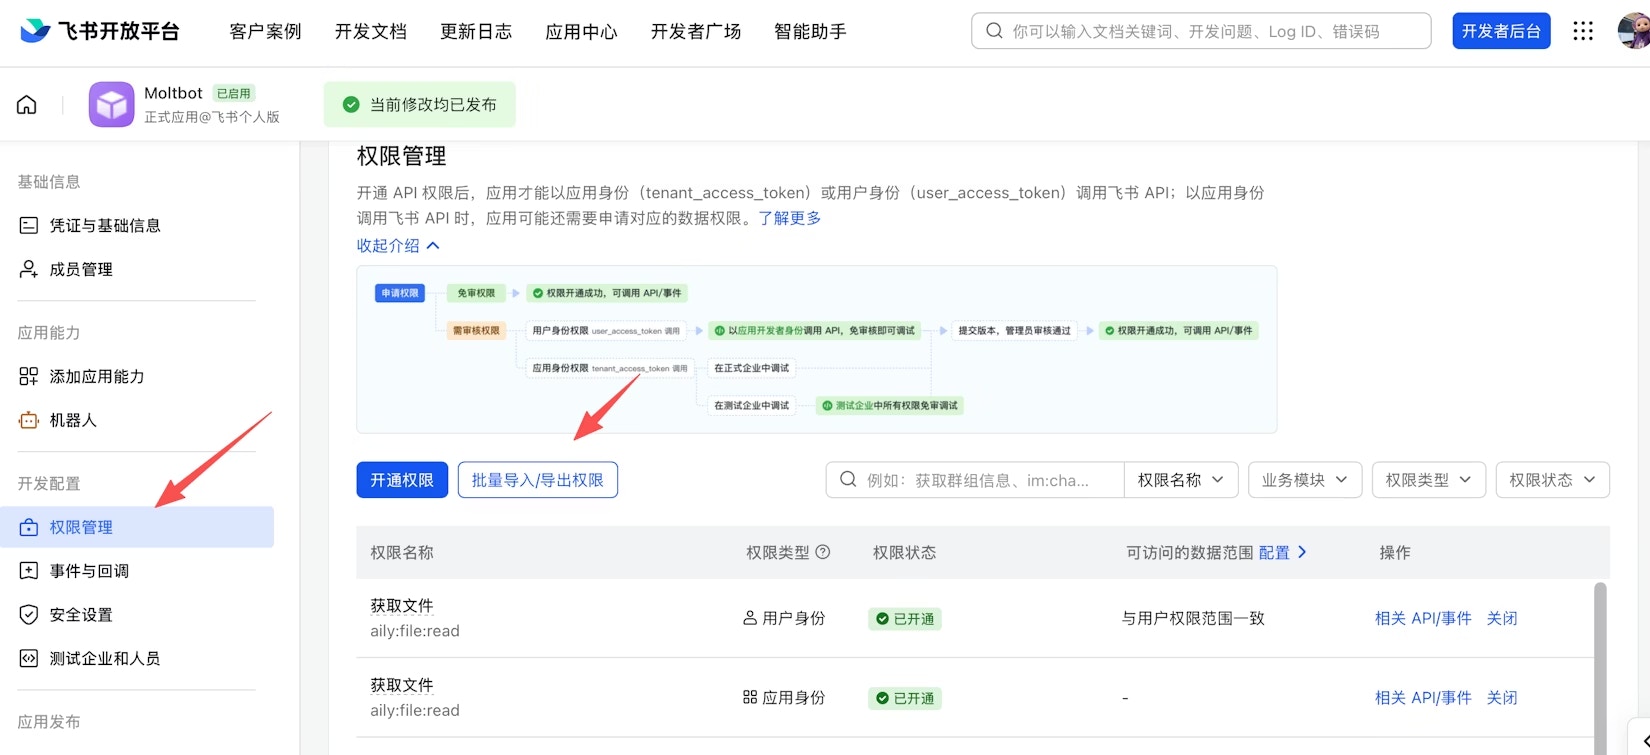
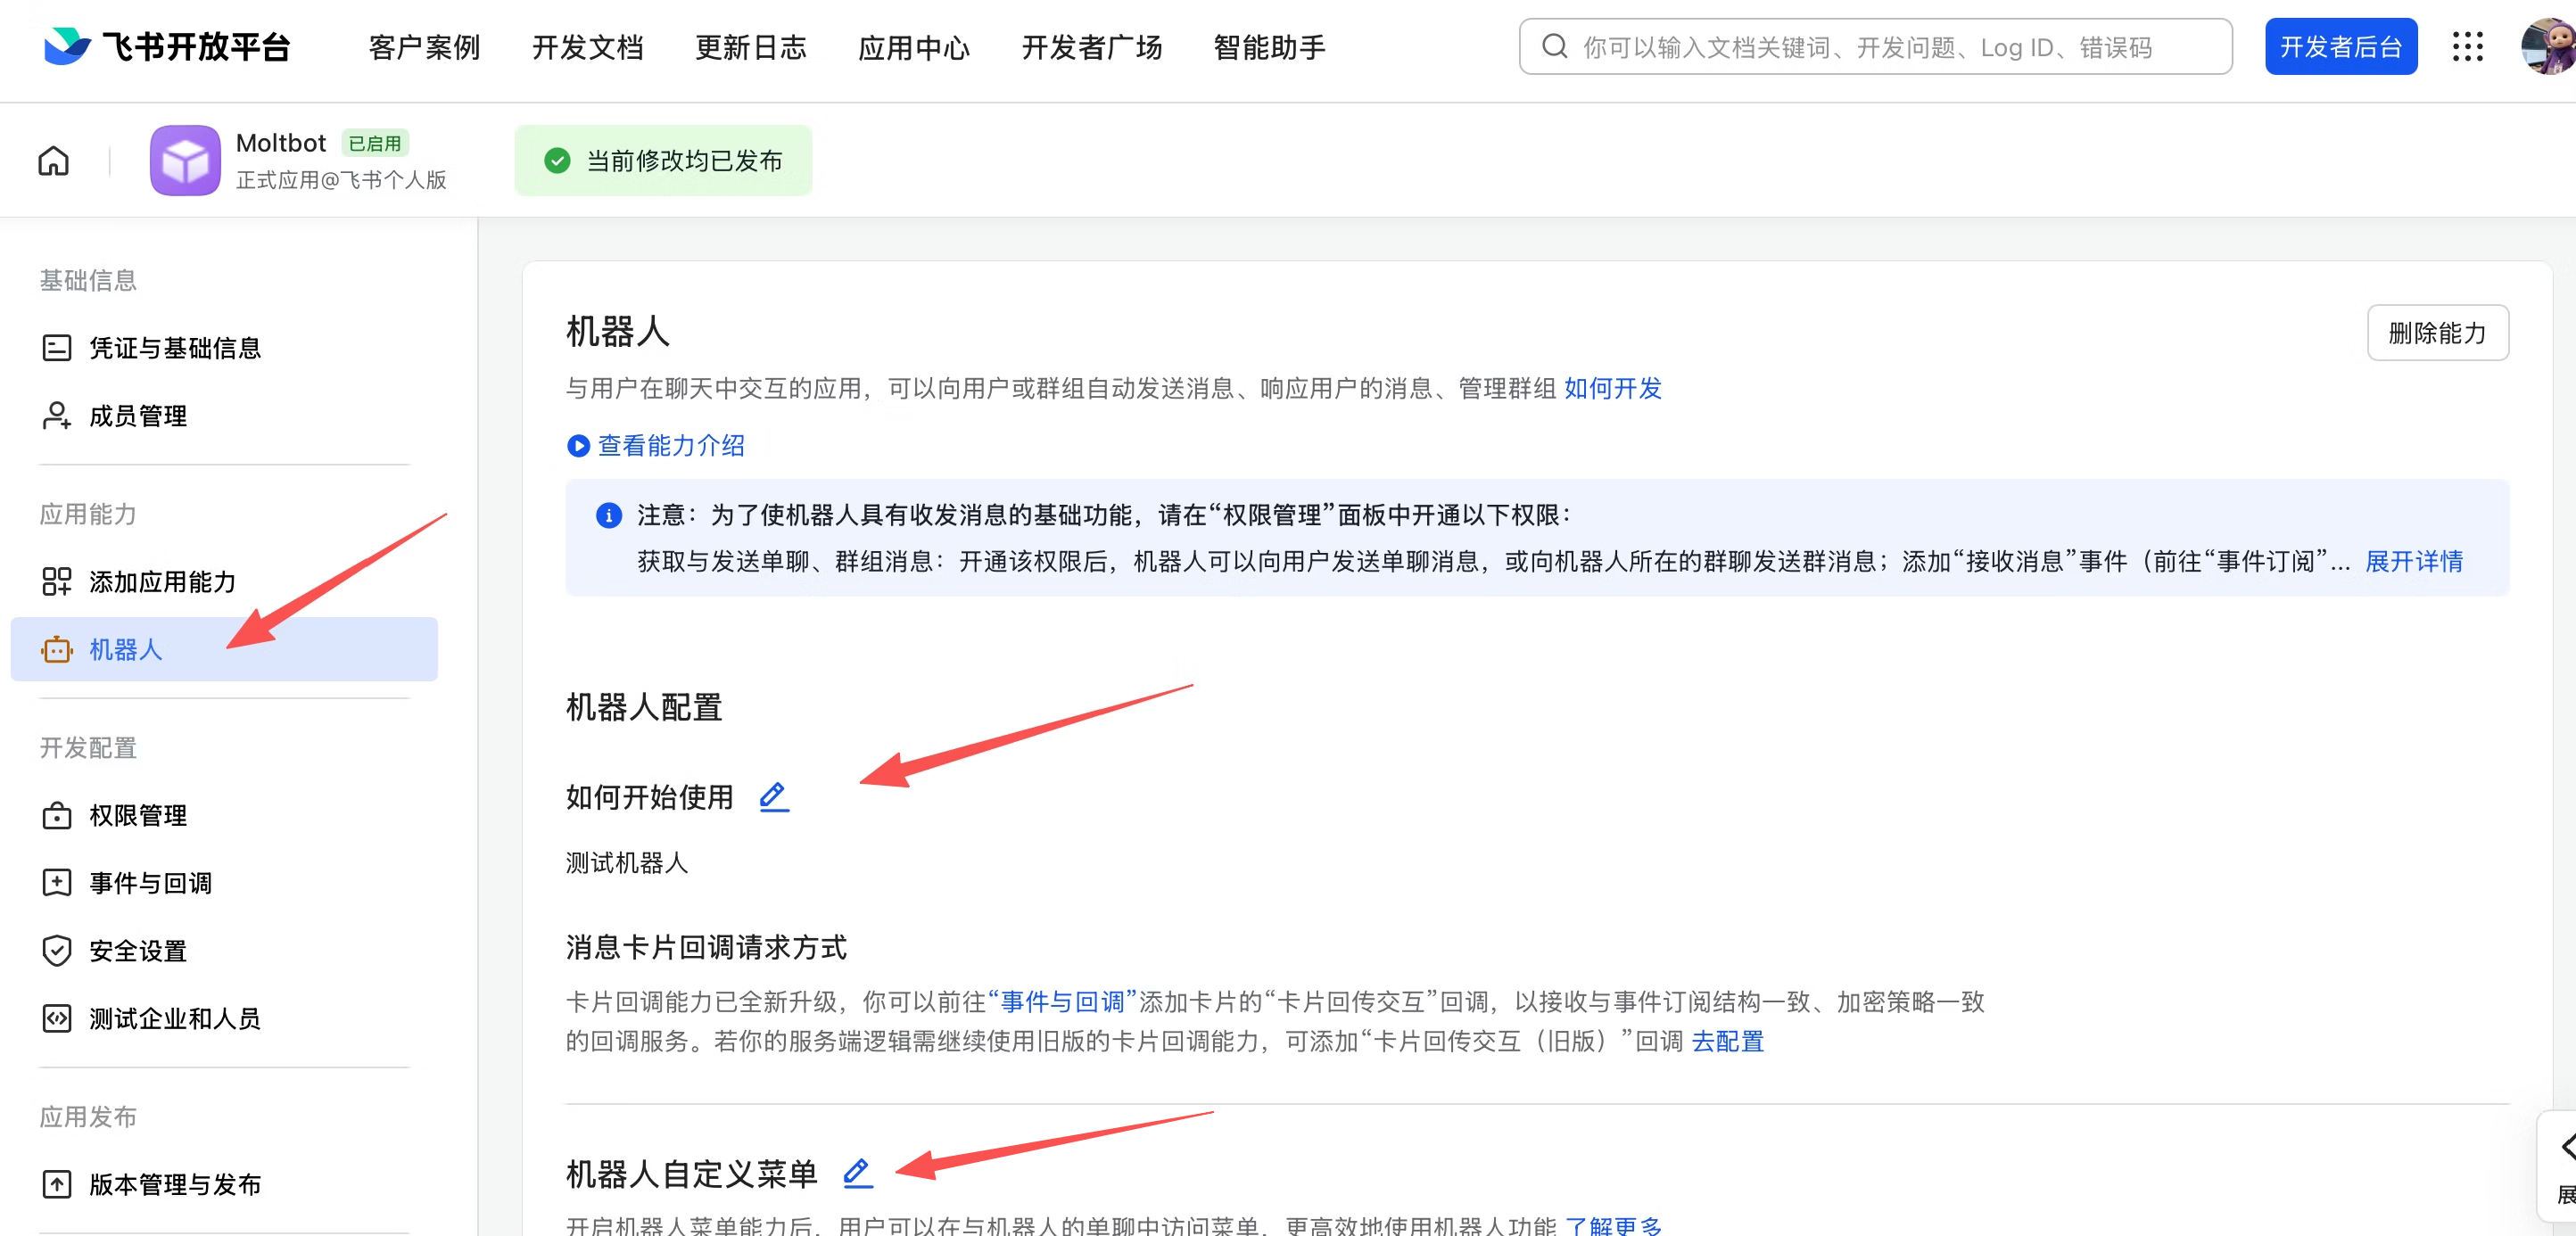
4. Channel Credentials
Telegram / Feishu credential setup guide
Telegram / Feishu credential setup guide
- Telegram
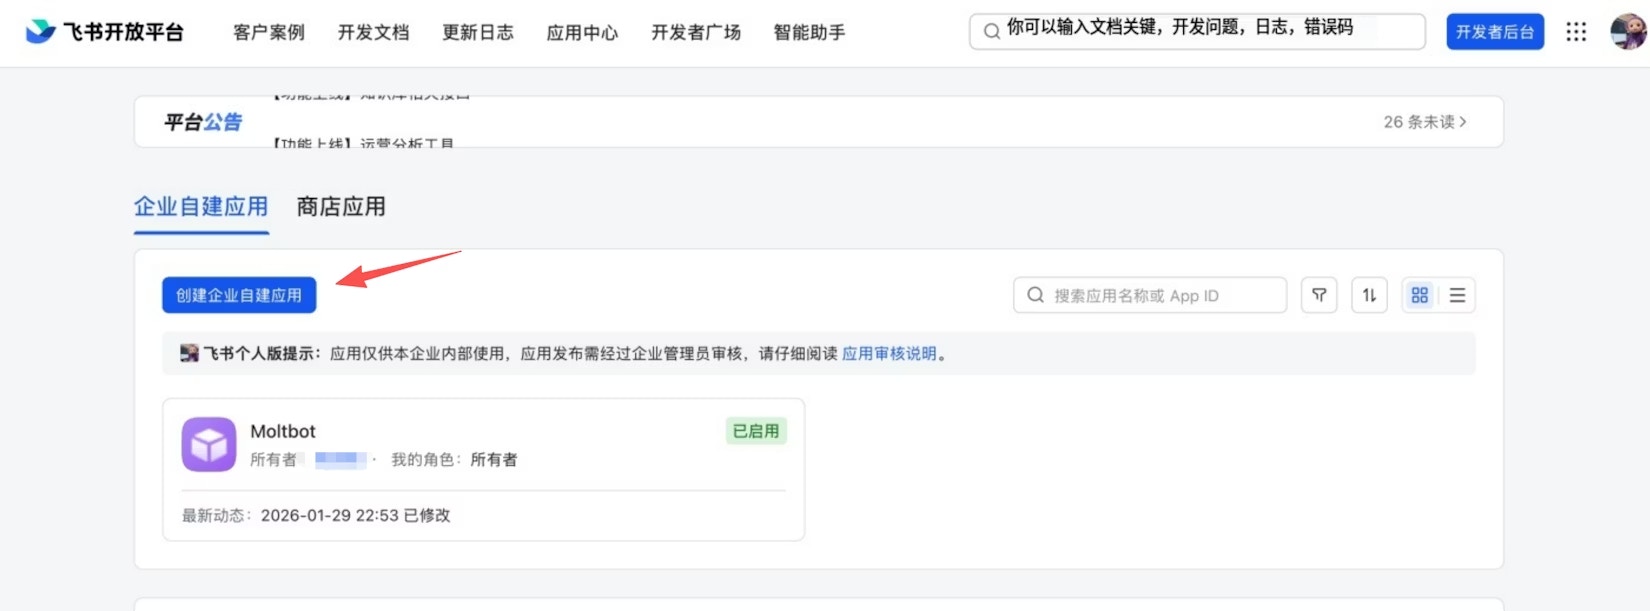
- Feishu
-
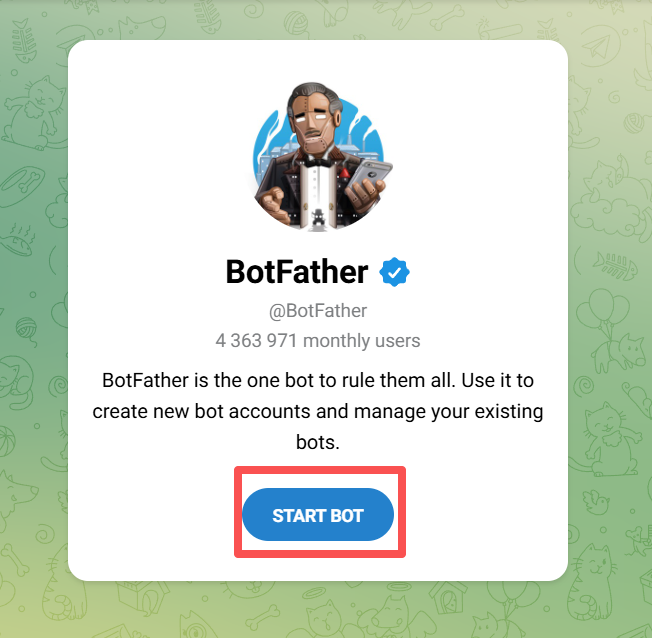
Search for @BotFather on Telegram, click START BOT
-
Send
/newbot, follow the prompts to set a name and get your Bot Token (format:123456789:ABCdef...)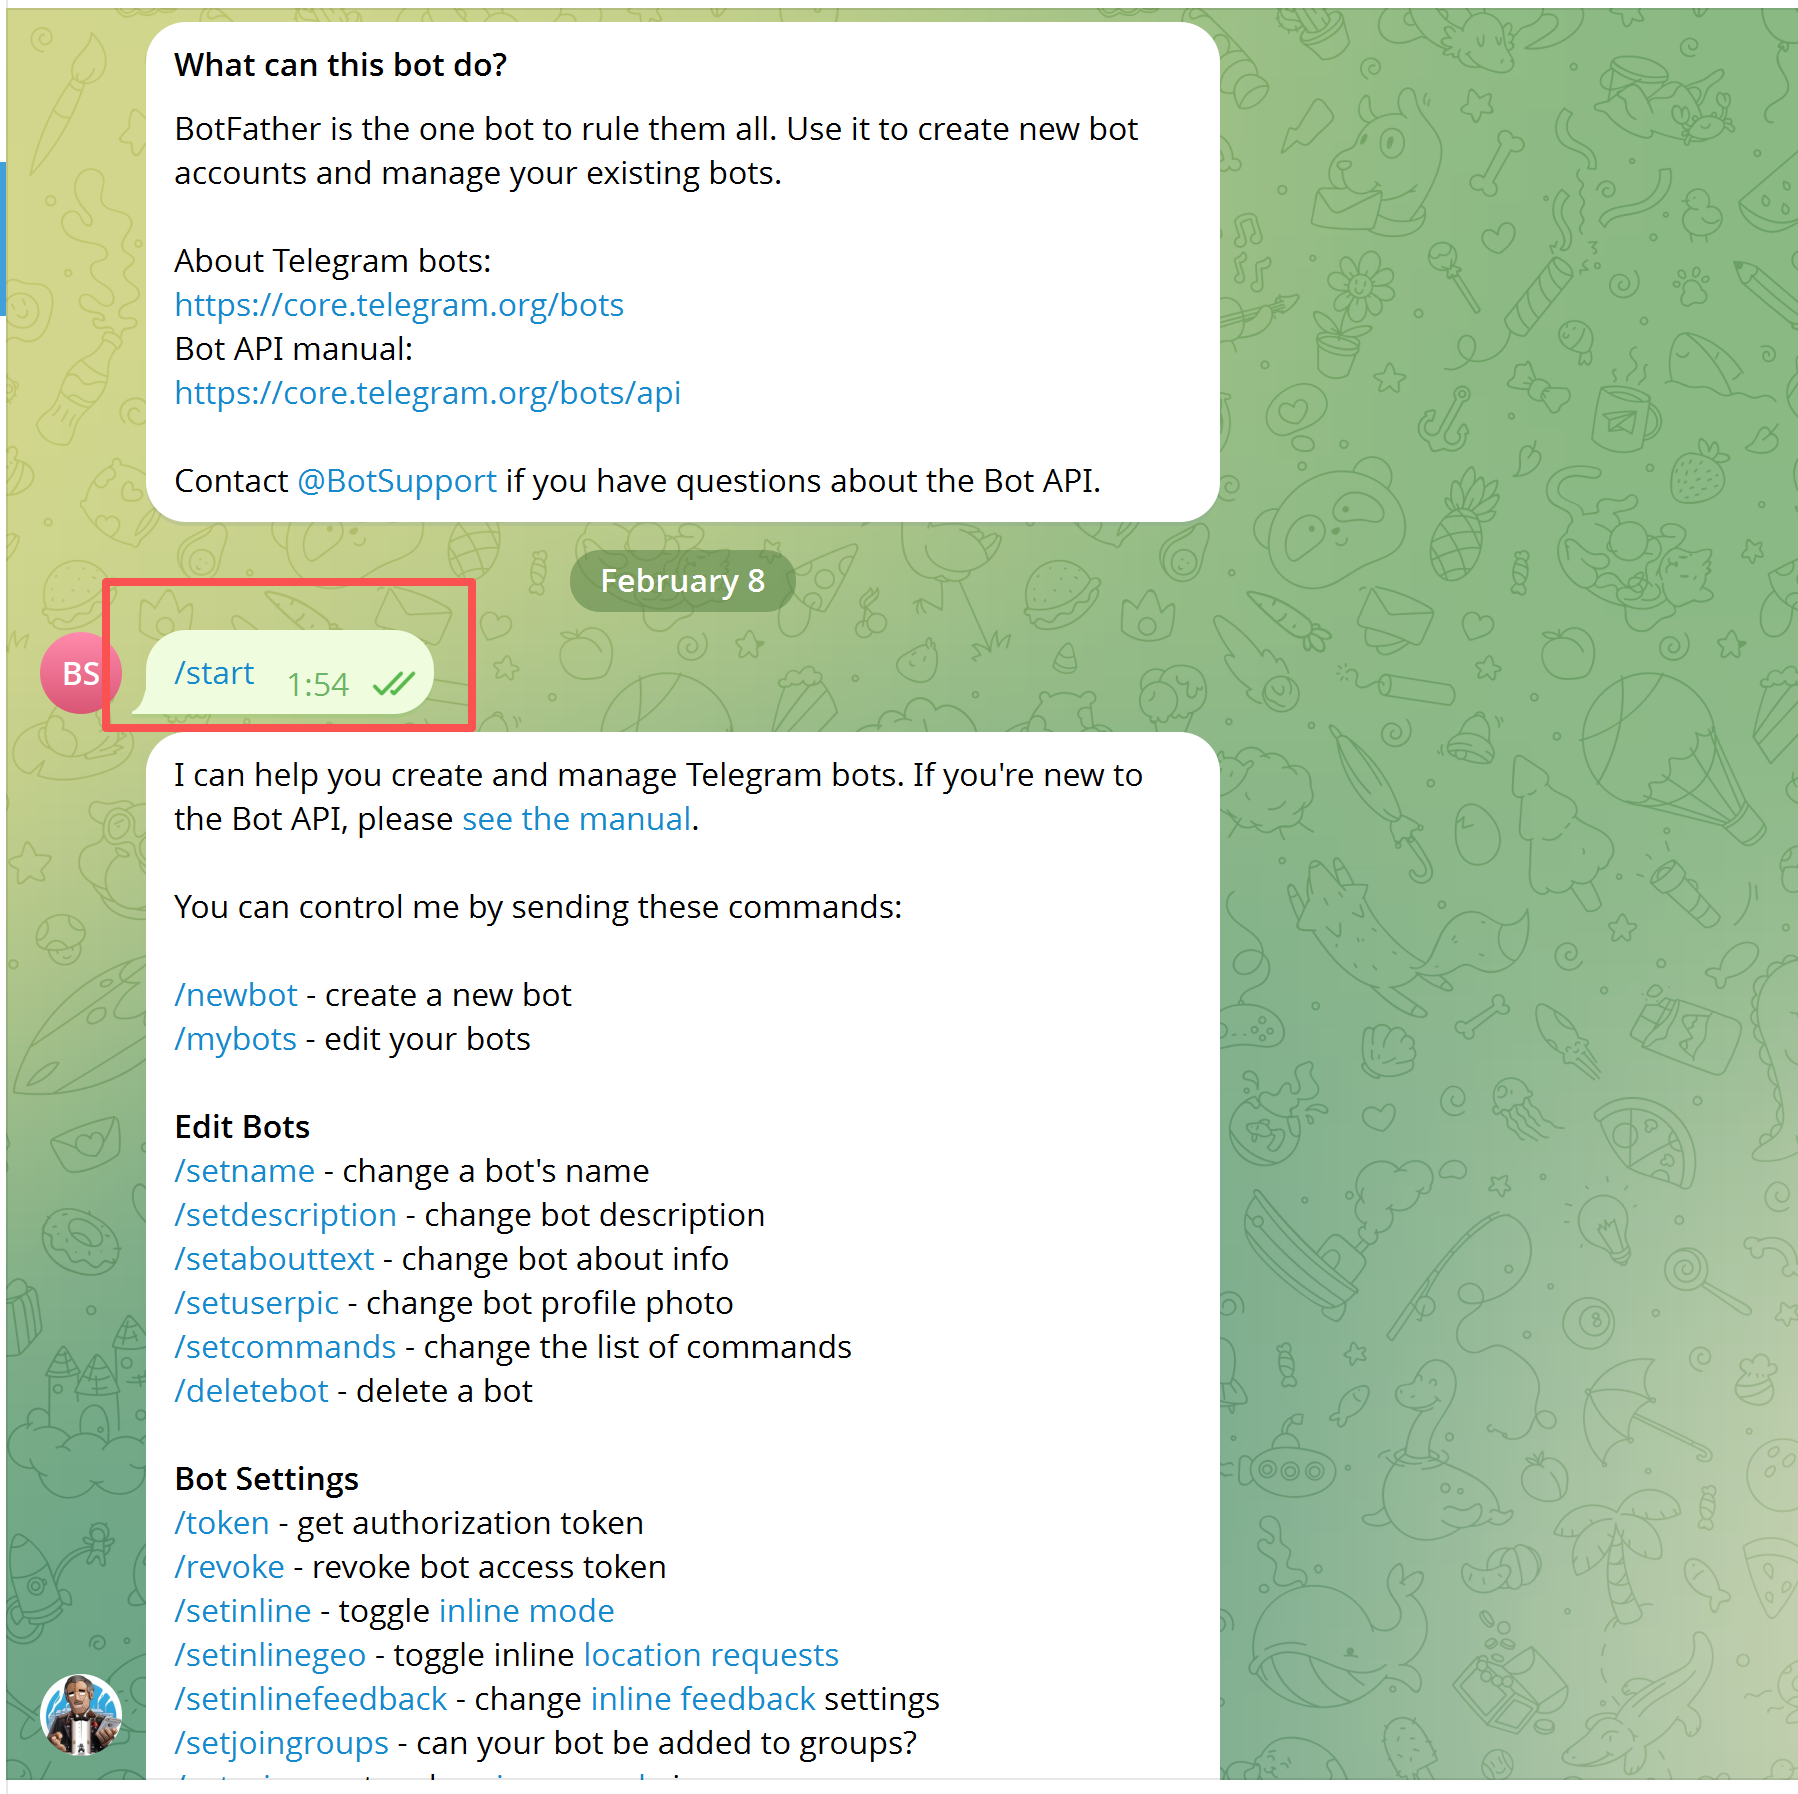
-
Get your Telegram User ID: send
/startto @userinfobot and note the numeric ID
Step 1: Download & Run
Download the executable for your platform from Releases: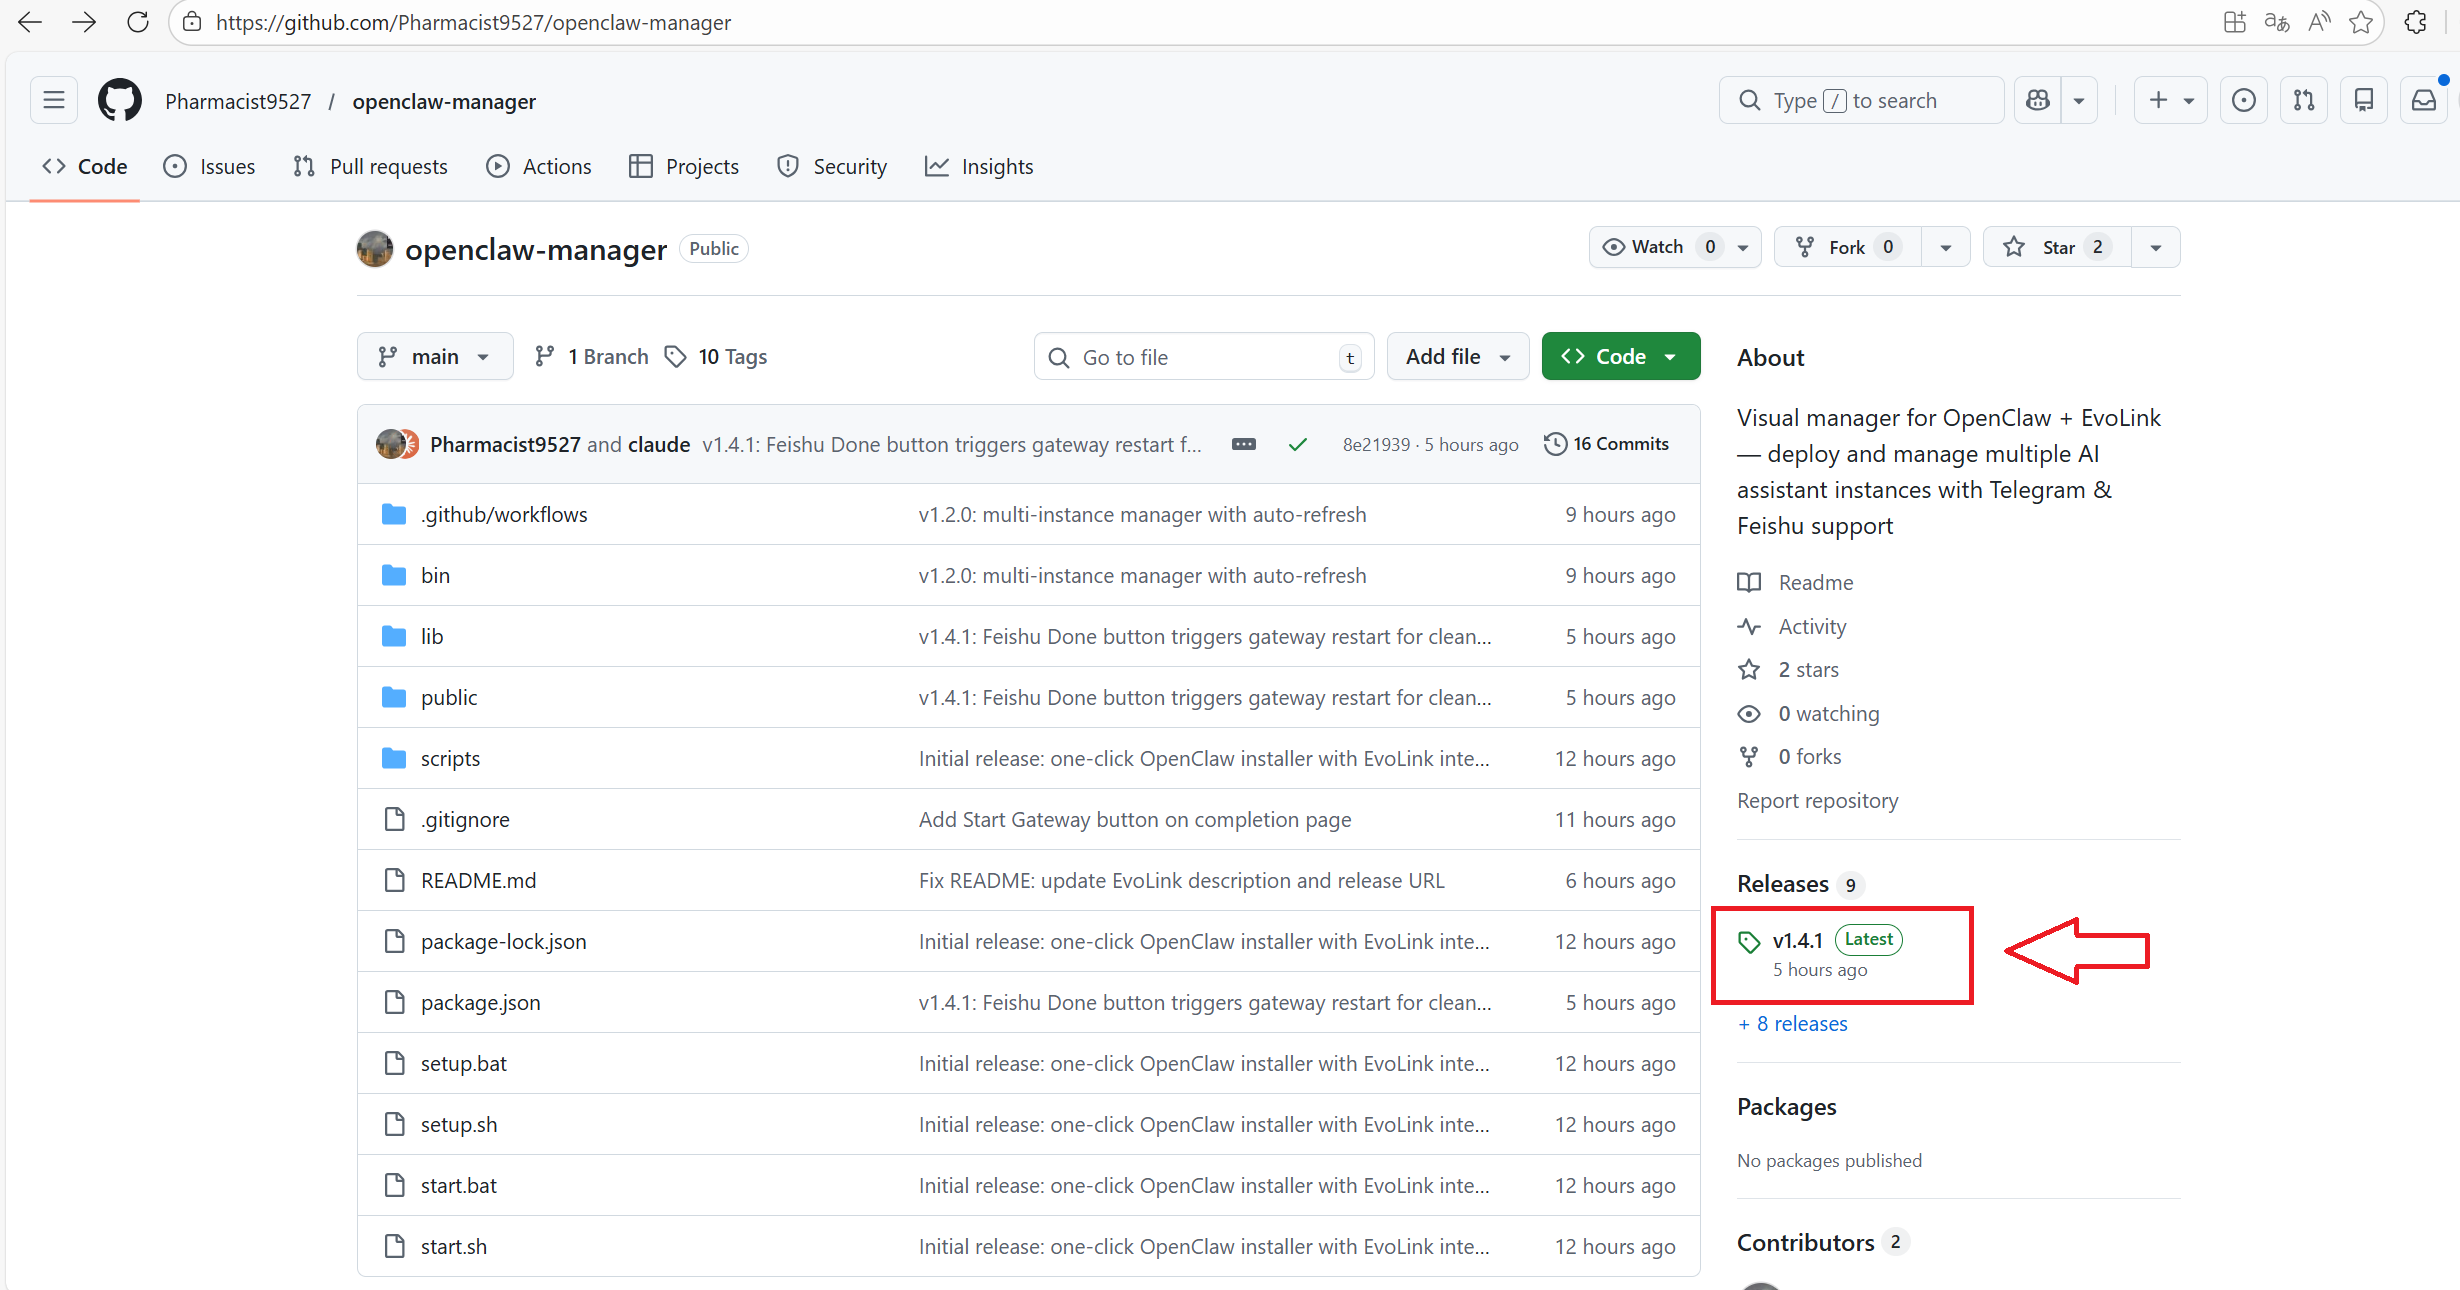
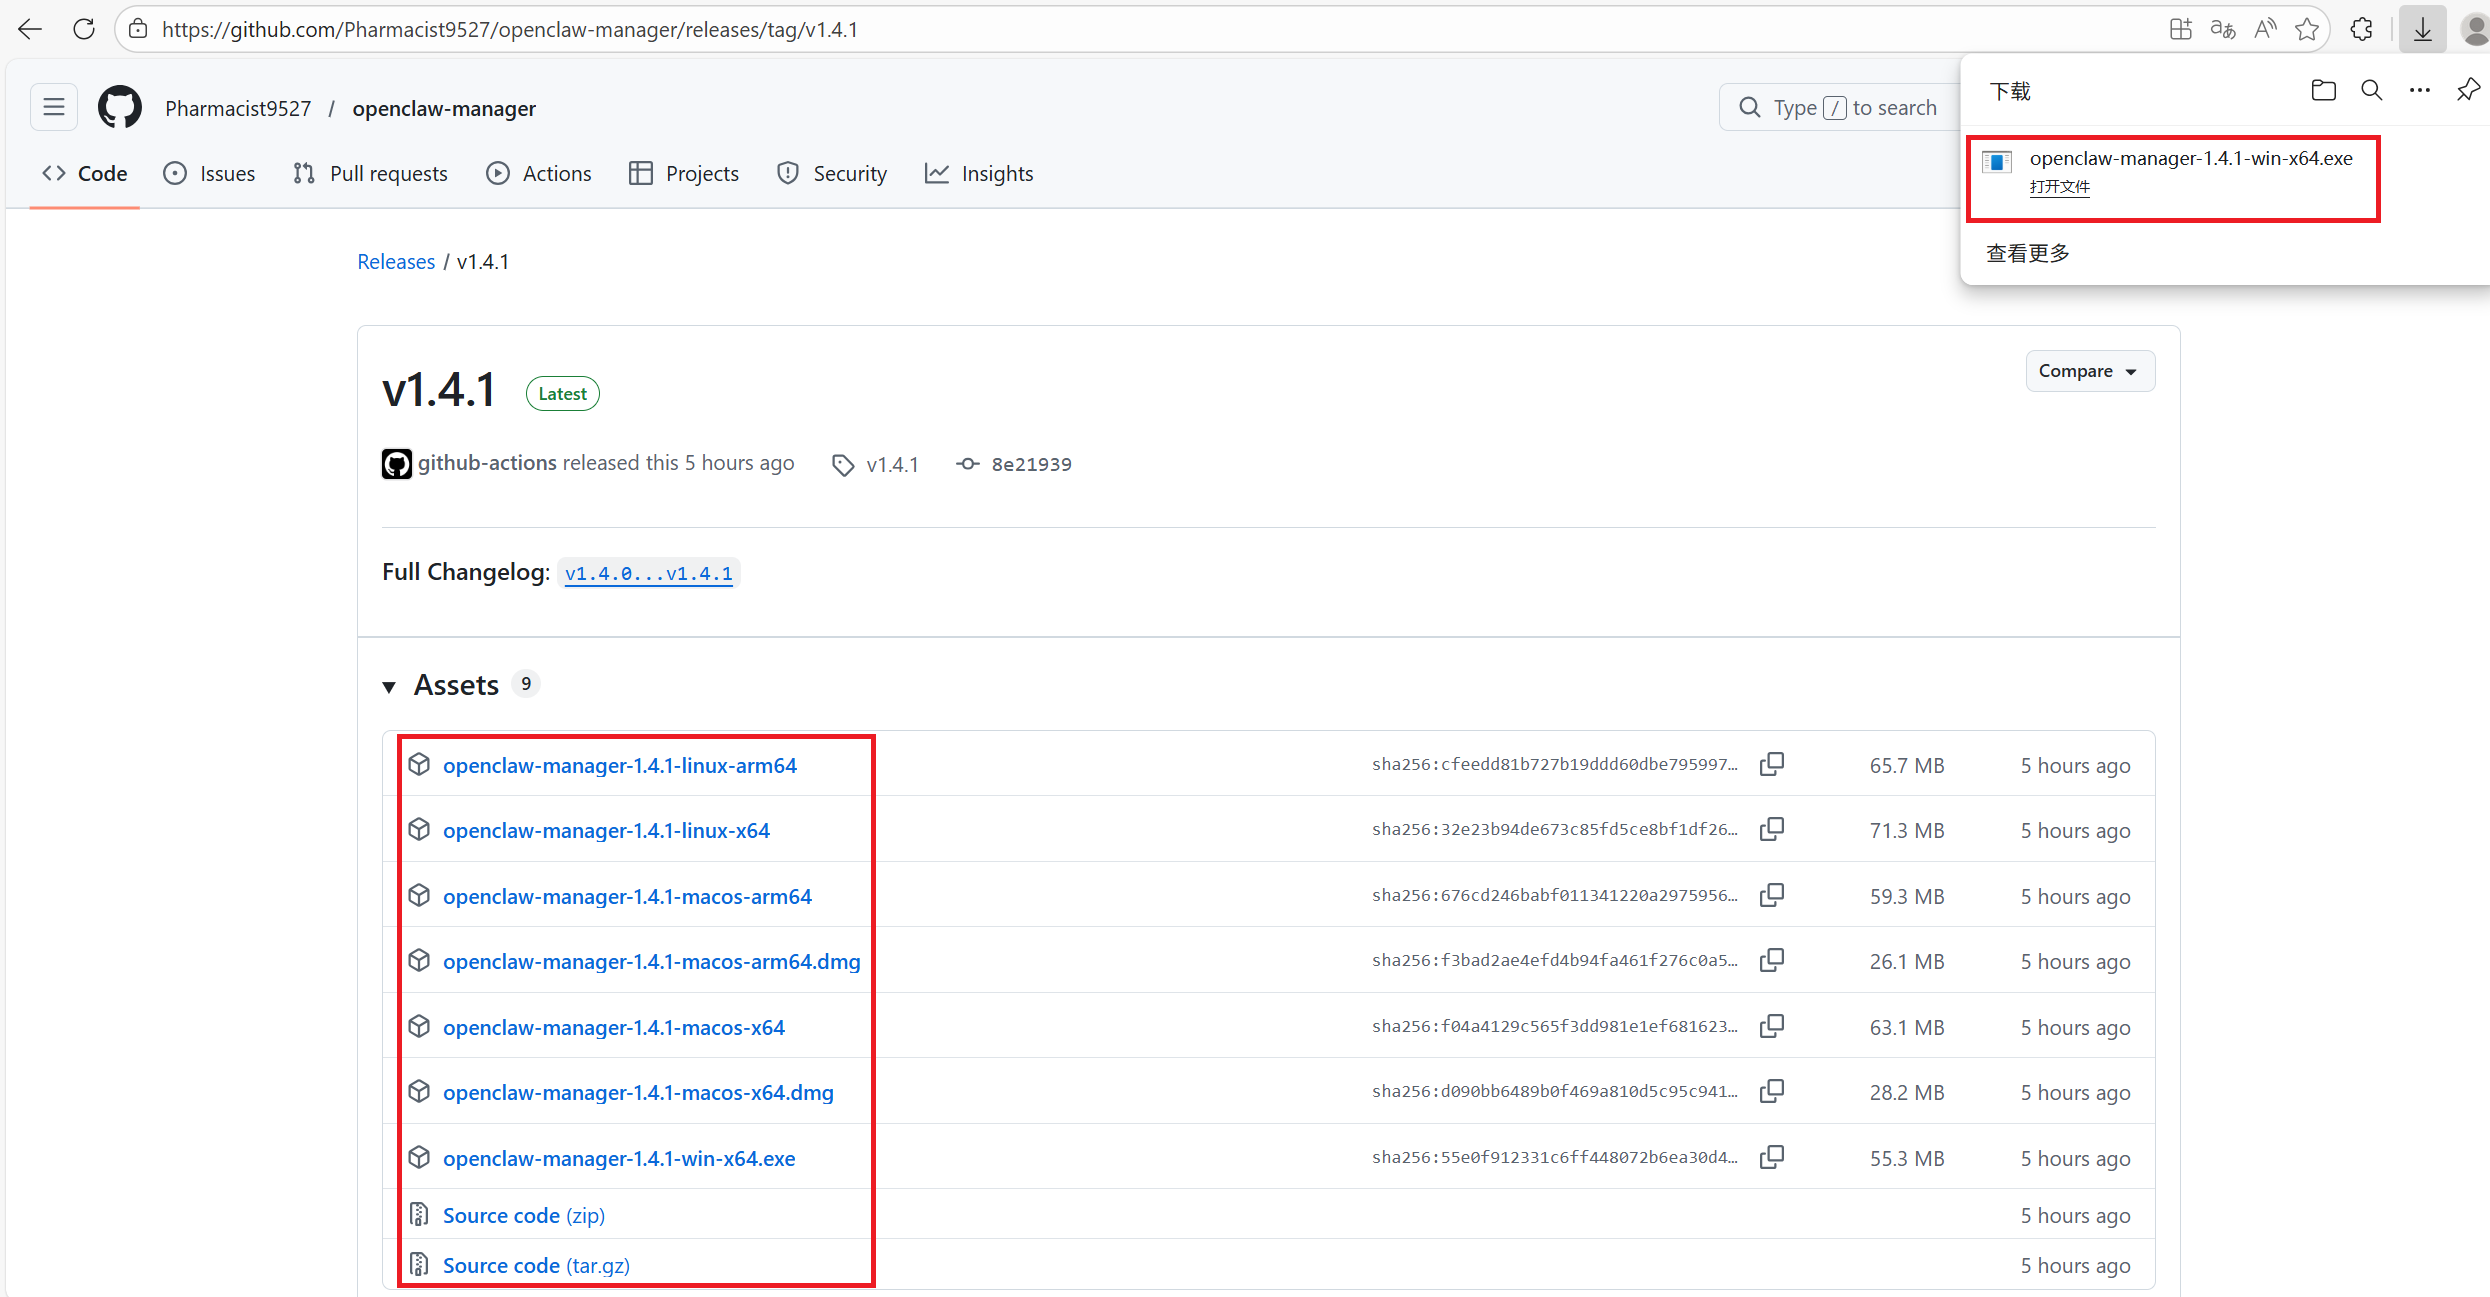
Windows users right-click and run as administrator. macOS / Linux users run with
sudo in terminal:
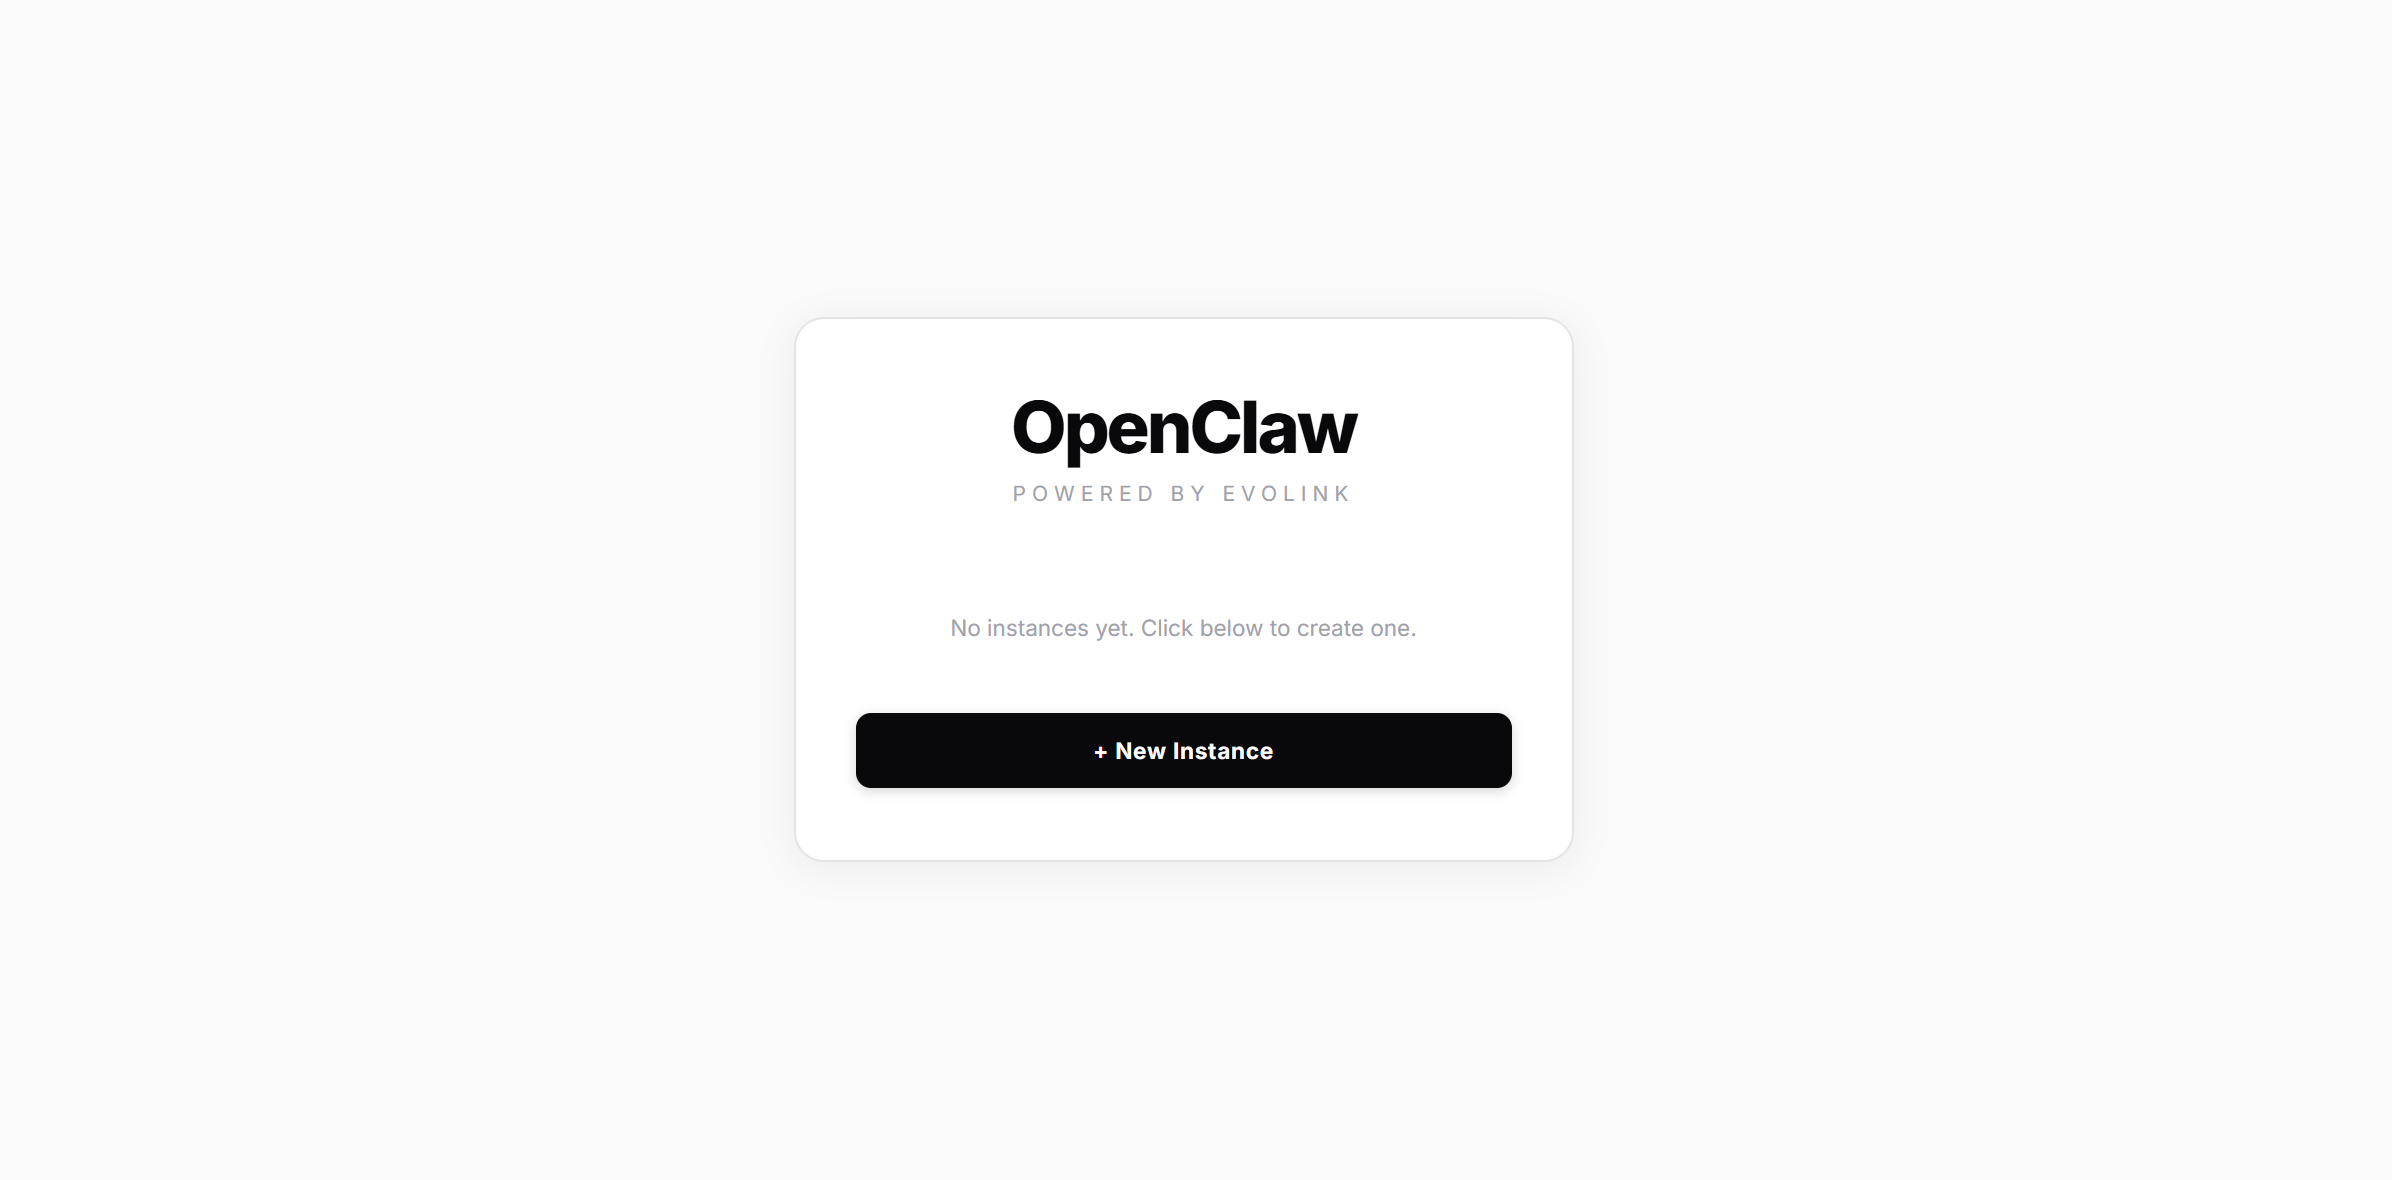
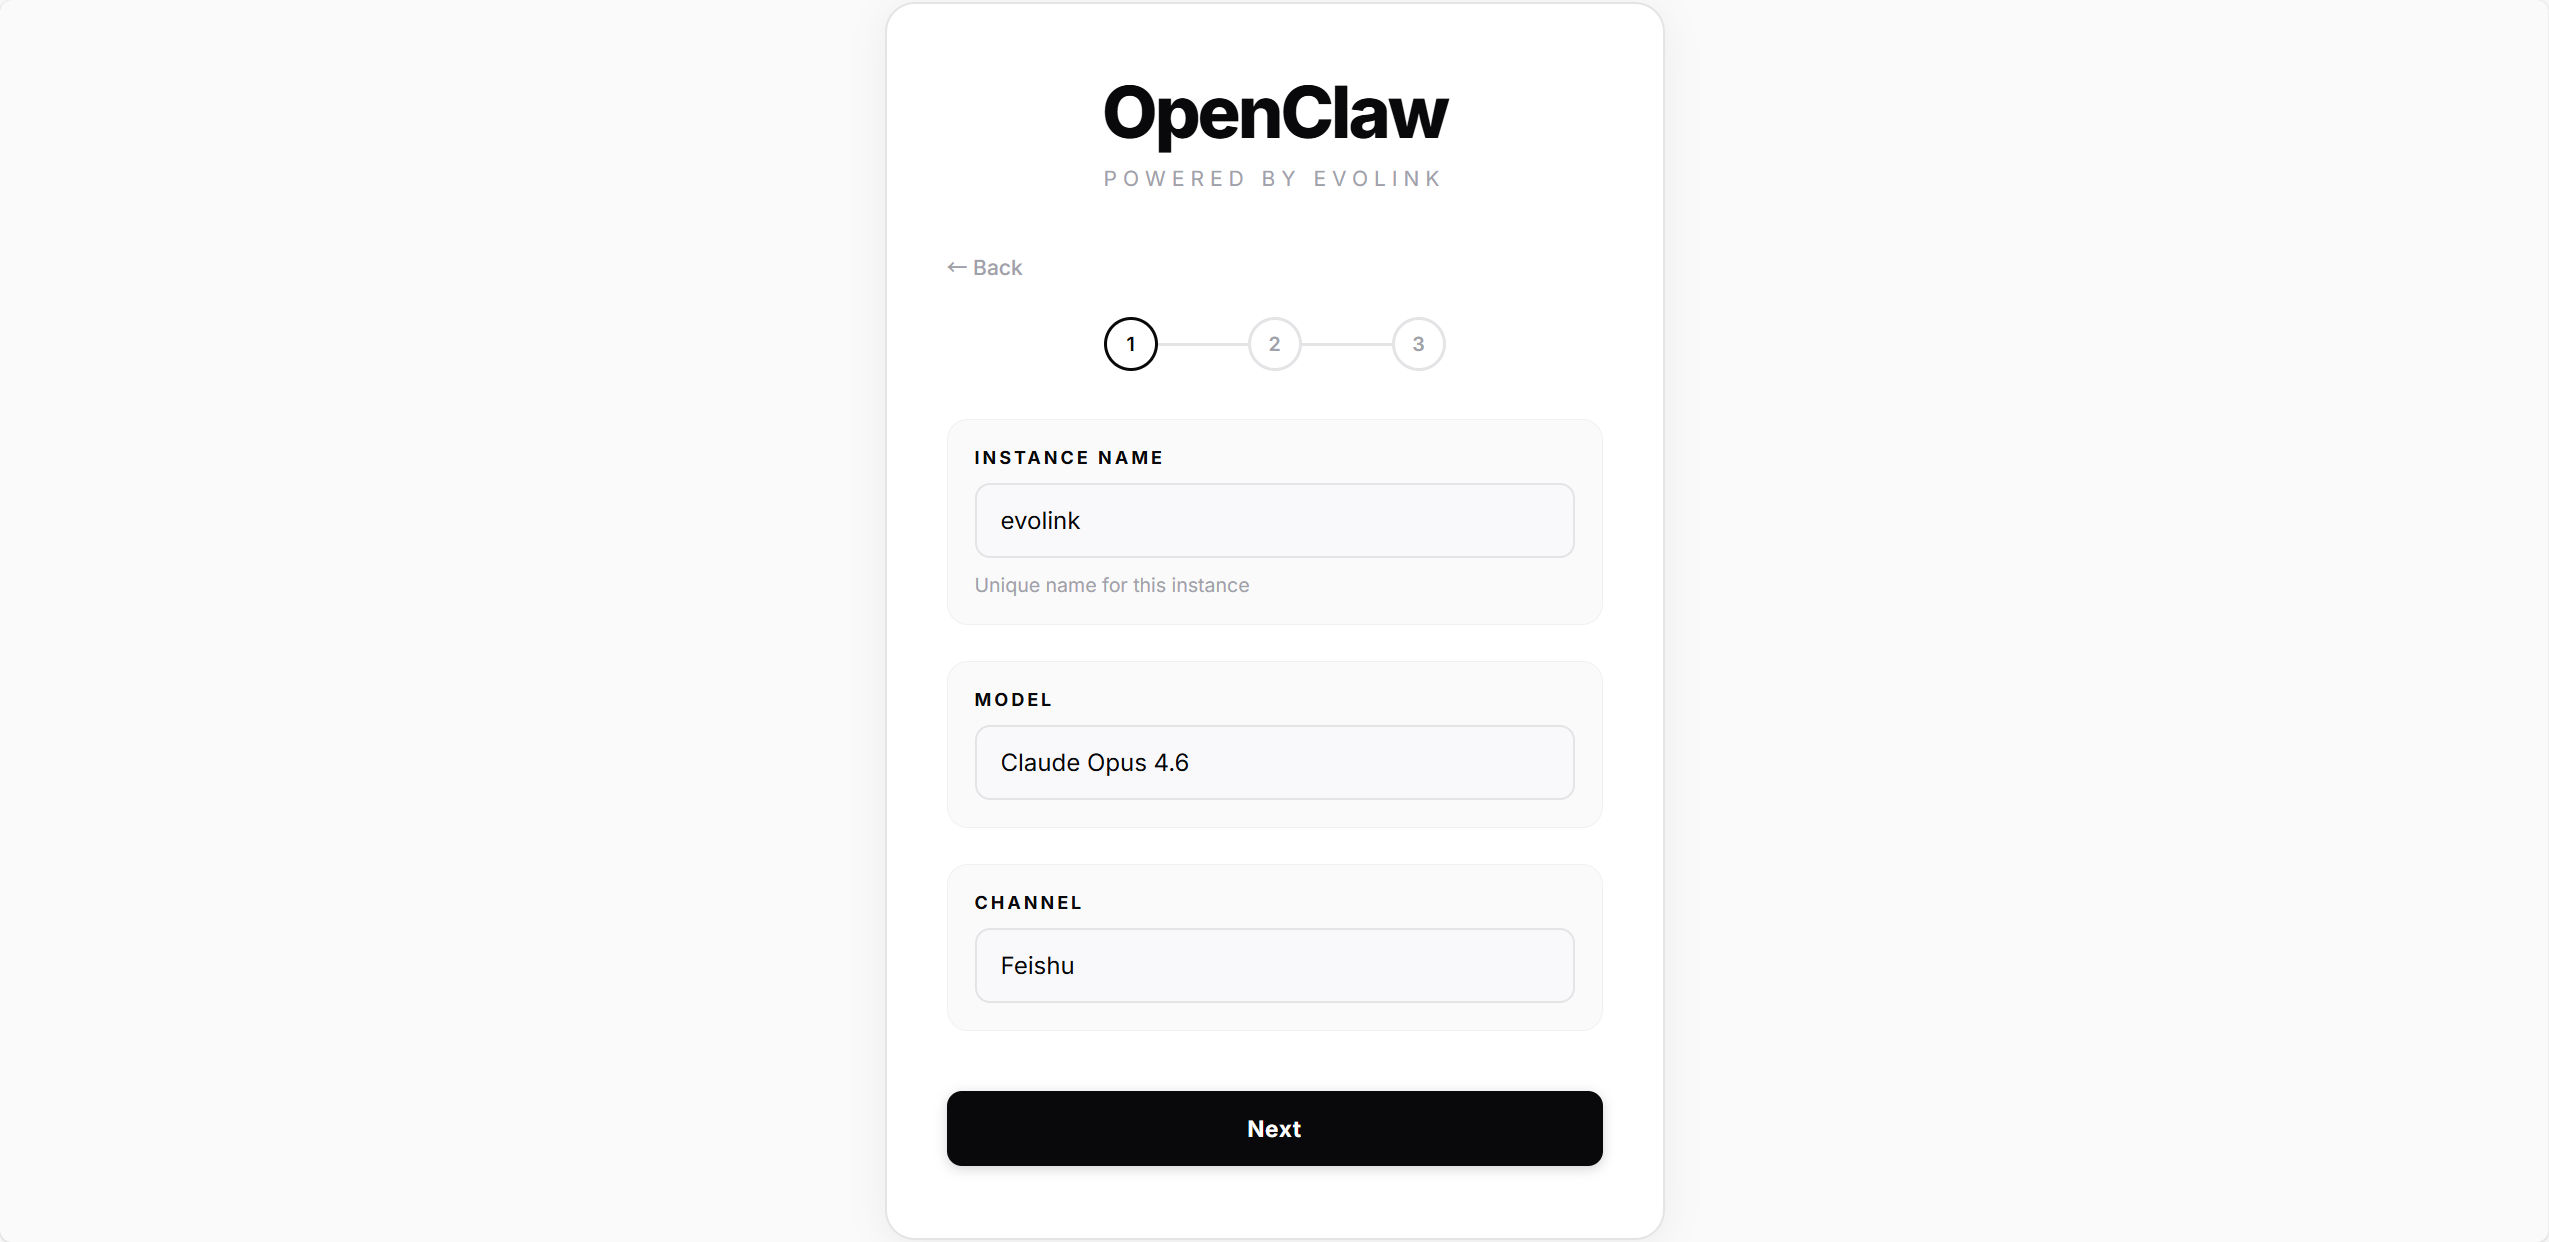
Step 2: Create an Instance
2.1 — Basic Info
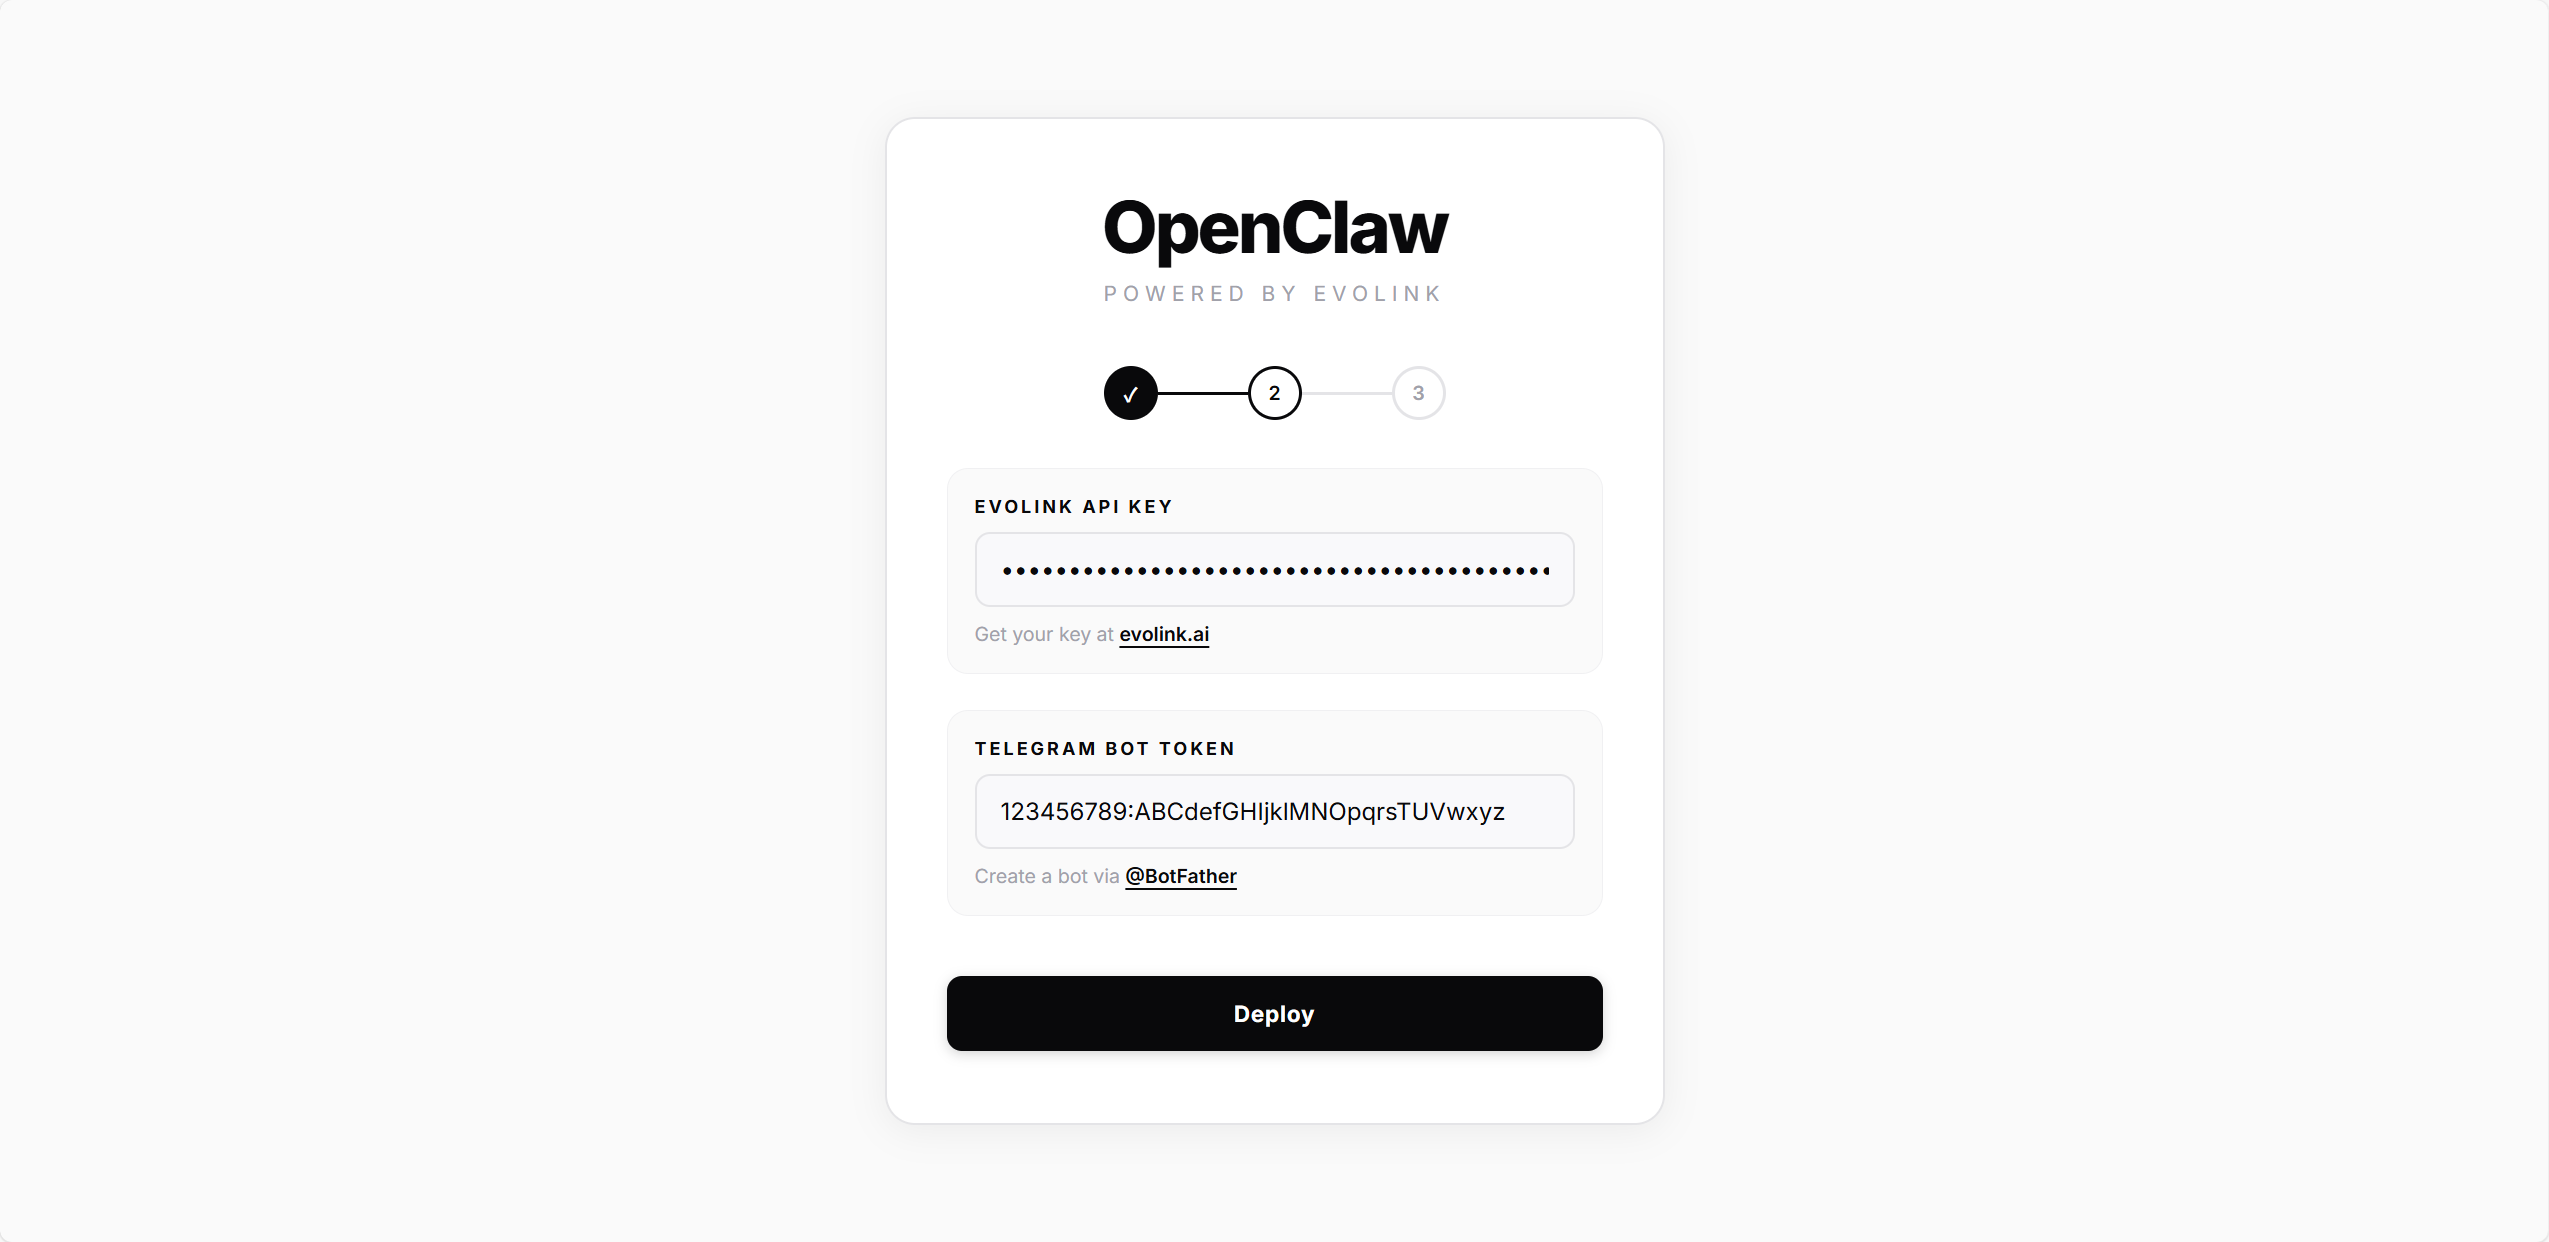
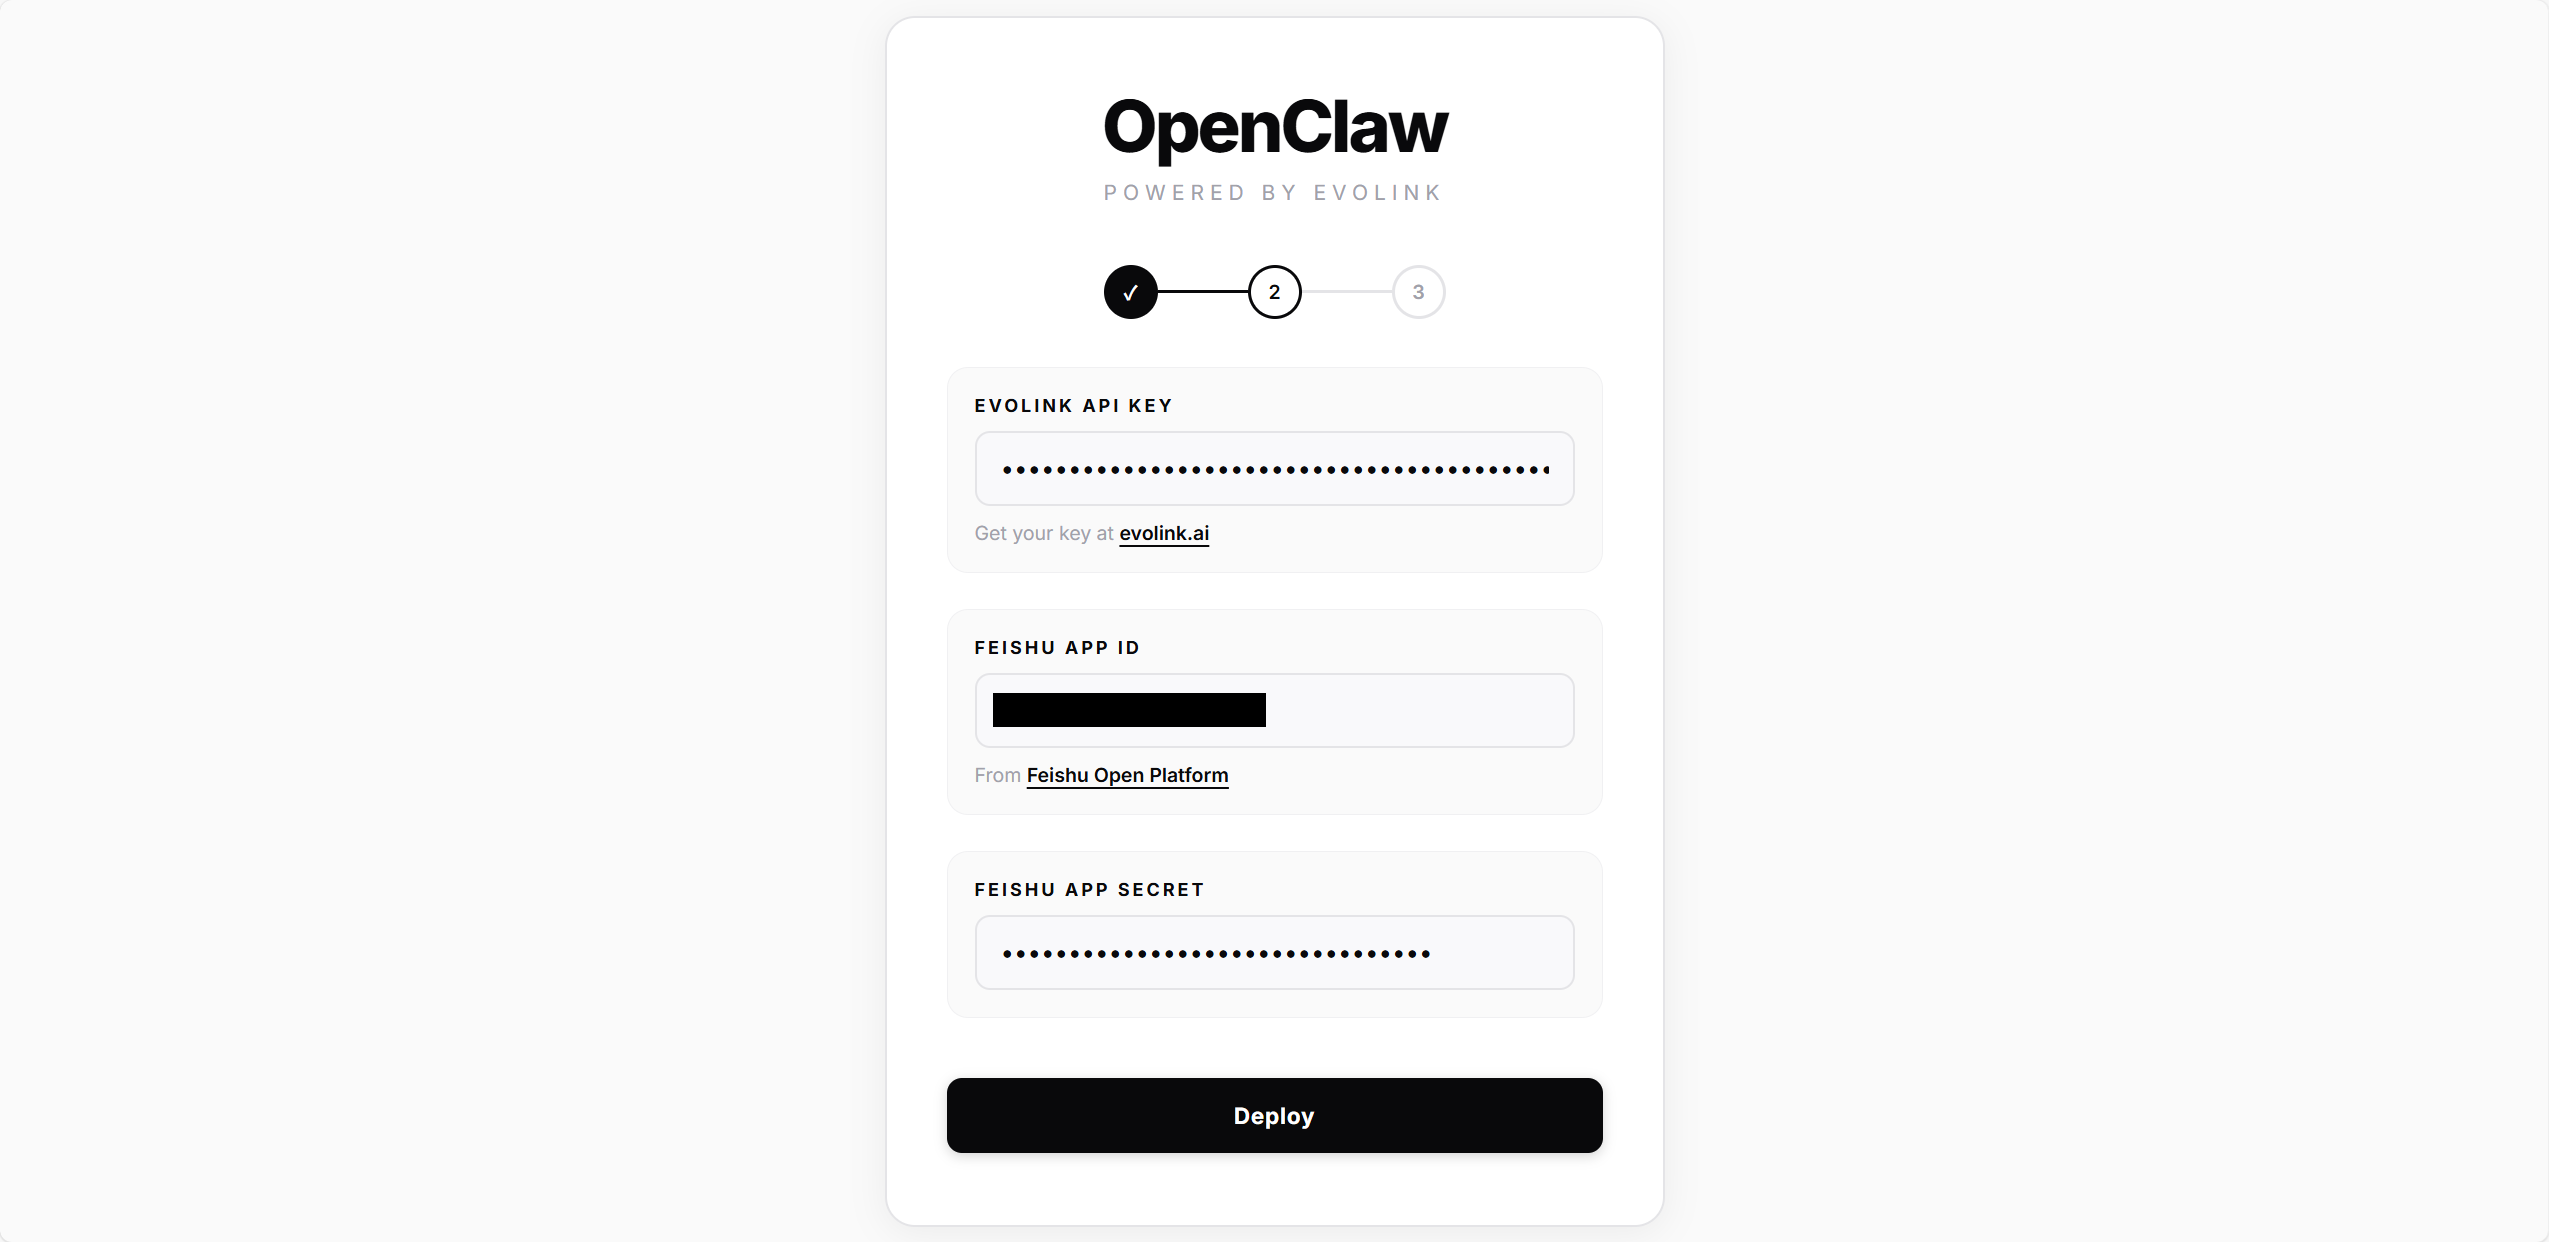
2.2 — Credentials & Deploy
All channels require an EvoLink API Key.- Telegram
- Feishu
Enter the Bot Token from @BotFather, then click Deploy.The script will automatically:
- Create the OpenClaw config file
- Write model and API Key settings
- Configure and enable the Telegram plugin
-
Install and start the gateway service
2.3 — Connect
- Telegram
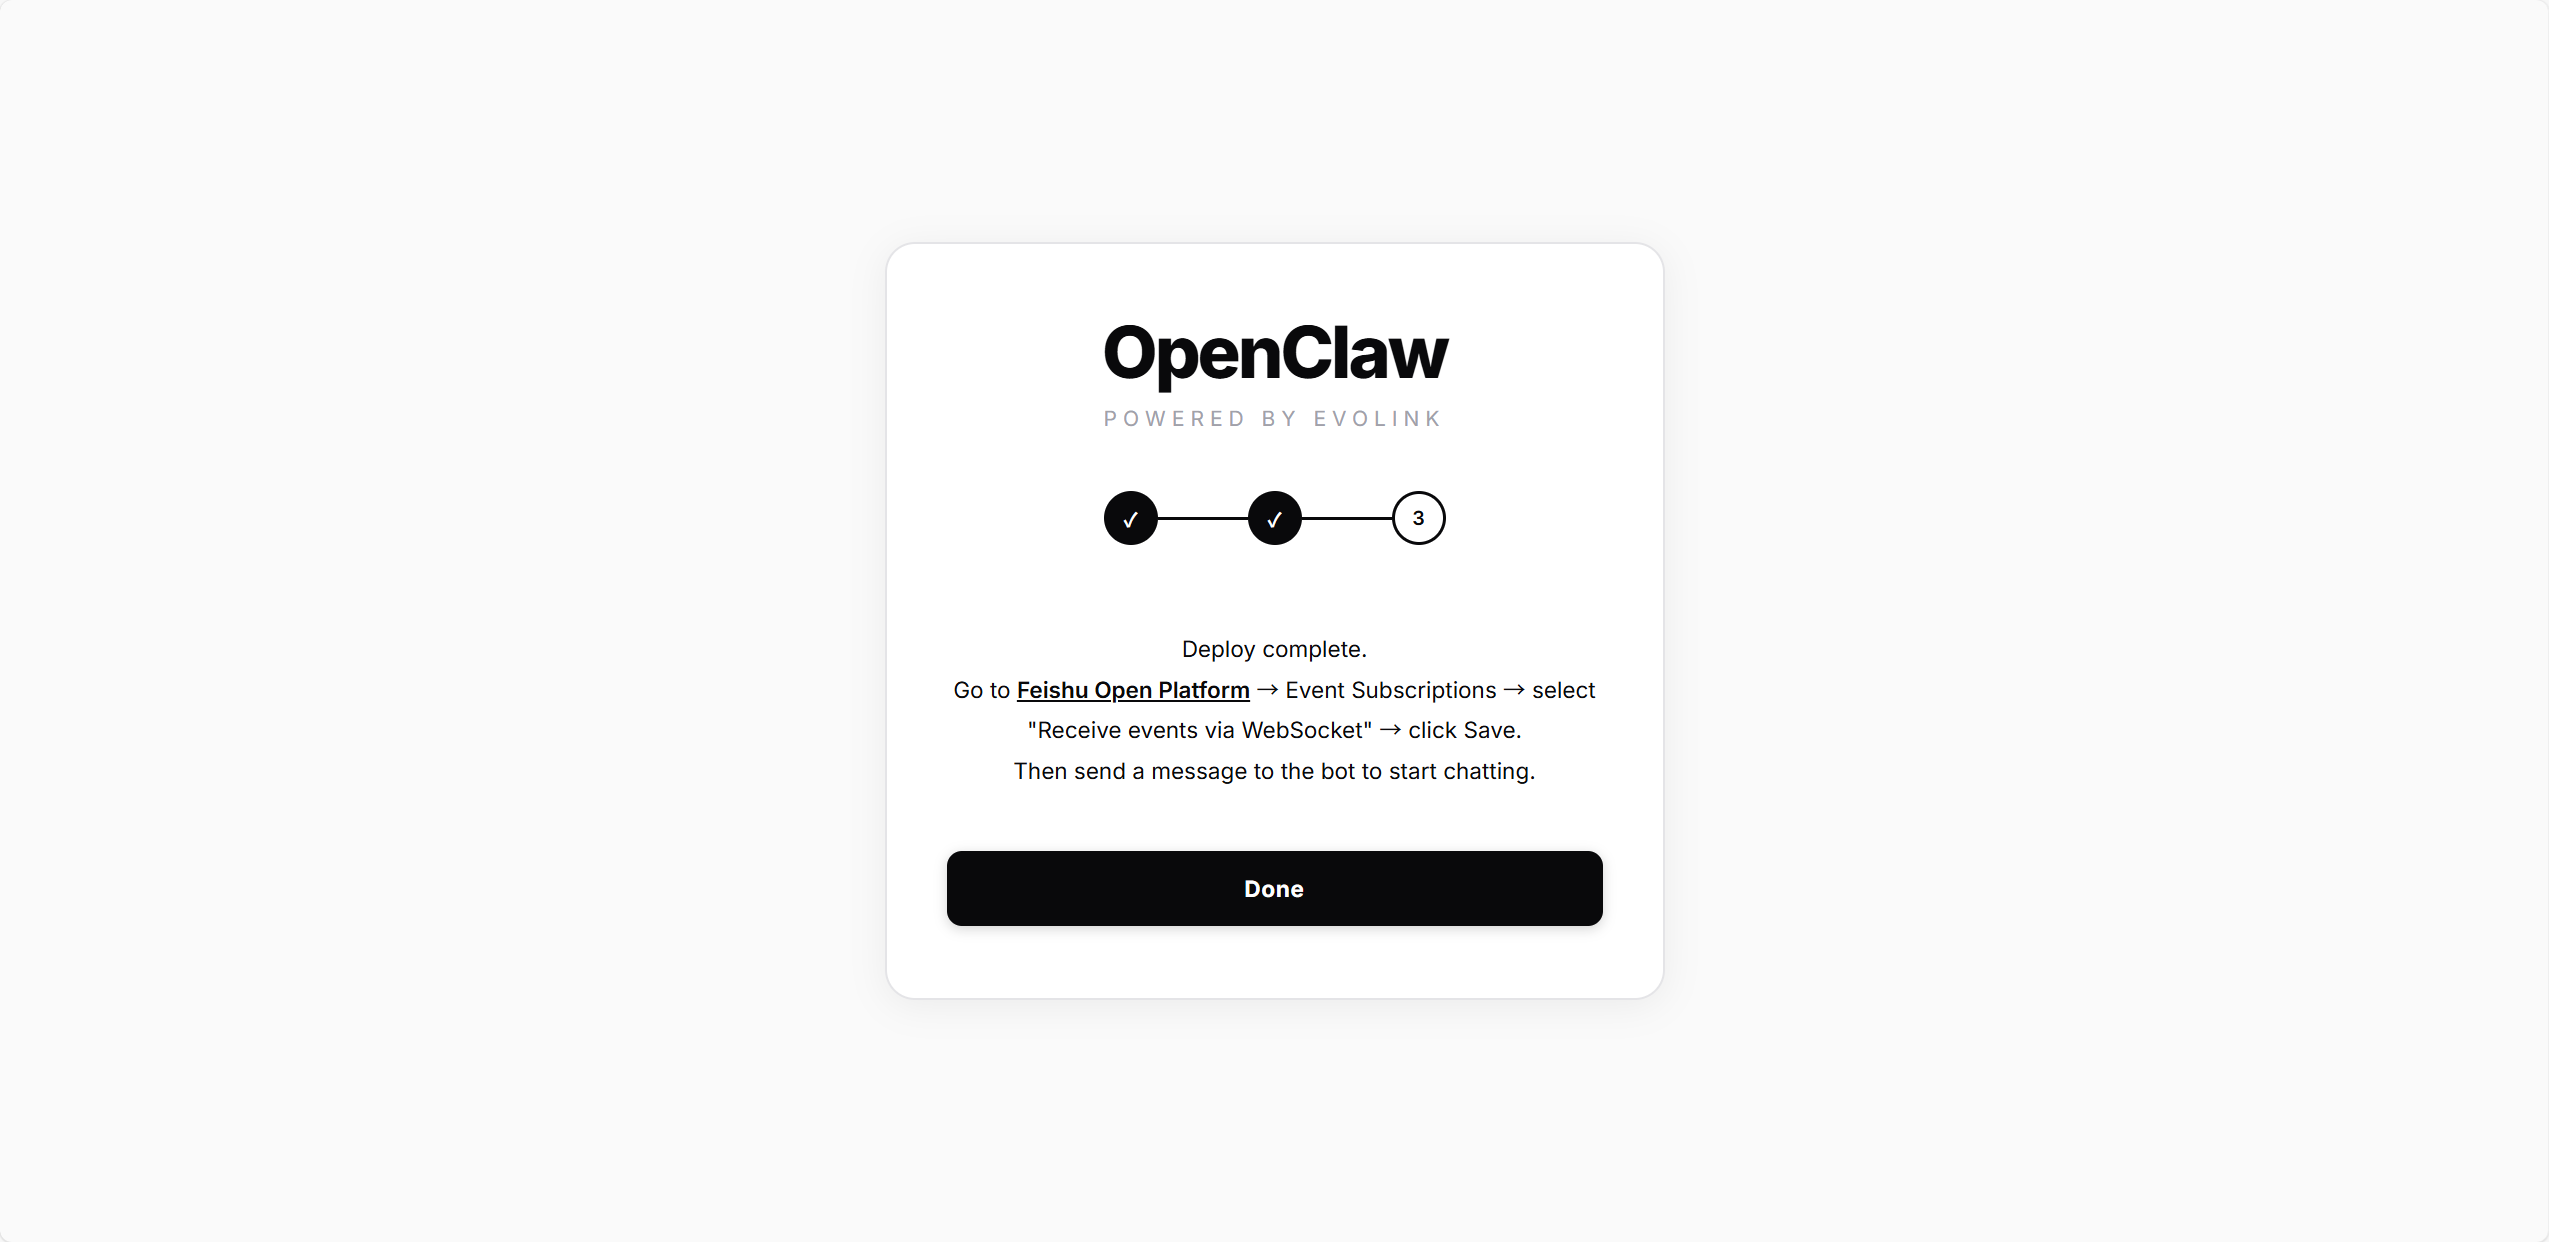
- Feishu
Enter your Telegram User ID (the numeric ID from @userinfobot), then click Connect.The script writes this ID to the 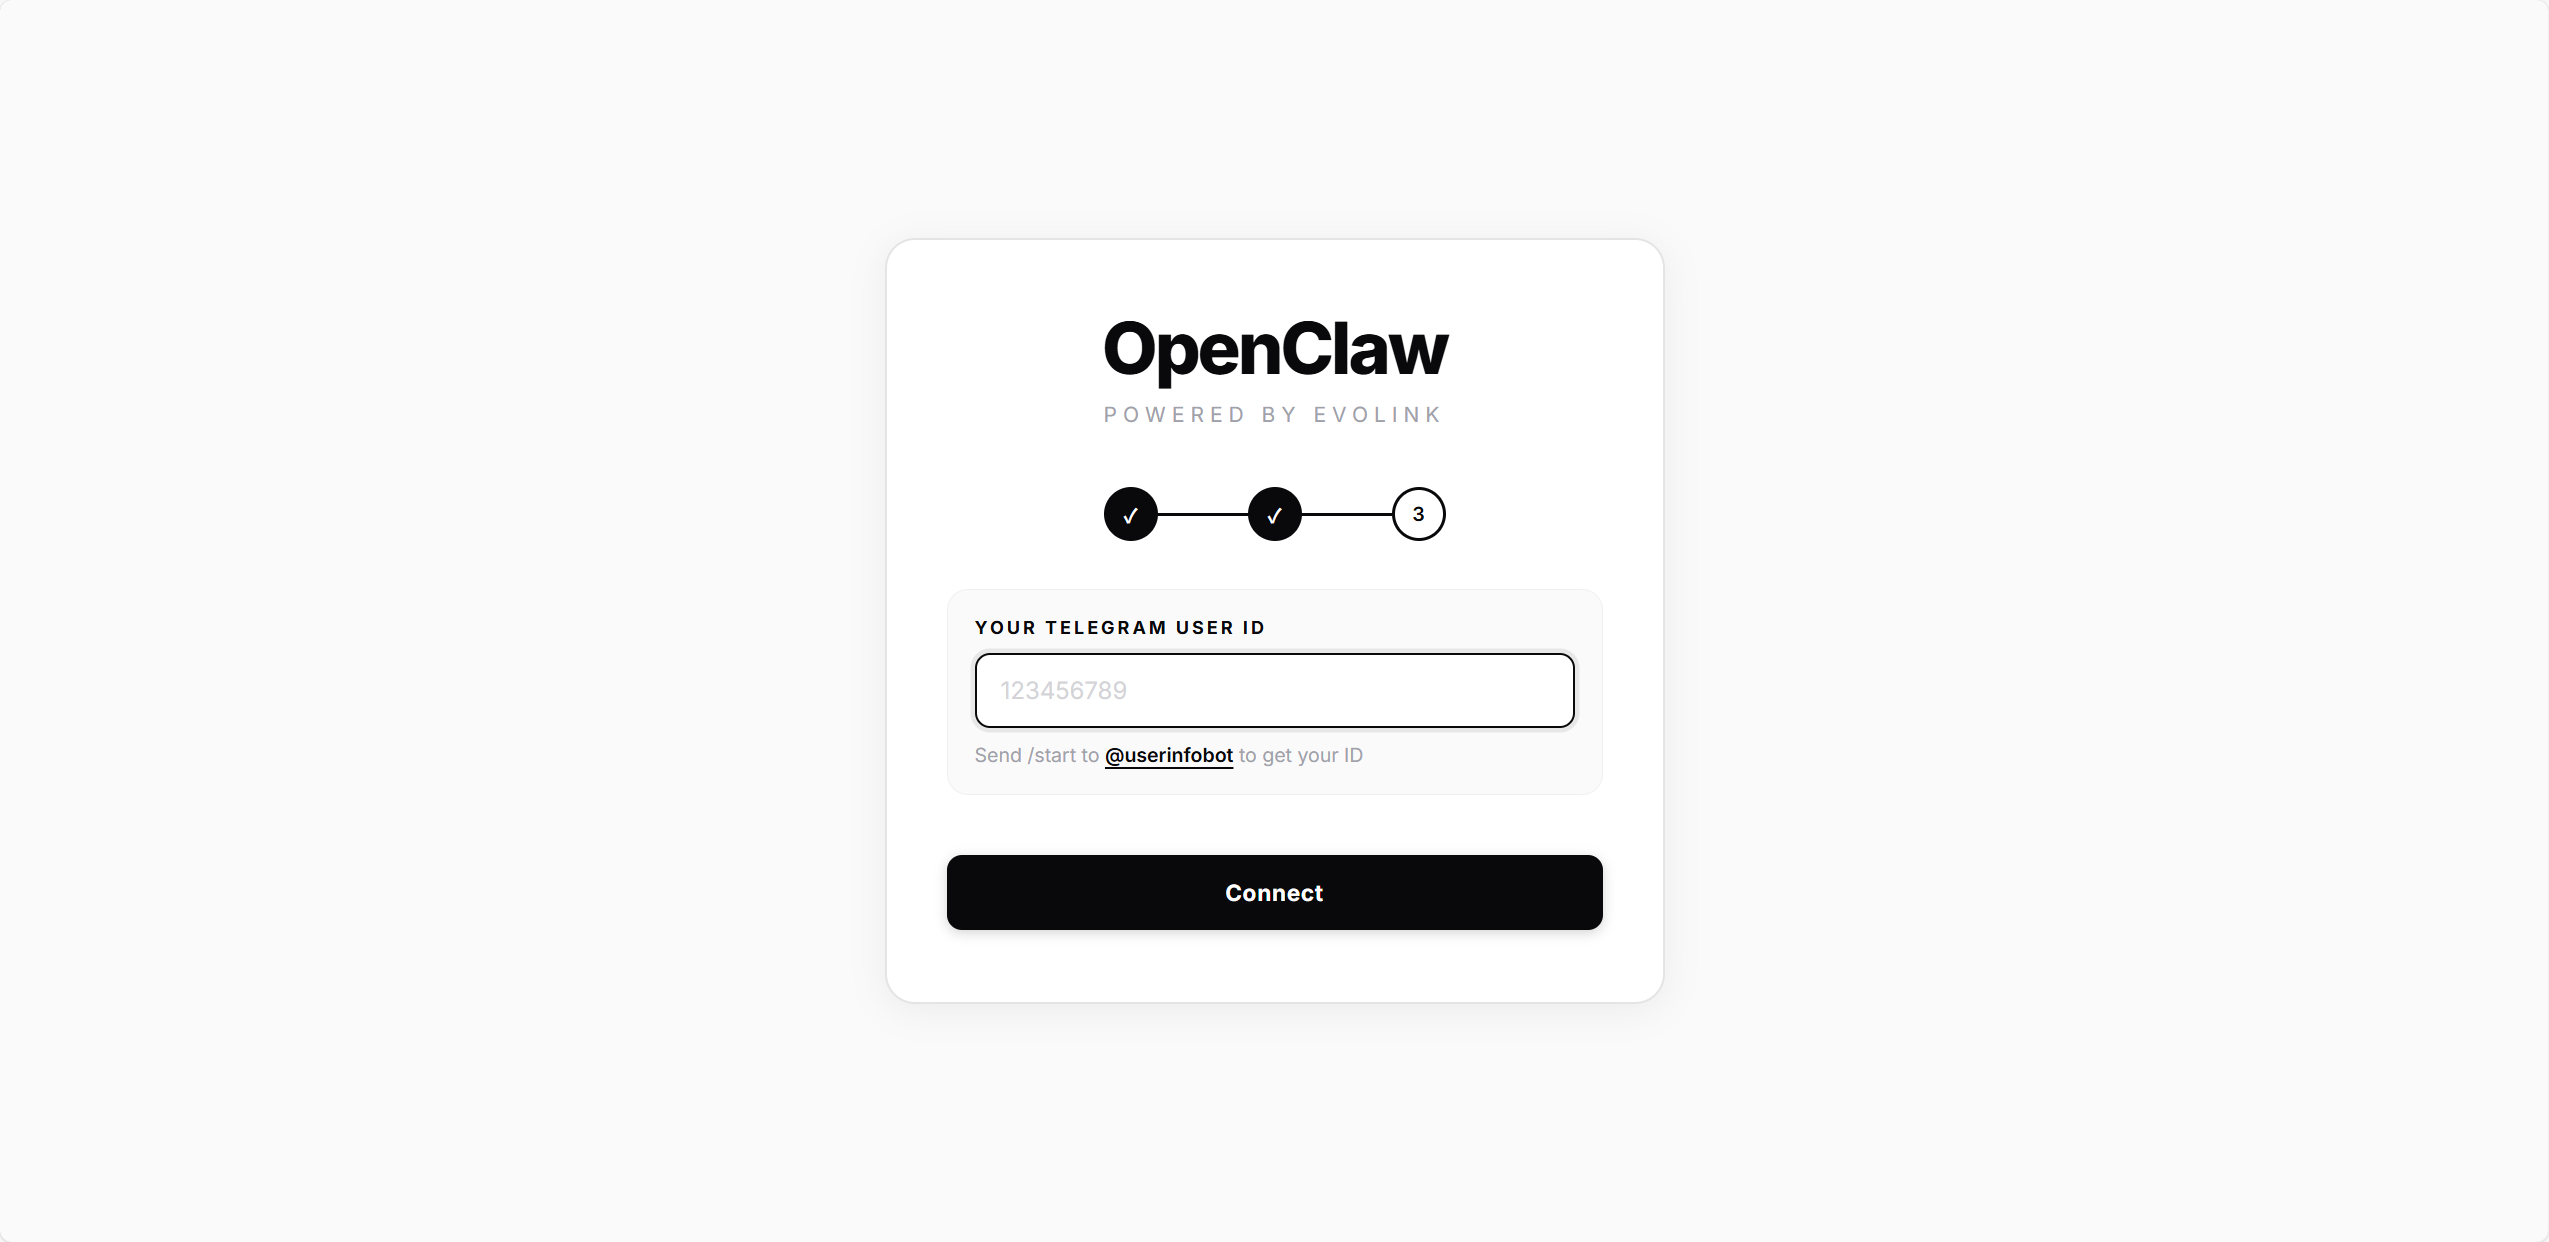
allowedUsers config — only this user will be able to chat with the Bot. Once connected, you’ll be redirected to the home page.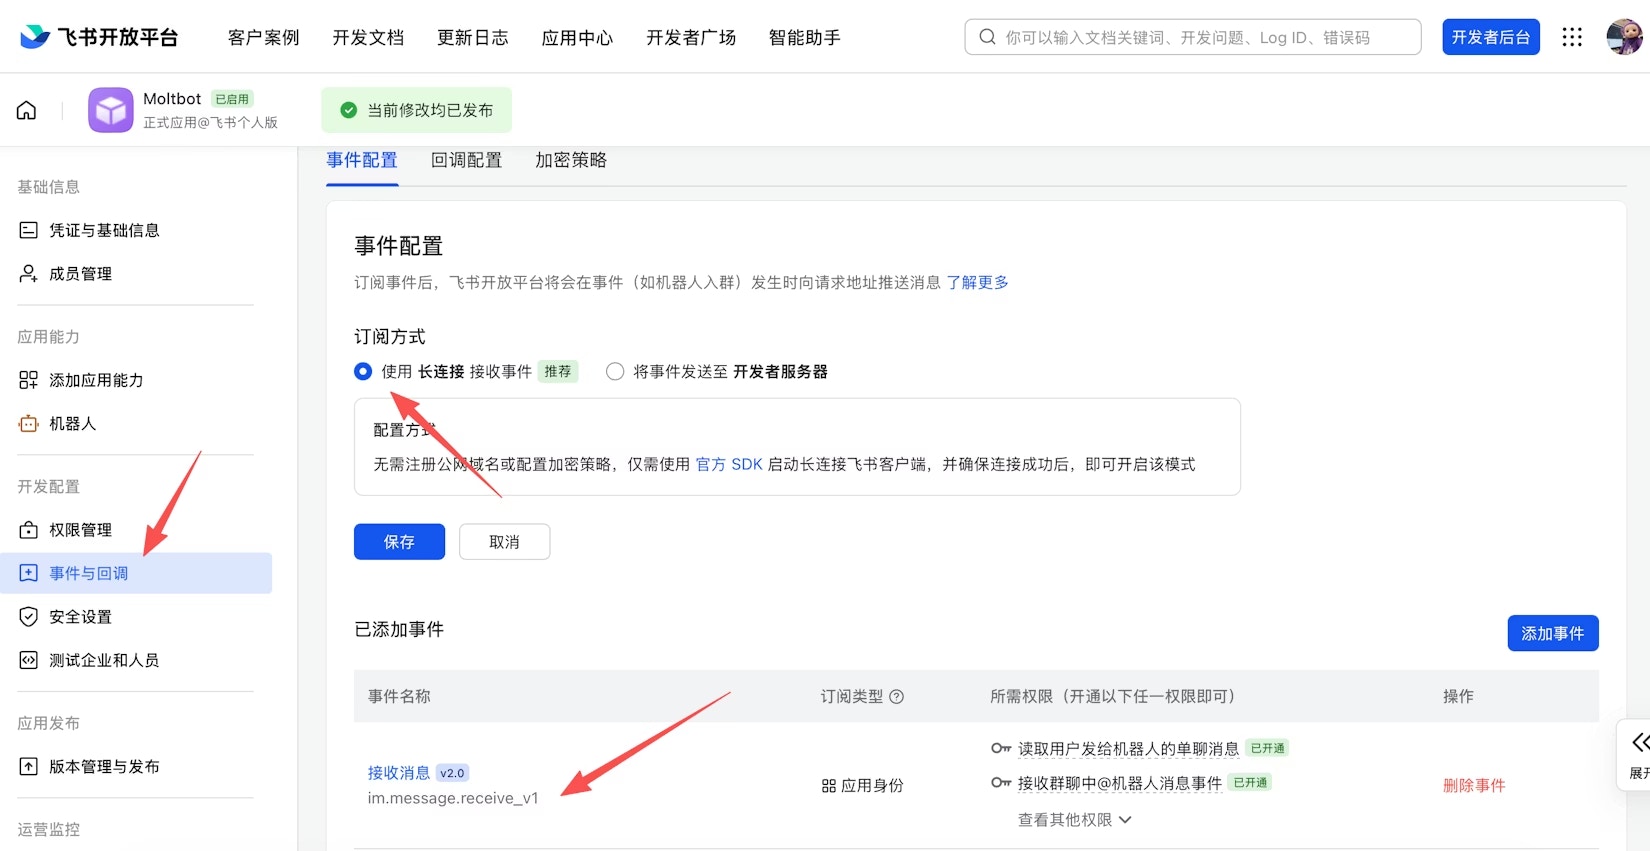
Manage Instances
After deployment, the home page displays all instances: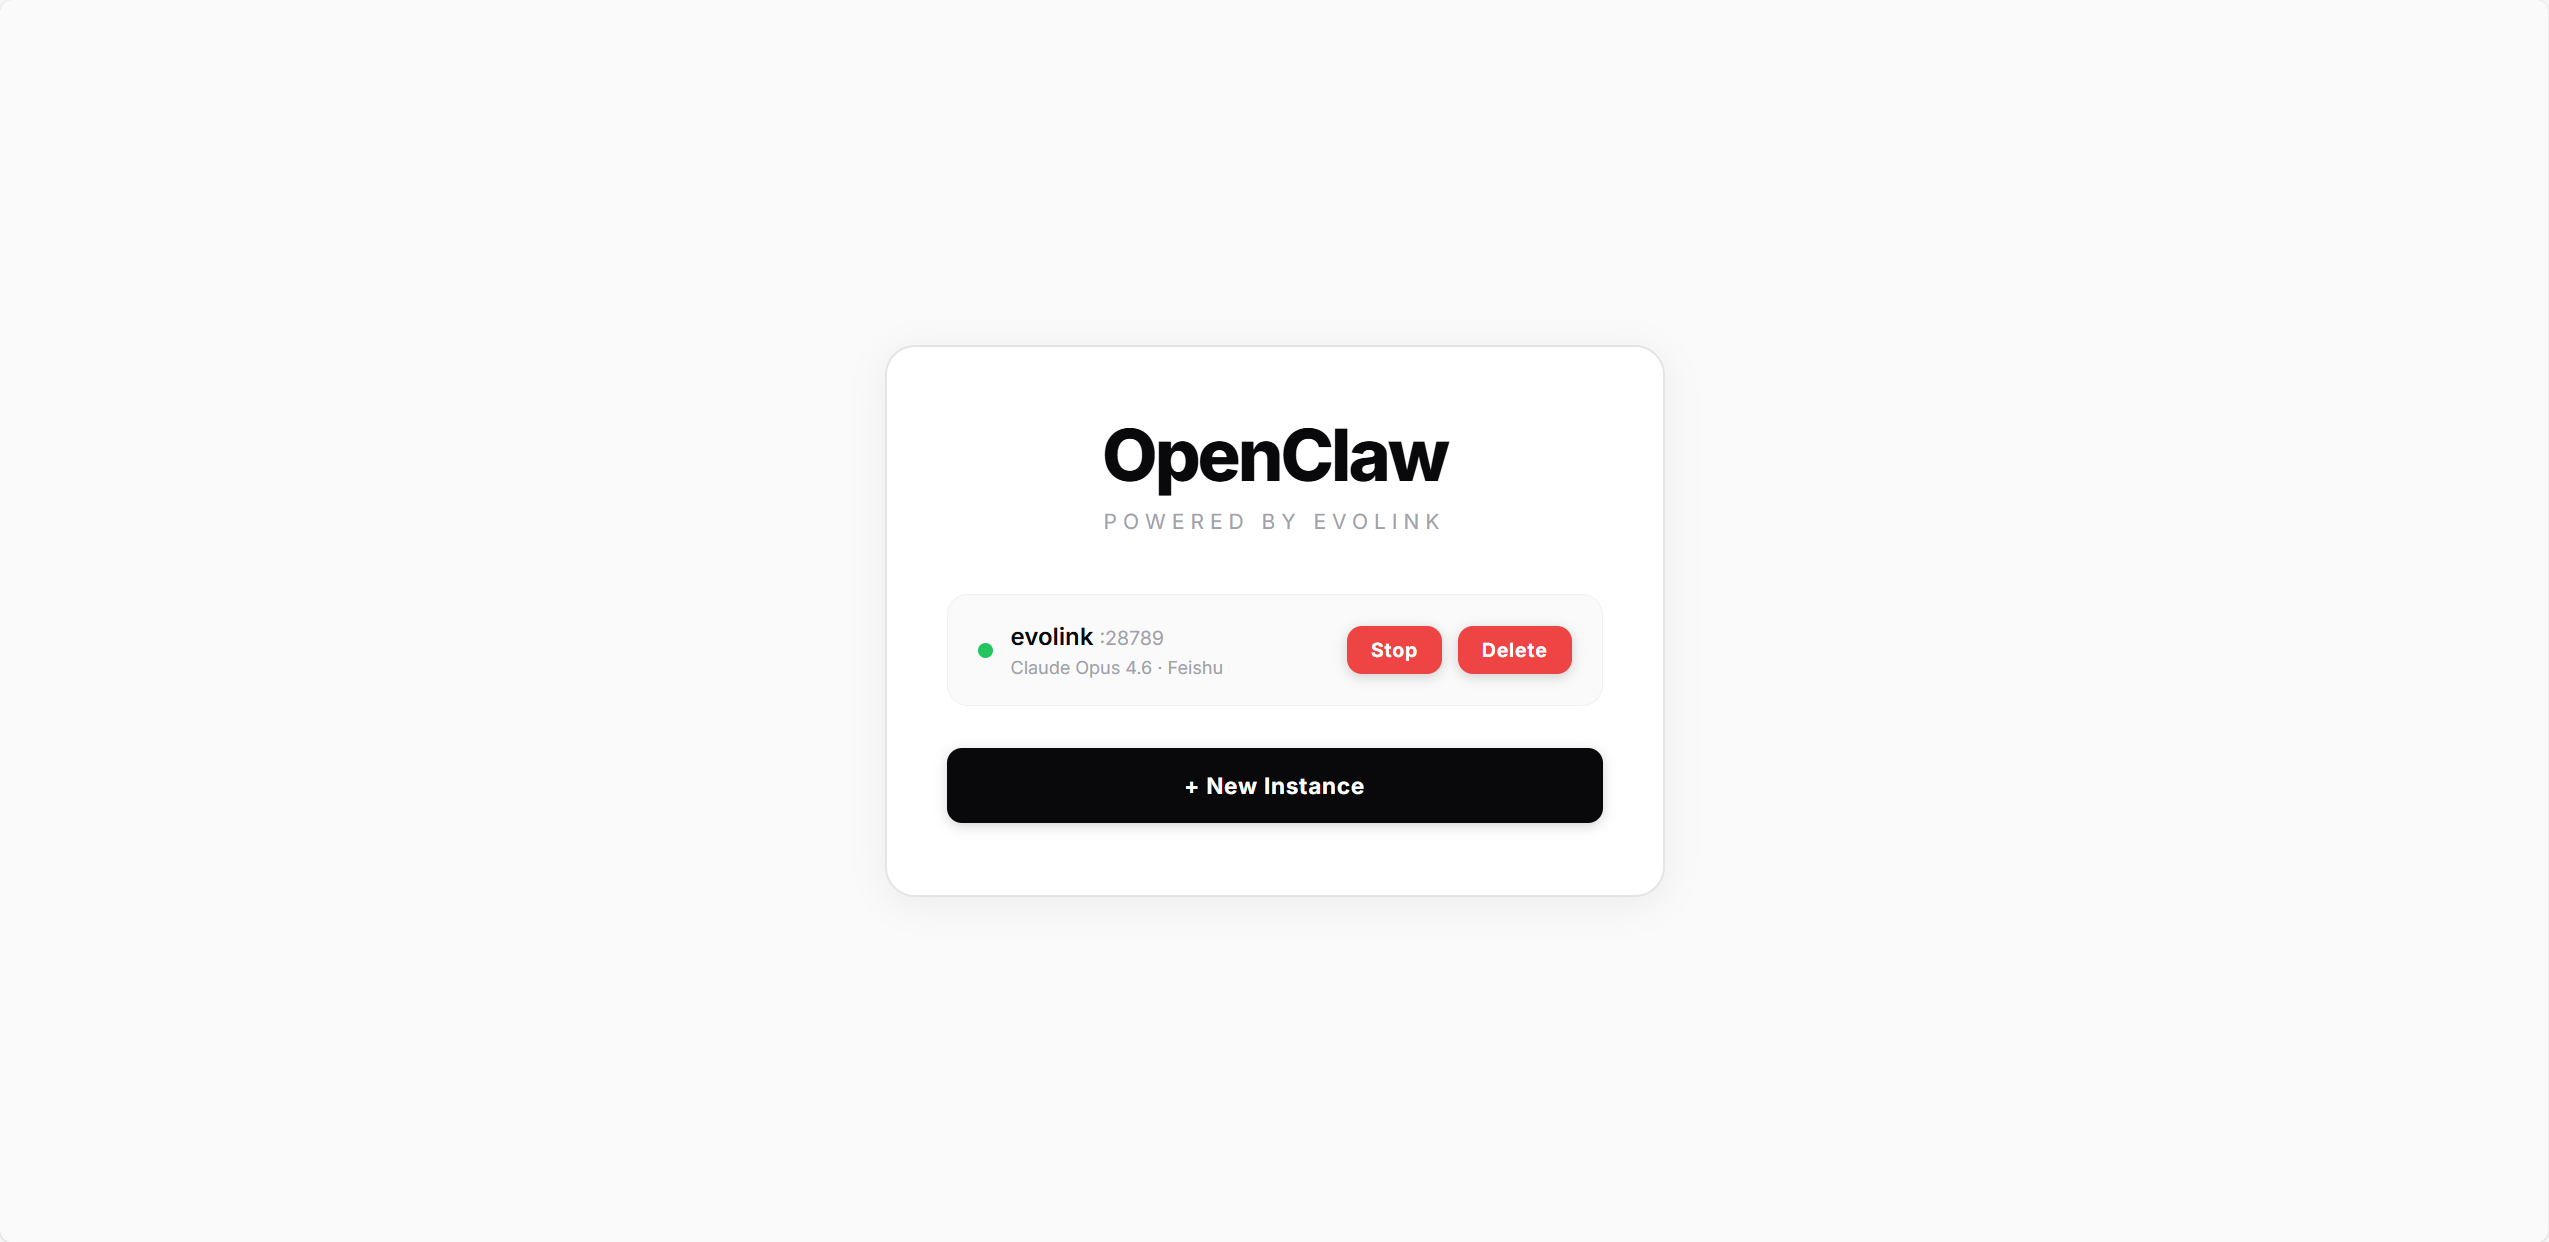
Each instance card shows the model and channel in use. Available actions:
- Start / Stop: Start or stop the gateway service
- Delete: Remove the instance (stops the gateway and cleans up all config files)