Overview
OpenClaw is an open-source AI agent Gateway that acts as a bridge between chat applications and AI agents. Through a centralized Gateway process, it can connect chat platforms like Telegram, WhatsApp, Discord, and Feishu to AI programming agents. This document describes how to manually install OpenClaw and configure EvoLink API as a model provider. After completing this document, you can continue to configure specific chat channels (such as Telegram or Feishu). This guide covers:- Installing and configuring OpenClaw Gateway
- Configuring EvoLink API as a custom model provider
- Verifying the installation
System Environment Check (Optional)
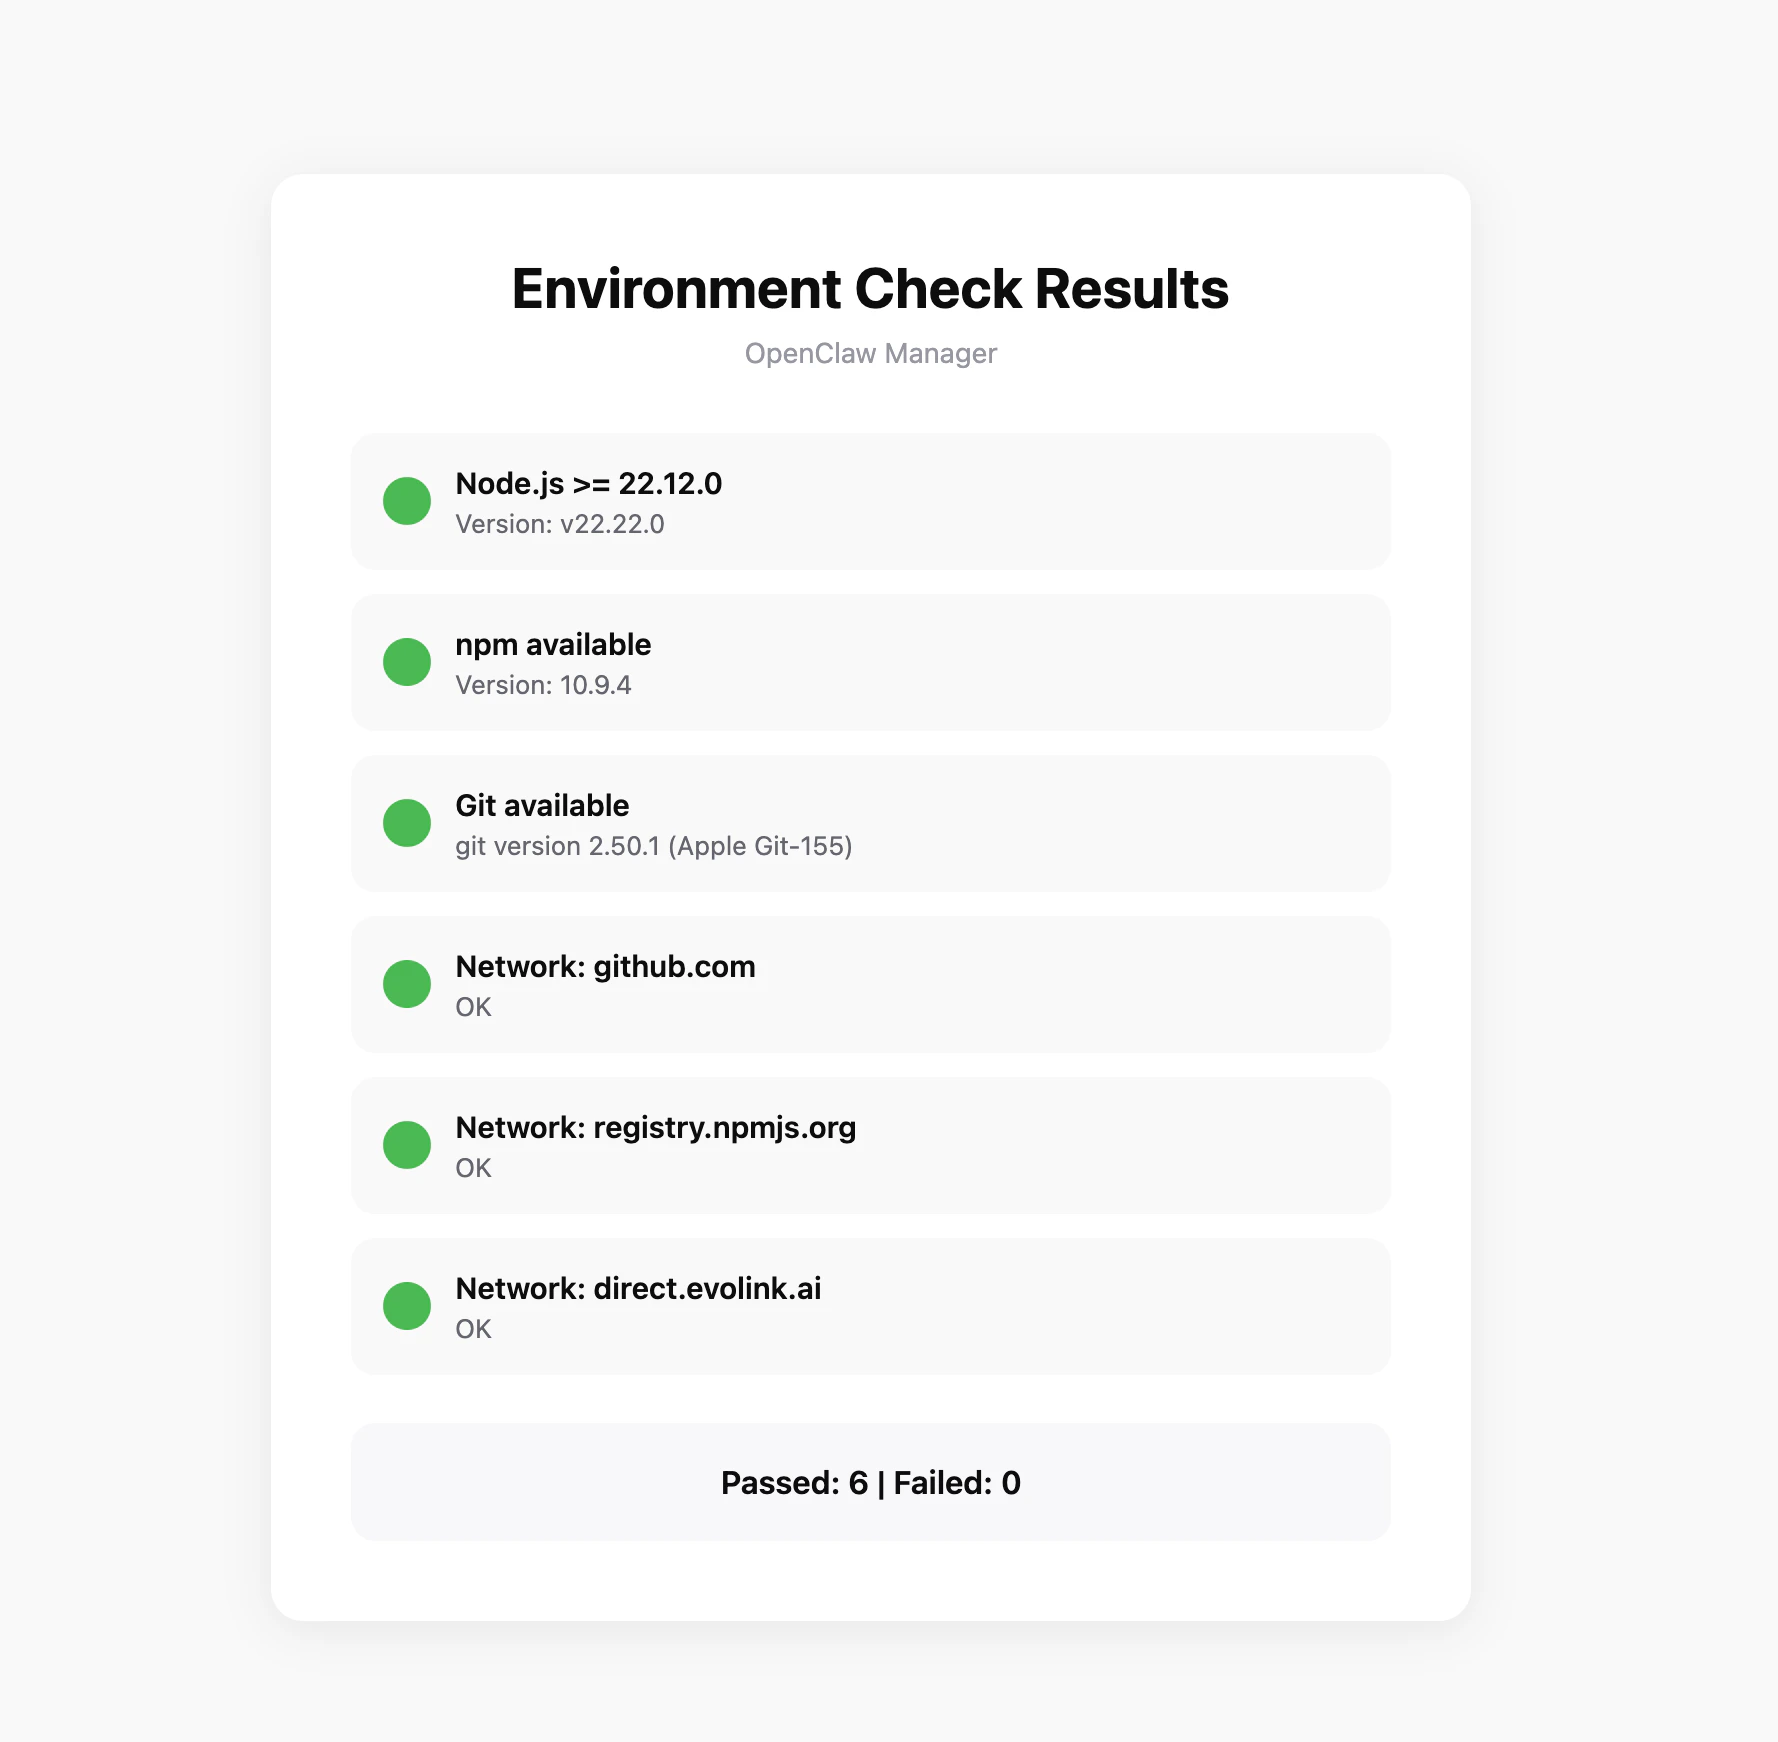
Before starting the installation, it’s recommended to run the environment check tool to ensure your system meets OpenClaw’s requirements.Download the Check Tool
Download the check tool for your platform from GitHub Releases:Check Items
The tool will automatically check the following:- Node.js version (requires >= 22.12.0)
- npm available
- Git available
- Network connectivity (github.com, npmjs.org, evolink.ai)
Prerequisites
Before starting configuration, ensure you have completed the following:1. Install Node.js
OpenClaw is installed via npm and requires Node.js 22 or higher.- Windows
- macOS
Visit Node.js official website, download the Windows installer (.msi file), and run the installation program.After installation, open PowerShell to verify:
It’s recommended to run PowerShell as administrator to avoid permission issues during installation.
2. Get EvoLink API Key
- Log in to EvoLink Console
- Find API Keys in the console, click “Create New Key”, then copy the generated Key
- API Key usually starts with
sk-, please keep it safe
Step 1: Install OpenClaw
Execute in terminal:Step 2: Initialize Setup
Run the onboarding command, OpenClaw will guide you through initial configuration and install the daemon service:1. Confirm Installation
The system will prompt installation risk notice, confirm to continue: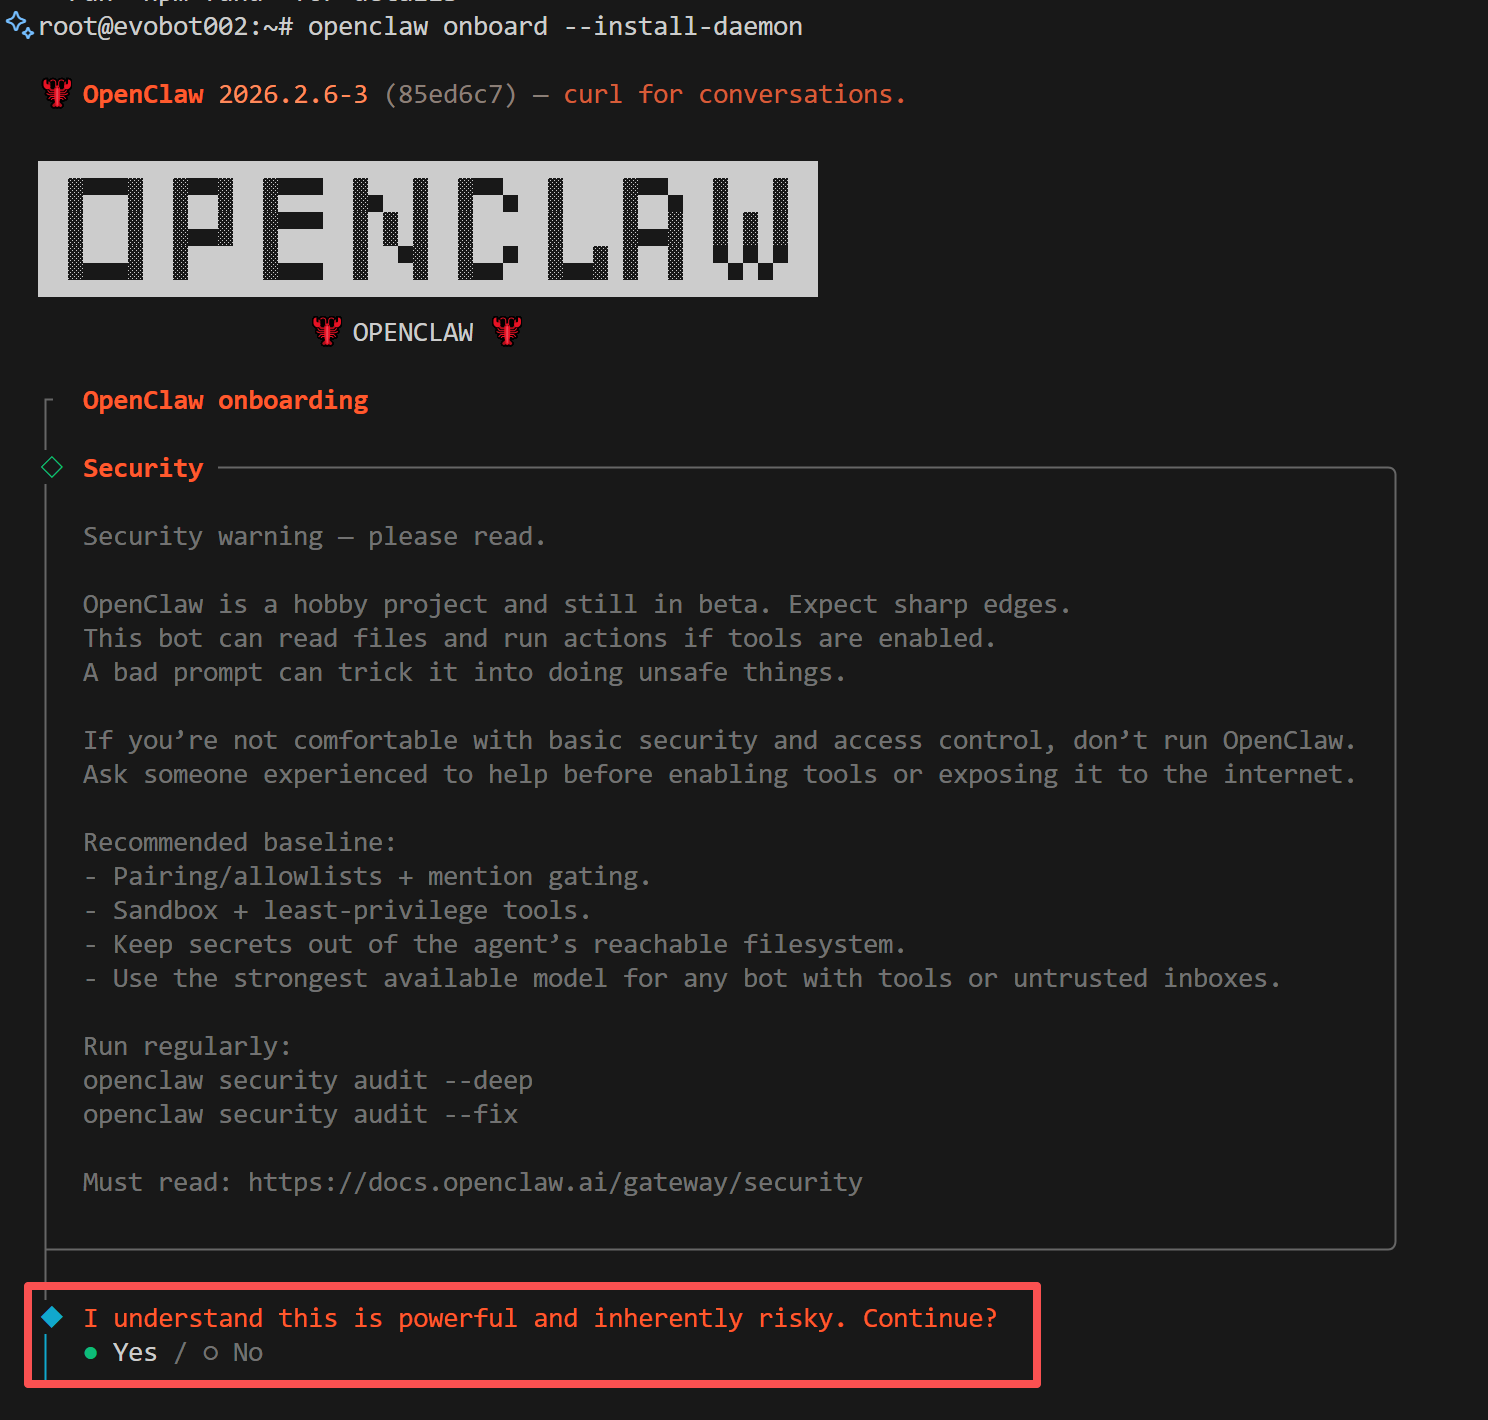
2. Select Installation Mode
The system will prompt to select installation mode, choose Quickstart: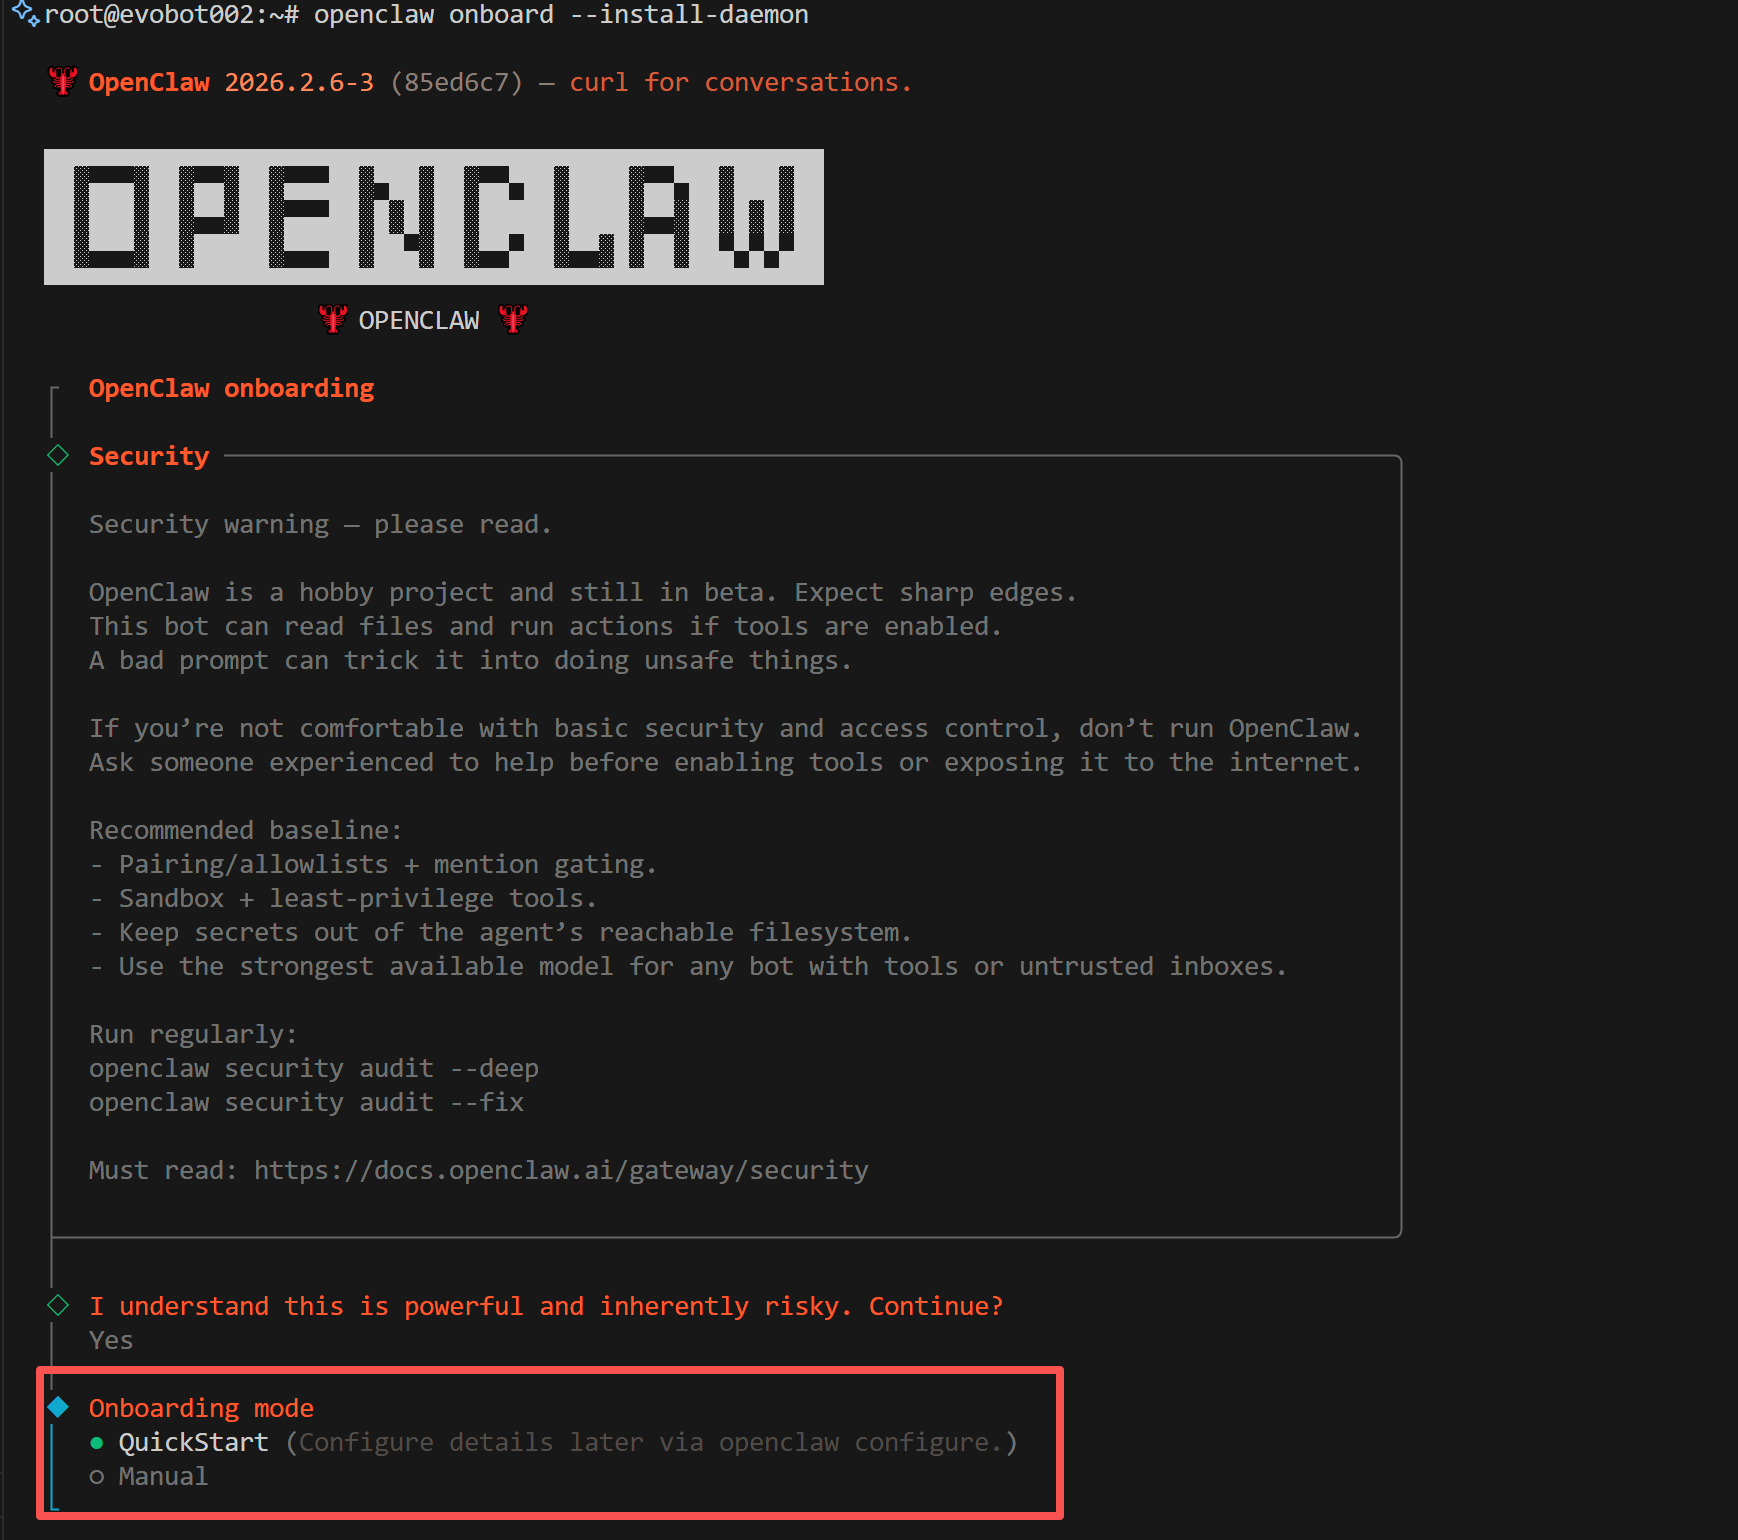
3. Select Provider
The system will prompt to select model provider, choose Skip here, we will manually configure EvoLink as a custom provider later: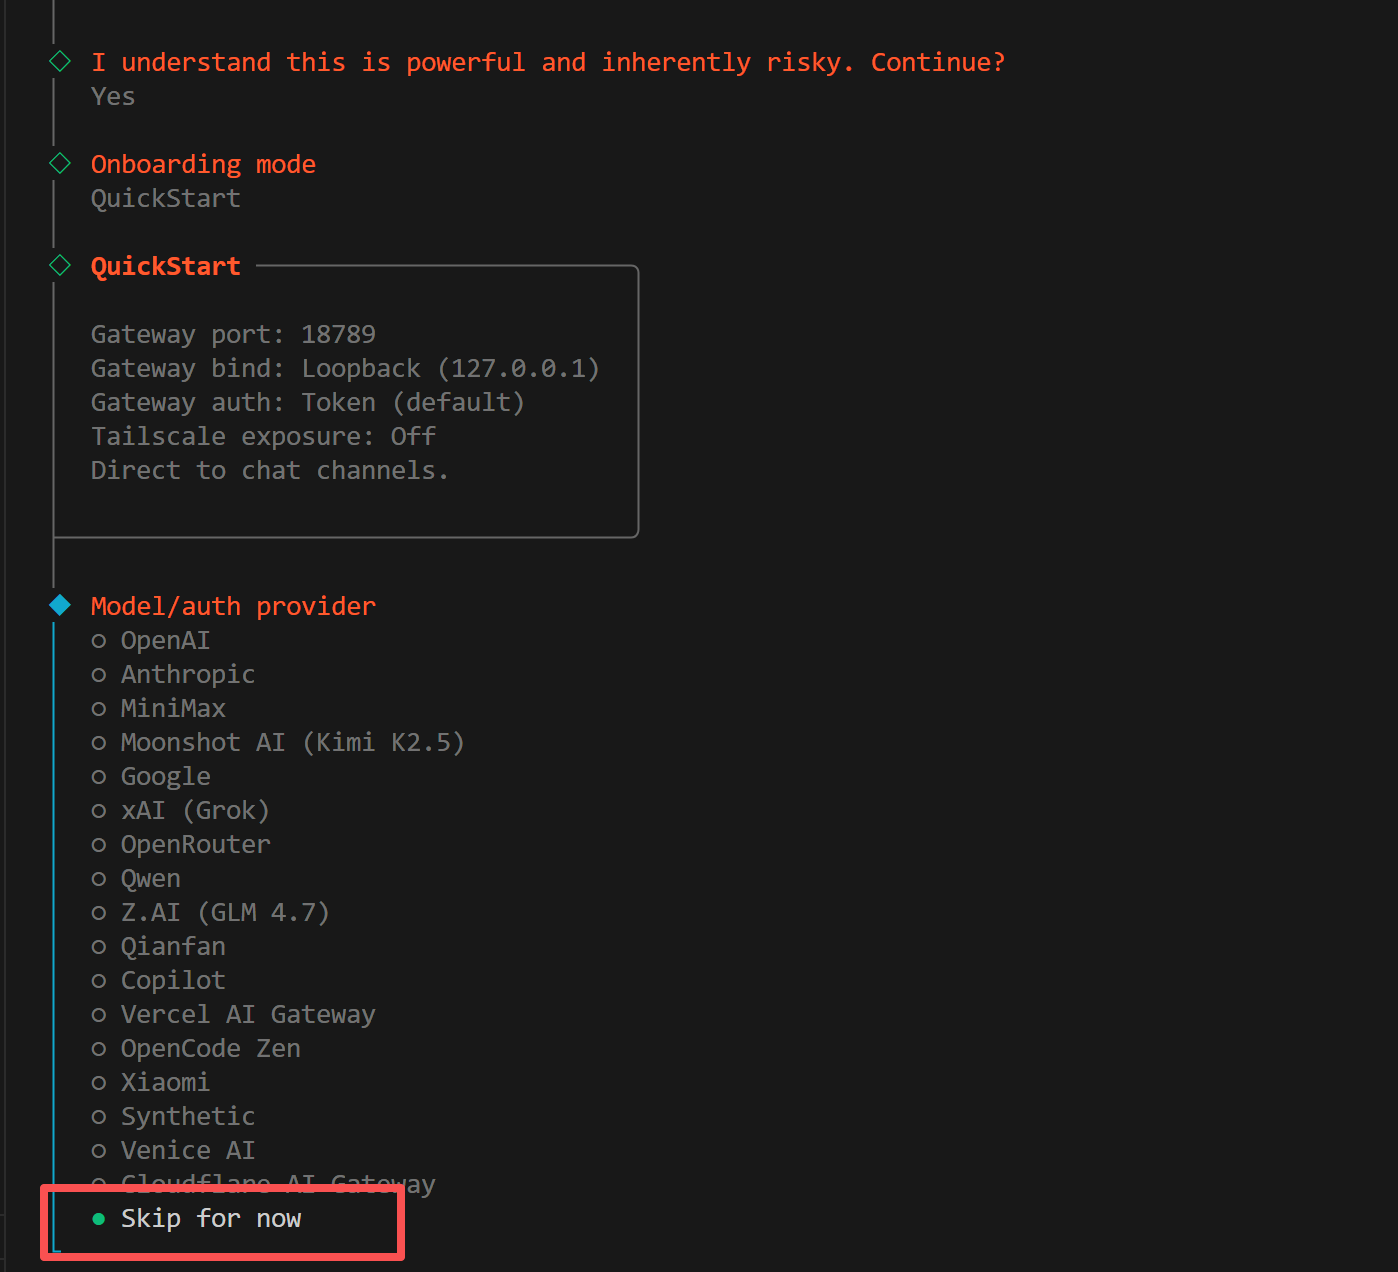
4. Select Models
The system will prompt to select models to enable, choose All: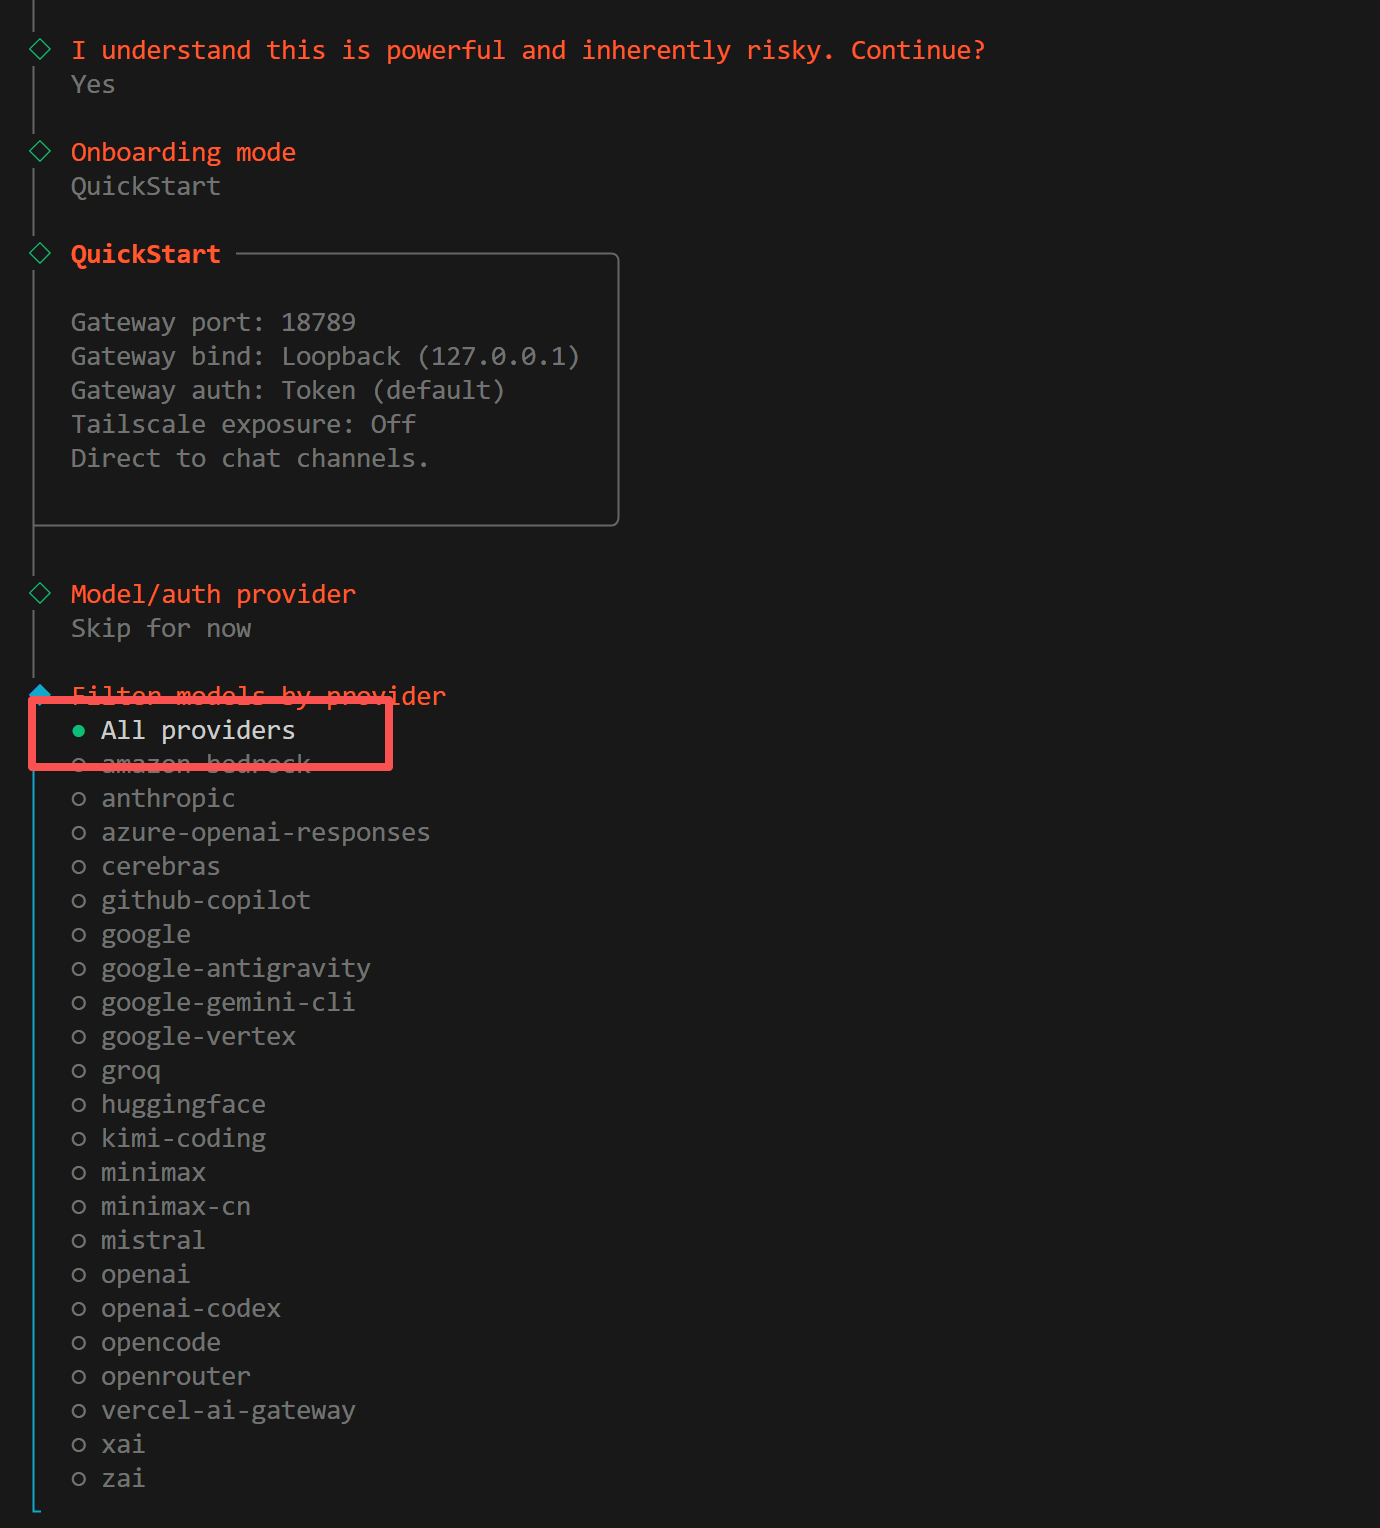
5. Select Default Model
The system will prompt to select default model, choose Keep current: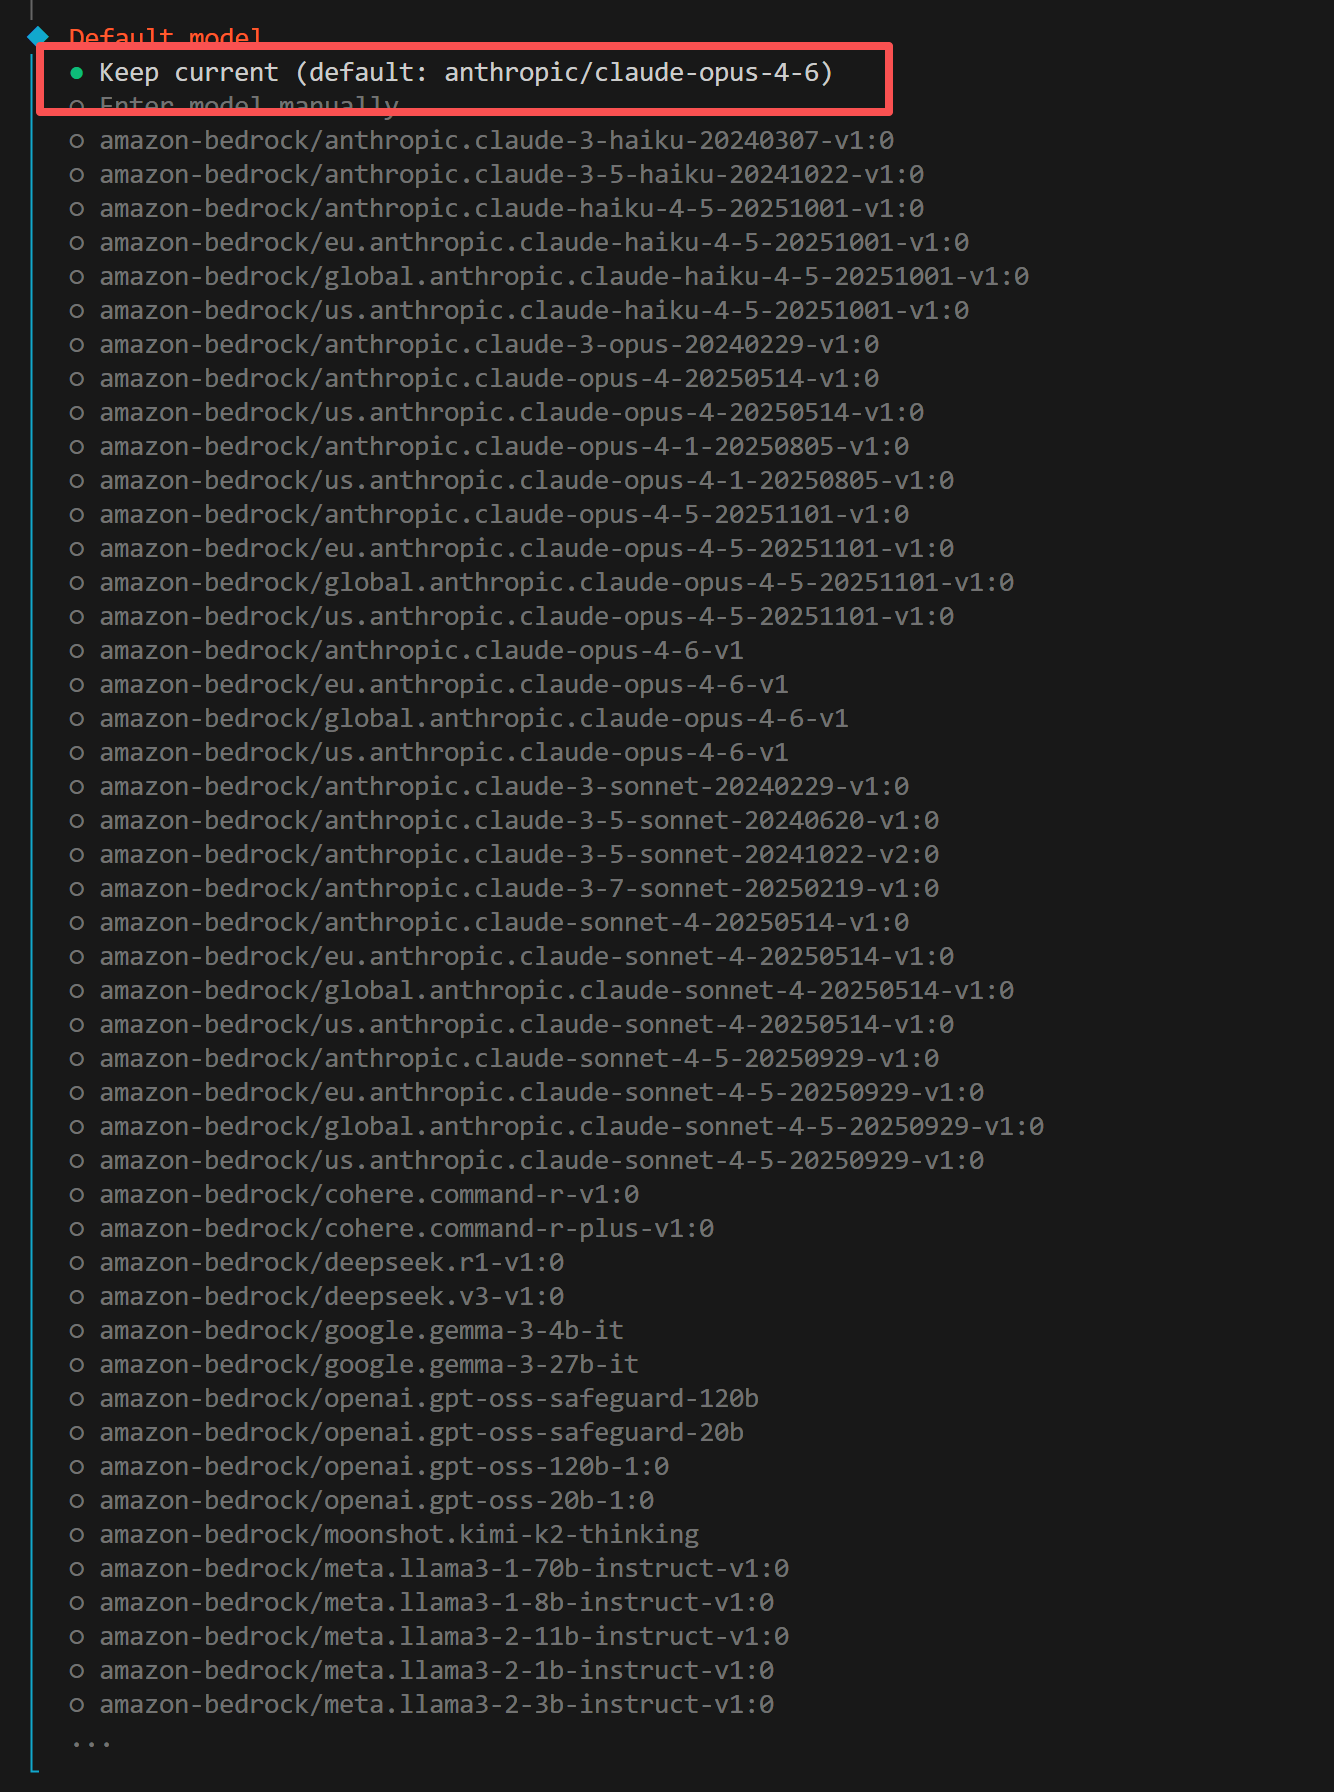
6. Select Channel
The system will prompt to select a chat channel. It’s recommended to choose Skip for now, you can add channels later: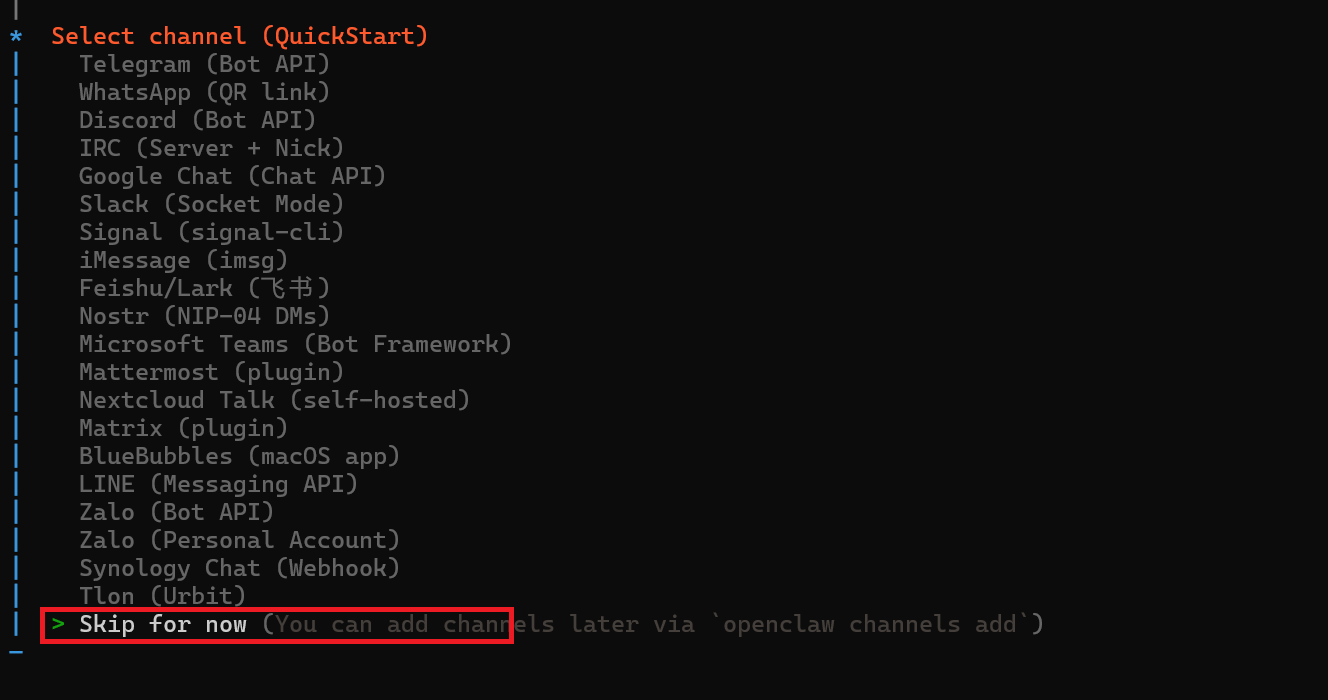
7. Configure Skills
The system will prompt whether to configure Skills. It’s recommended to choose No, you can add them later: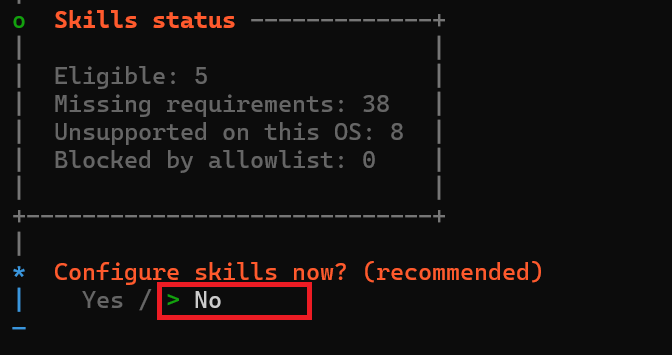
8. Enable Hooks
The system will prompt whether to enable Hooks. It’s recommended to choose session-memory: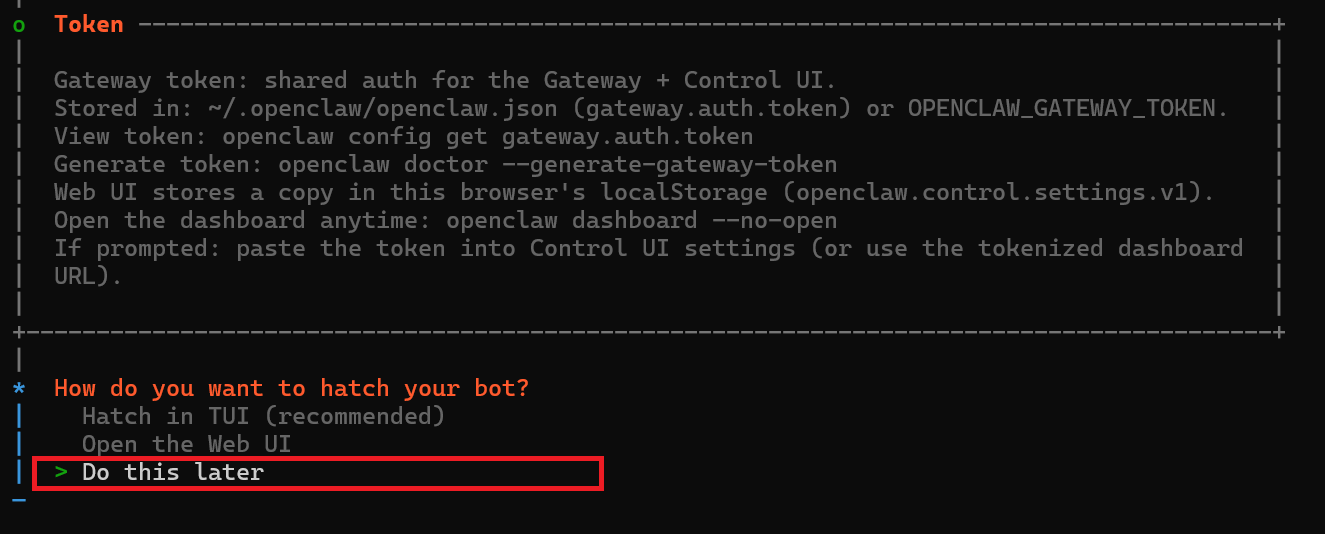
9. Restart Gateway Service
The system will prompt that the gateway service is already installed, choose Restart: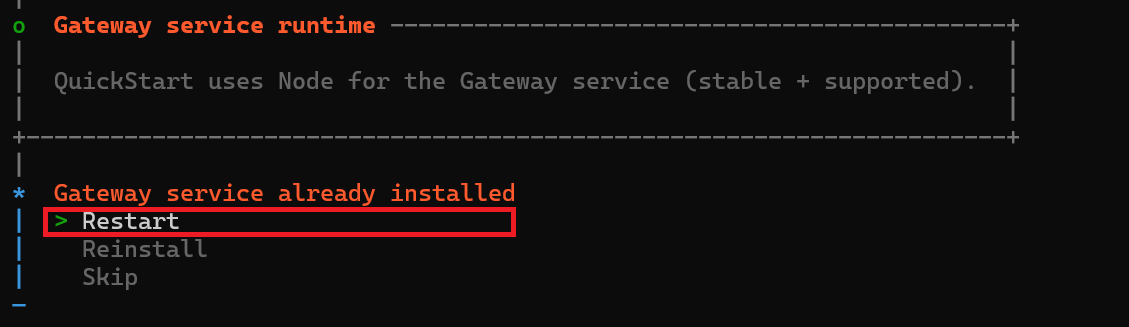
10. Launch Bot
The system will prompt how to launch the bot. It’s recommended to choose Do this later: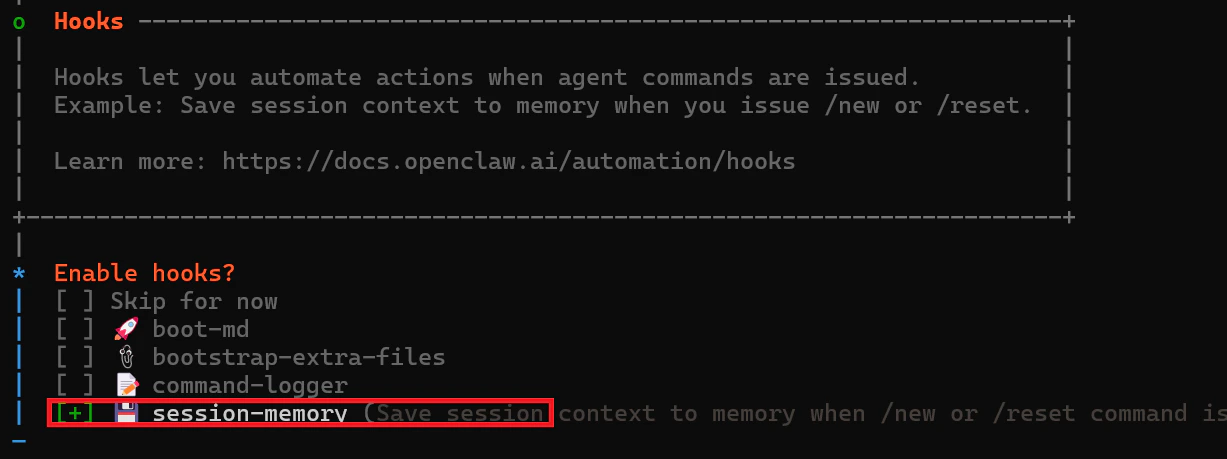
Step 3: Configure EvoLink API & Model Switching
1. Locate Two Configuration Files (Important)
OpenClaw model configuration typically involves two files:- Windows
- macOS
openclaw.json:%USERPROFILE%\.openclaw\openclaw.jsonmodels.json:%USERPROFILE%\.openclaw\agents\main\agent\models.json
2. Configure Model Providers
It’s recommended to configure the following providers inopenclaw.json (and sync to models.json):
The model IDs above are examples. Please use the models actually available in your EvoLink account.
3. Configure Default Model (Supports Quick Switching)
Set the default model inagents.defaults. We recommend using Smart Model Routing evolink/auto, which automatically selects a suitable model based on your request:
- Smart Routing:
evolink-anthropic/evolink/auto(Recommended) - Claude:
evolink-anthropic/claude-opus-5-5 - GPT:
evolink-openai/gpt-5.2 - Gemini:
evolink-google/gemini-3.1-pro-preview - Doubao:
evolink-openai/doubao-seed-2.0-mini
4. Quick Switch to EvoLink Models (Recommended)
After completing provider configuration, it’s recommended to use CLI commands for model switching instead of manually editing JSON:If
models list --provider evolink-openai doesn’t show your expected models, check whether both openclaw.json and models.json have the corresponding provider configured.5. Restart and Verify
Restart the gateway after configuration:Common Commands
Troubleshooting
Next Steps
OpenClaw installation and EvoLink API configuration are complete. Next you can:- Configure Telegram Channel: Refer to OpenClaw + Telegram documentation
- Configure Feishu Channel: Refer to OpenClaw + Feishu documentation
- Use Auto-Installation Tool: Refer to OpenClaw Auto Installation documentation